

Tiny Furniture (2010) written, directed and starred in by Lena Dunham. Just had to screen grab these outfits. Aura especially.
Just a personal blog, kept since 2008.
Photo type posts were originally posted to Tumblr as this type so that the image would be prominent on the platform. These posts may or may not be primarily about that photo.


Tiny Furniture (2010) written, directed and starred in by Lena Dunham. Just had to screen grab these outfits. Aura especially.
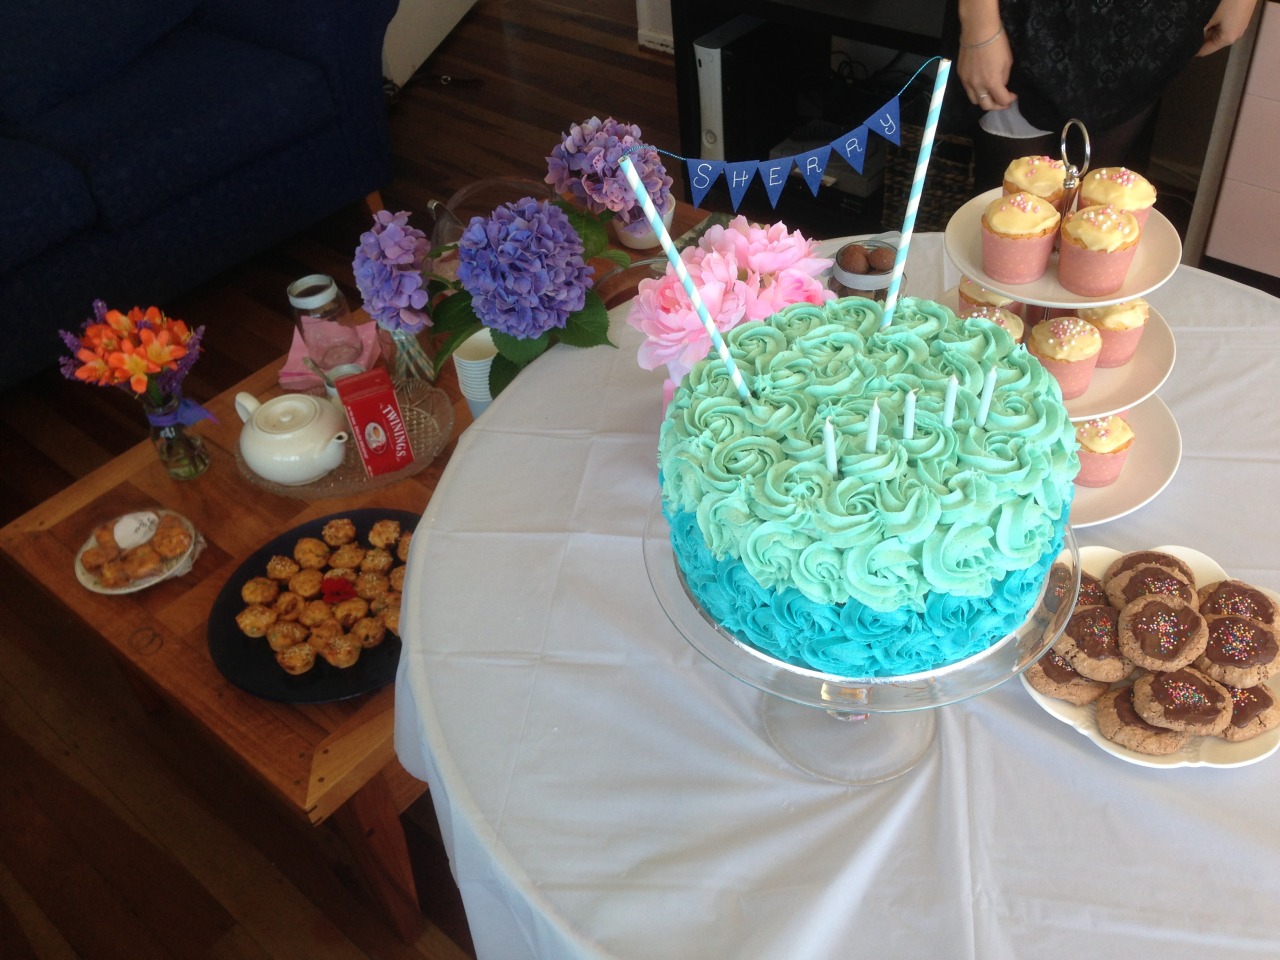
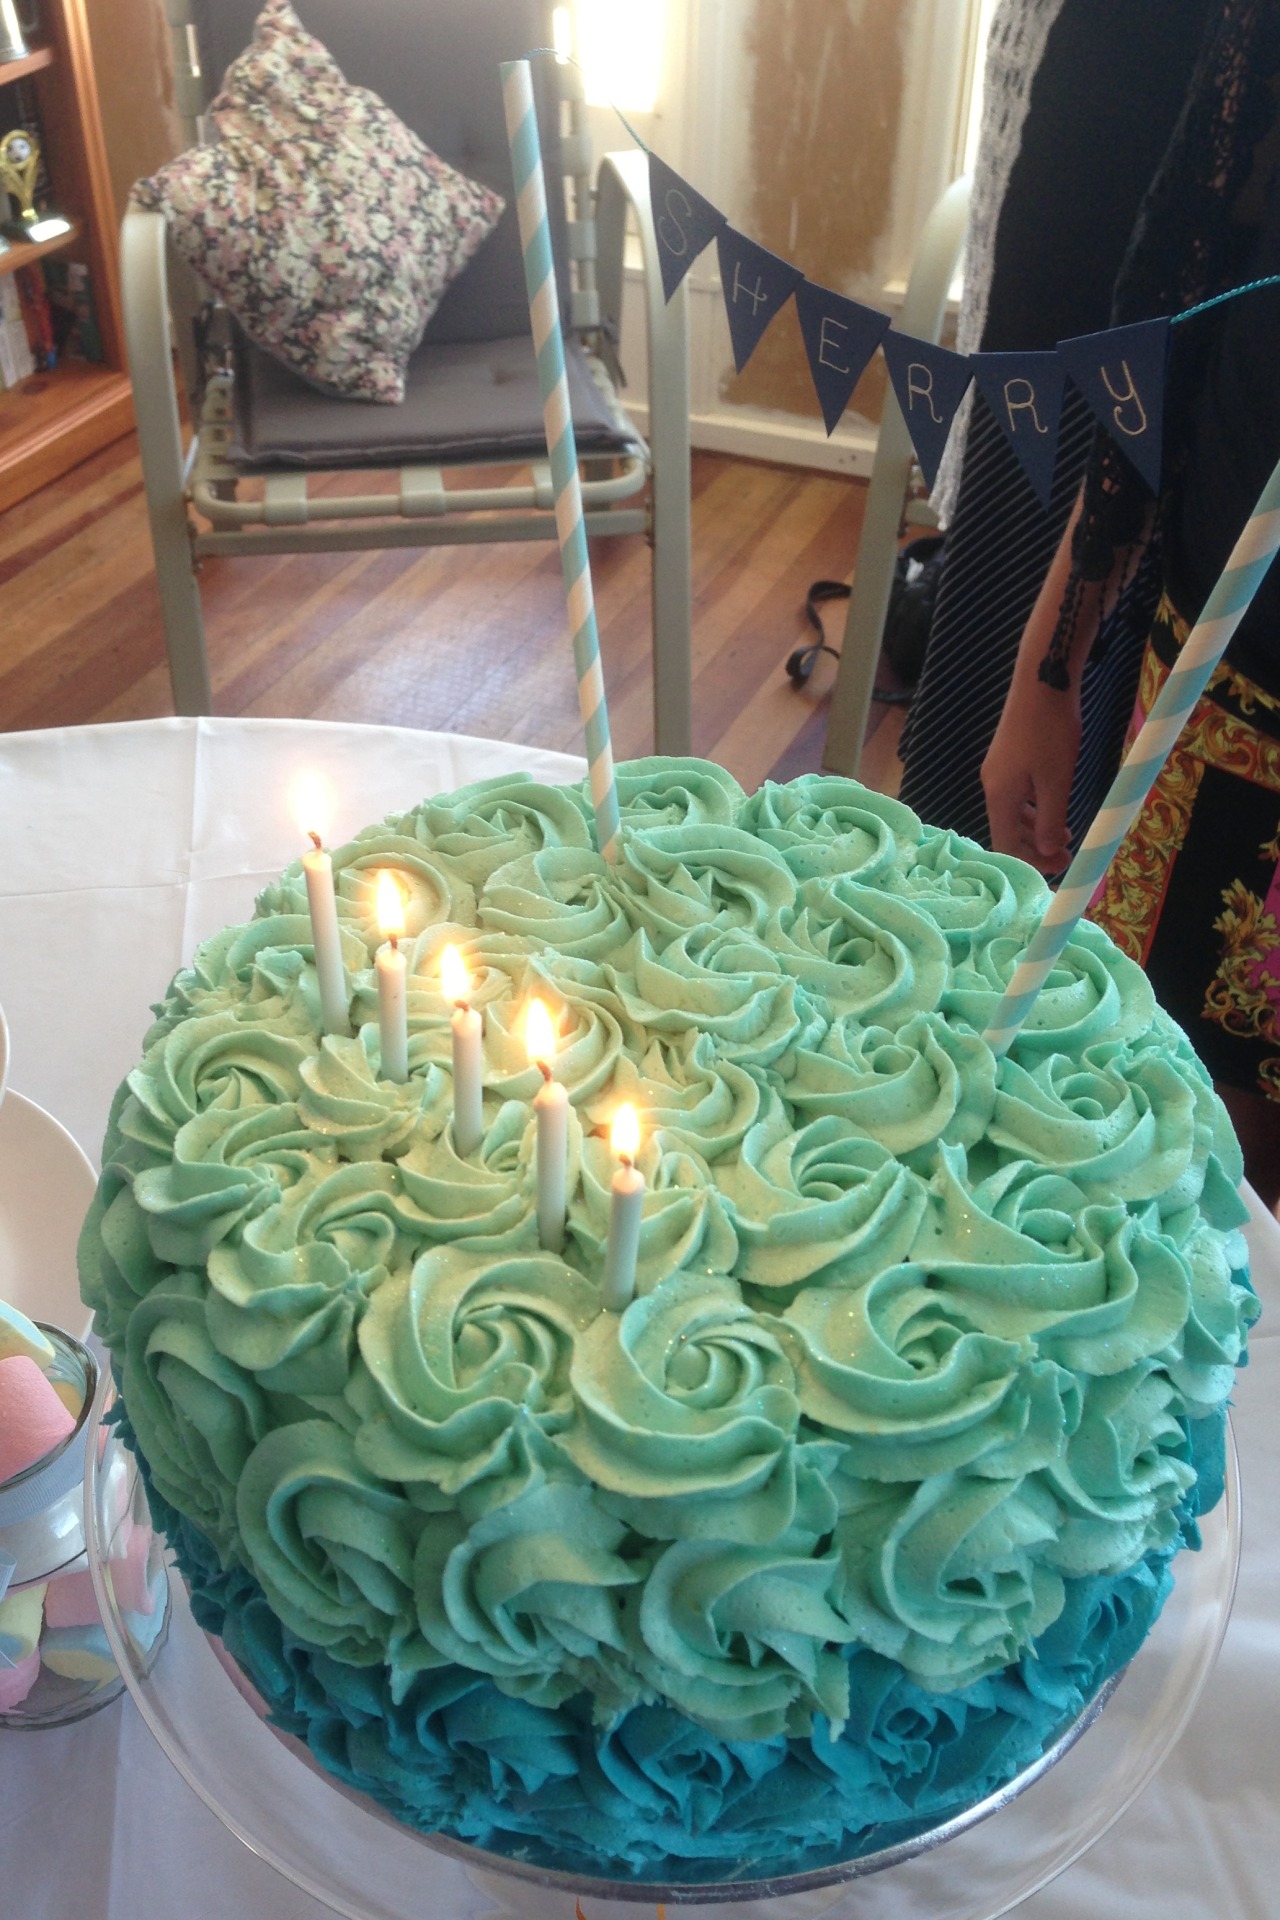
My dear friend Sherry was the first baby born in Taupo in 1988. Having a birthday on New Years day sucks for so many reasons, including the hassle of usually not being to able to celebrate with friends.
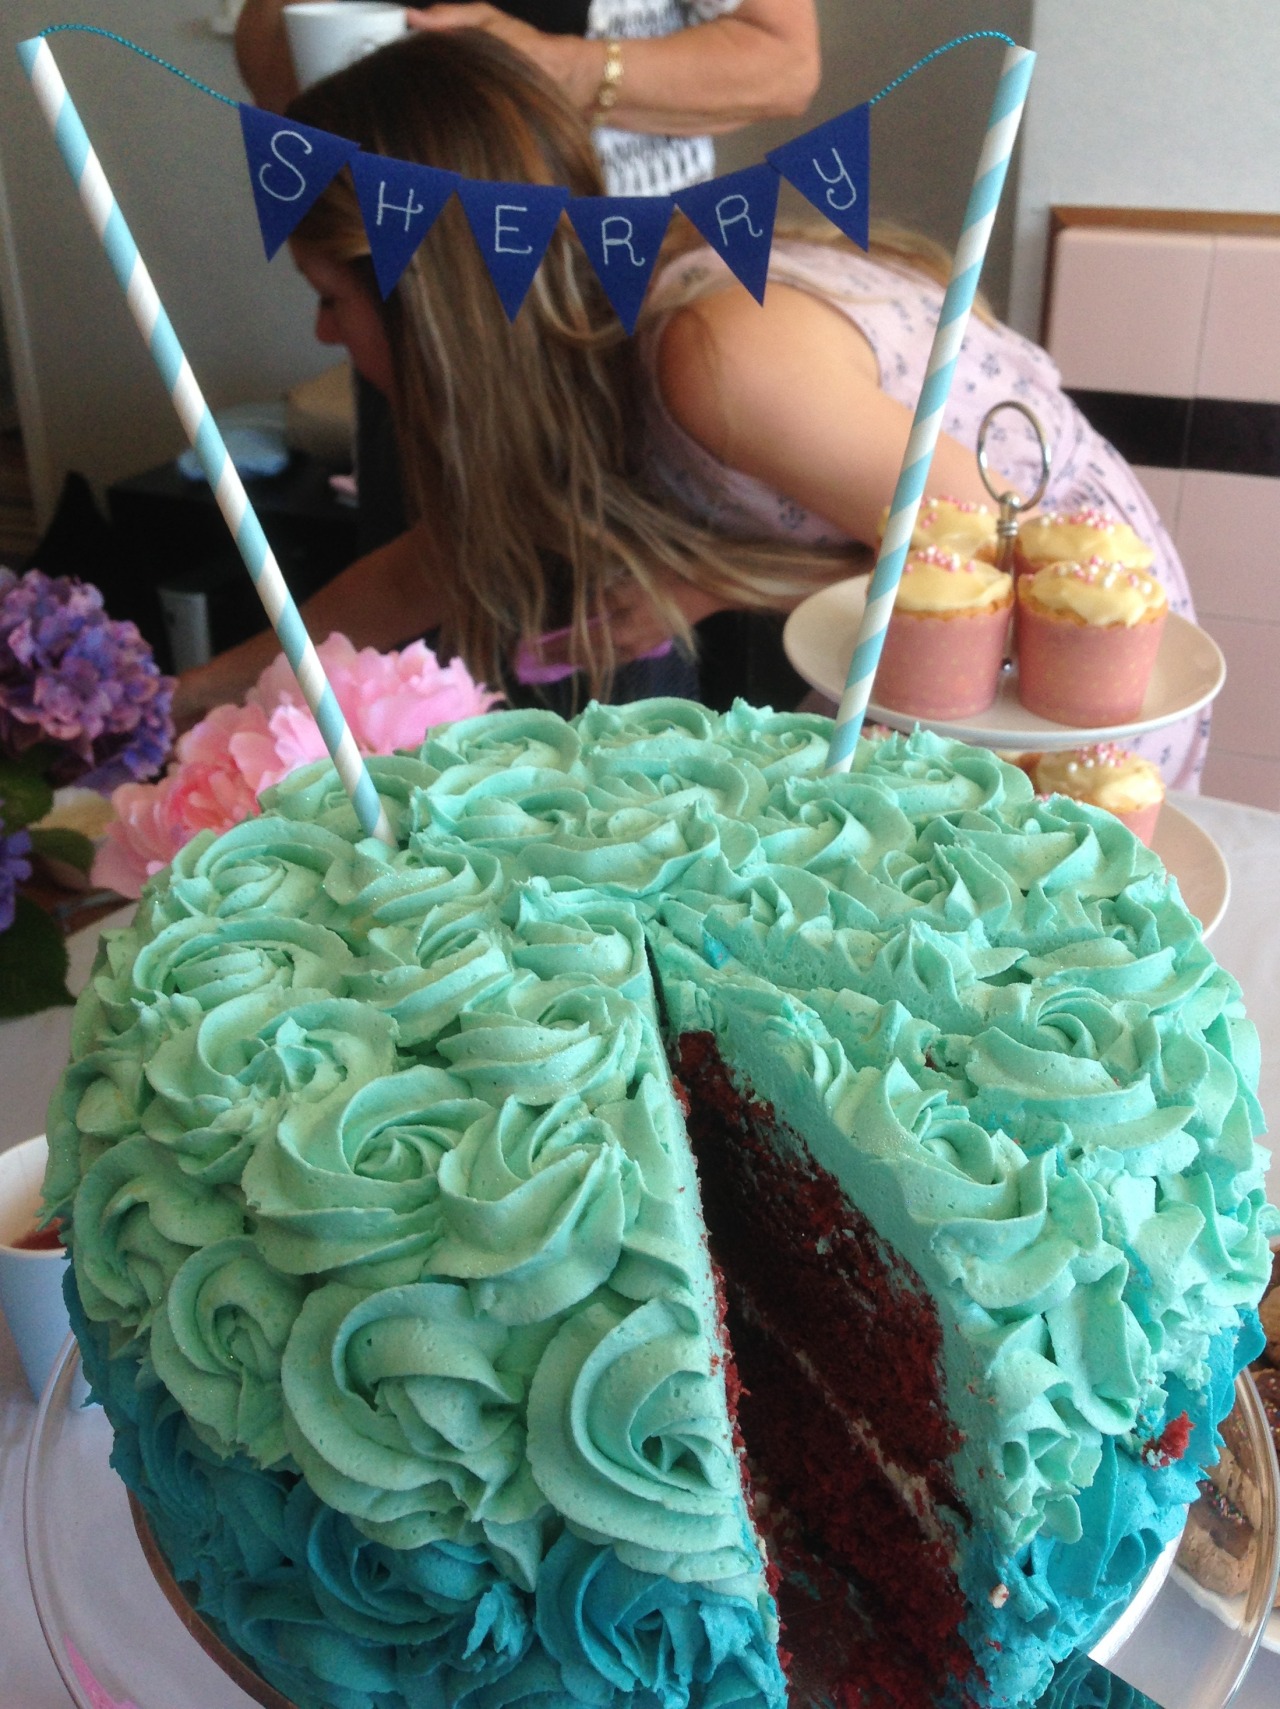
Another of her friends organised a surprise tea party for her this weekend gone, I volunteered to make a cake. I’d made this cake before but didn’t get to taste it that time. Reports were good though so I was keen to make it again. It’s iced in Sherry’s colour, blue, quite a contrast with red velvet!
The recipe is odd in that instead of baking powder, baking soda and white vinegar are combined in the last step, added to the mixture and then whipped into the oven. The cake does rise really well.
Red Velvet Cake
Preheat the oven to 180ºC, and grease your cake tin(s) (use two if you want a layer cake like mine). I like to line the bottom of my cake tin with cut baking paper to ake it easier to remove the cake.
Sift the flour, salt and cocoa together.
In a large bowl which will eventually contain the whole mixture – cream the butter and sugar, then add each egg to the butter mixture beating thoroughly after each addition. Add and beat in the vanilla.
Whisk together the buttermilk and red food colouring. Be really careful! The red mixture will stain things easily.
Alternate between adding the buttermilk and the dry mixture to the butter mixture, beating at a low speed. This helps distribute the ingredients evenly – I was bad at this so my cake was a bit marbled.
Once the three mixtures are combined, measure the baking soda into a cup or small bowl, then add the vinegar and stir. Quickly fold this through the cake batter, fill your tin(s) and get ‘em in the oven!
Check the cake after half an hour. If it’s still super wet (check with a bamboo skewer), lower the temperature to about 160 or 170ºC and check back at 10 and then 5 minute intervals until the inserted skewer comes out clean.
Set the cake in the tin(s) to settle for ten minutes, then turn it/them onto wire racks to cool for a good hour. You can bag this cake and refrigerate it for a day or two if you are prepping in advance.
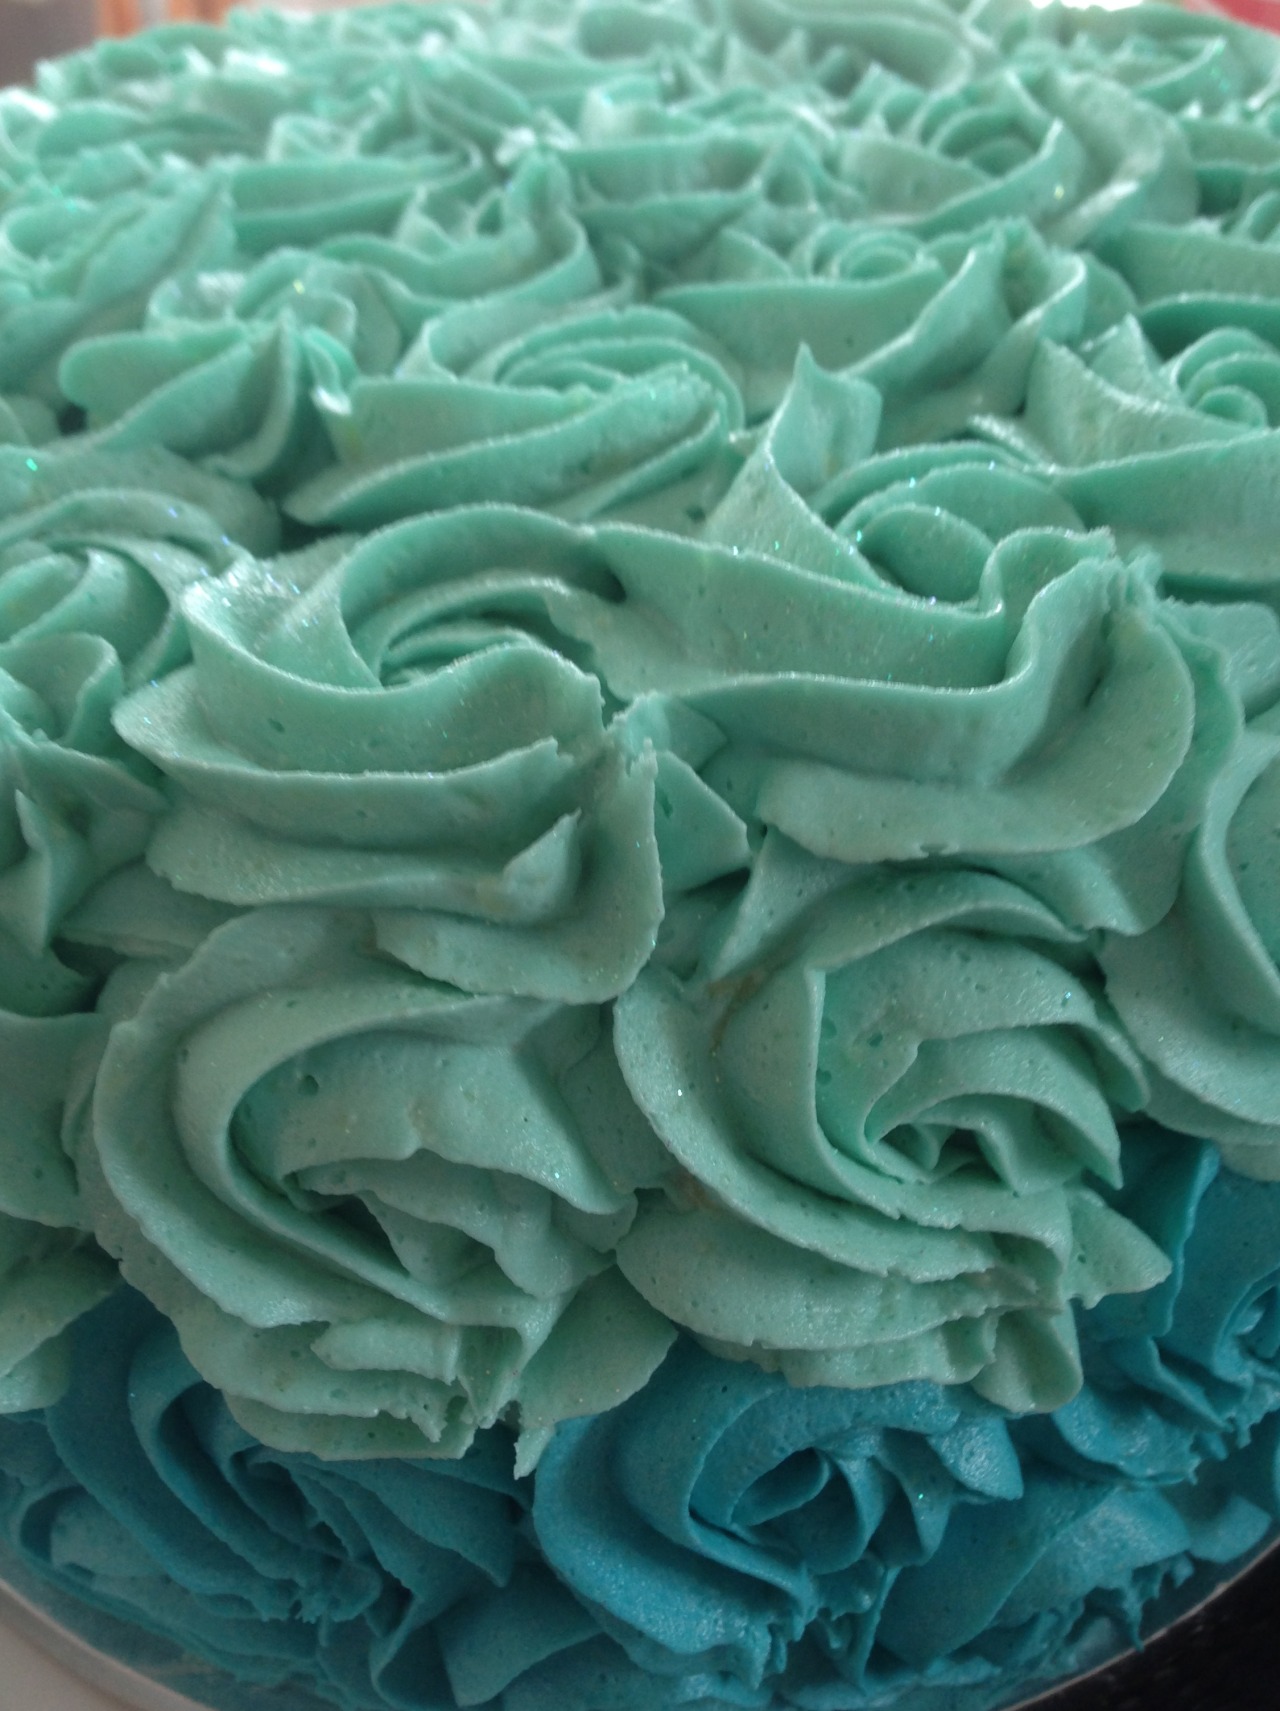
I baked this one the night before, set it in the fridge overnight and then iced it with white chocolate marscapone frosting in two colours on the day of the celebration. For the rosette frosting technique, check YouTube!
–
Nom nom nom. I doubled the above recipe and baked it in two 9" round cake tins. The cake was HUGE and I think would feed 25 people. You could even thicken the layer of icing between the top and bottom layers of cake and serve the top and second tier separately as it’s essentially two cakes.
For the bunting cake topper, I made paper flags and folded the tops over a piece of blue string, then taped the back. I wound each end of the string around some sticky tack and then a bamboo skewer. Then pushed a paper straw up over the skewer and tack. The skewers are longer than the straws so you can push them easily into the cake.
I have Grand Plans for a birthday cake for a little boy in a few months! Exciting!

Roasted Portobello Mushrooms on Spinach/Kumara Salad
For Lauren <3
This tasty recipe sounds harder than it is. I wrote it for the mushrooms and salad to be prepped together. I think it would serve two but as quite a light meal.
The dish would also work well with Pumpkin in place of Kumara (though pumpkin would cook a little faster). The mushrooms have a strong balsamic flavour, I think next time I’ll reduce the balsamic and increase the olive oil. Do what feels right to you.
Remove the feta or use soy feta (is that a thing?), and this recipe is vegan friendly. I used walnuts but pine nuts or pumpkin/sunflower seeds would be good too.
You’ll need a dish to roast the Kumara (sweet potato) and a brownie pan or other oven proof dish which will fit the mushrooms laid flat while in a little depth of marinade.
Check your oven racks are in a position capable of holding your mushroom dish and vegetable roasting dish at the same time, and preheat the oven to 200ºC.
Mushrooms:
Combine everything except the mushrooms to form the marinade.
After removing the stems, place the mushrooms in the marinade gill side up, and spoon the marinade over them. Cover with a sheet of tinfoil to prevent the liquids from evaporating in the oven and let stand for 10 min while you prep the Kumara.
Salad:
While the mushrooms marinade, peel the kumara and dice it into 1" cubes. Lightly oil your roasting dish and toss in the kumara and the chopped nuts. Season with salt and place in the preheated oven with the mushrooms.
Leave for 20 minutes, then test your kumara with a skewer. They are ready when they are cooked (not crisp/crunchy) but still quite firm and holding their shape.
Your kumara may need a few more minutes depending on how large your cubes are etc.
When the mushrooms have been in the oven for 30 min, remove them and carefully take off the foil. Use tongs to turn the mushrooms over (gill side down) and put them back in the oven for ten more minutes. The kumara should be left to cool in this time (transferring them to a cold plate or bowl will help them to cool faster).
While the mushrooms finish cooking and the kumara and nuts cool, wash, dry and put the spinach leaves in their serving bowl. Prep the orange zest and juice.
Remove the mushrooms from the oven, add the cooled kumara to the spinach and top with feta (if using) and the orange rind. Drizzle the orange juice over the salad.
Plate up!
I chose to make the salad directly onto plates, then put the mushrooms on top prior to adding the orange zest. Any remaining liquid from the mushroom dish can also be drizzled over the salad, and a dash more olive oil would be fine if you like well dressed salad.

Made some adorable cupcakes for my workmates to celebrate our last day of work for the year tomorrow. I had these cute red and white polkadot cupcake cases from Look Sharp ($5NZD for 25, bargain!), and filled them with lemon coconut cake.
The frosting is white chocolate marscapone buttercream, and I bought a bag of Jaffas (NZ candy) to top the frosting. I initially wanted to make green holly leaves to add a bit more of a festive theme, but (fortunately) thought that was a bit ambitious.
I remembered some red and white spotted Washi tape I’d bought from Wocolate a few weeks ago – perfect! Tiny flag toppers it is!
Photos are just from my phone, but I hope they are useful for someone who’d like to get crafty and make their own wee flags. Here’s how…
Washi tape cupcake topper flags
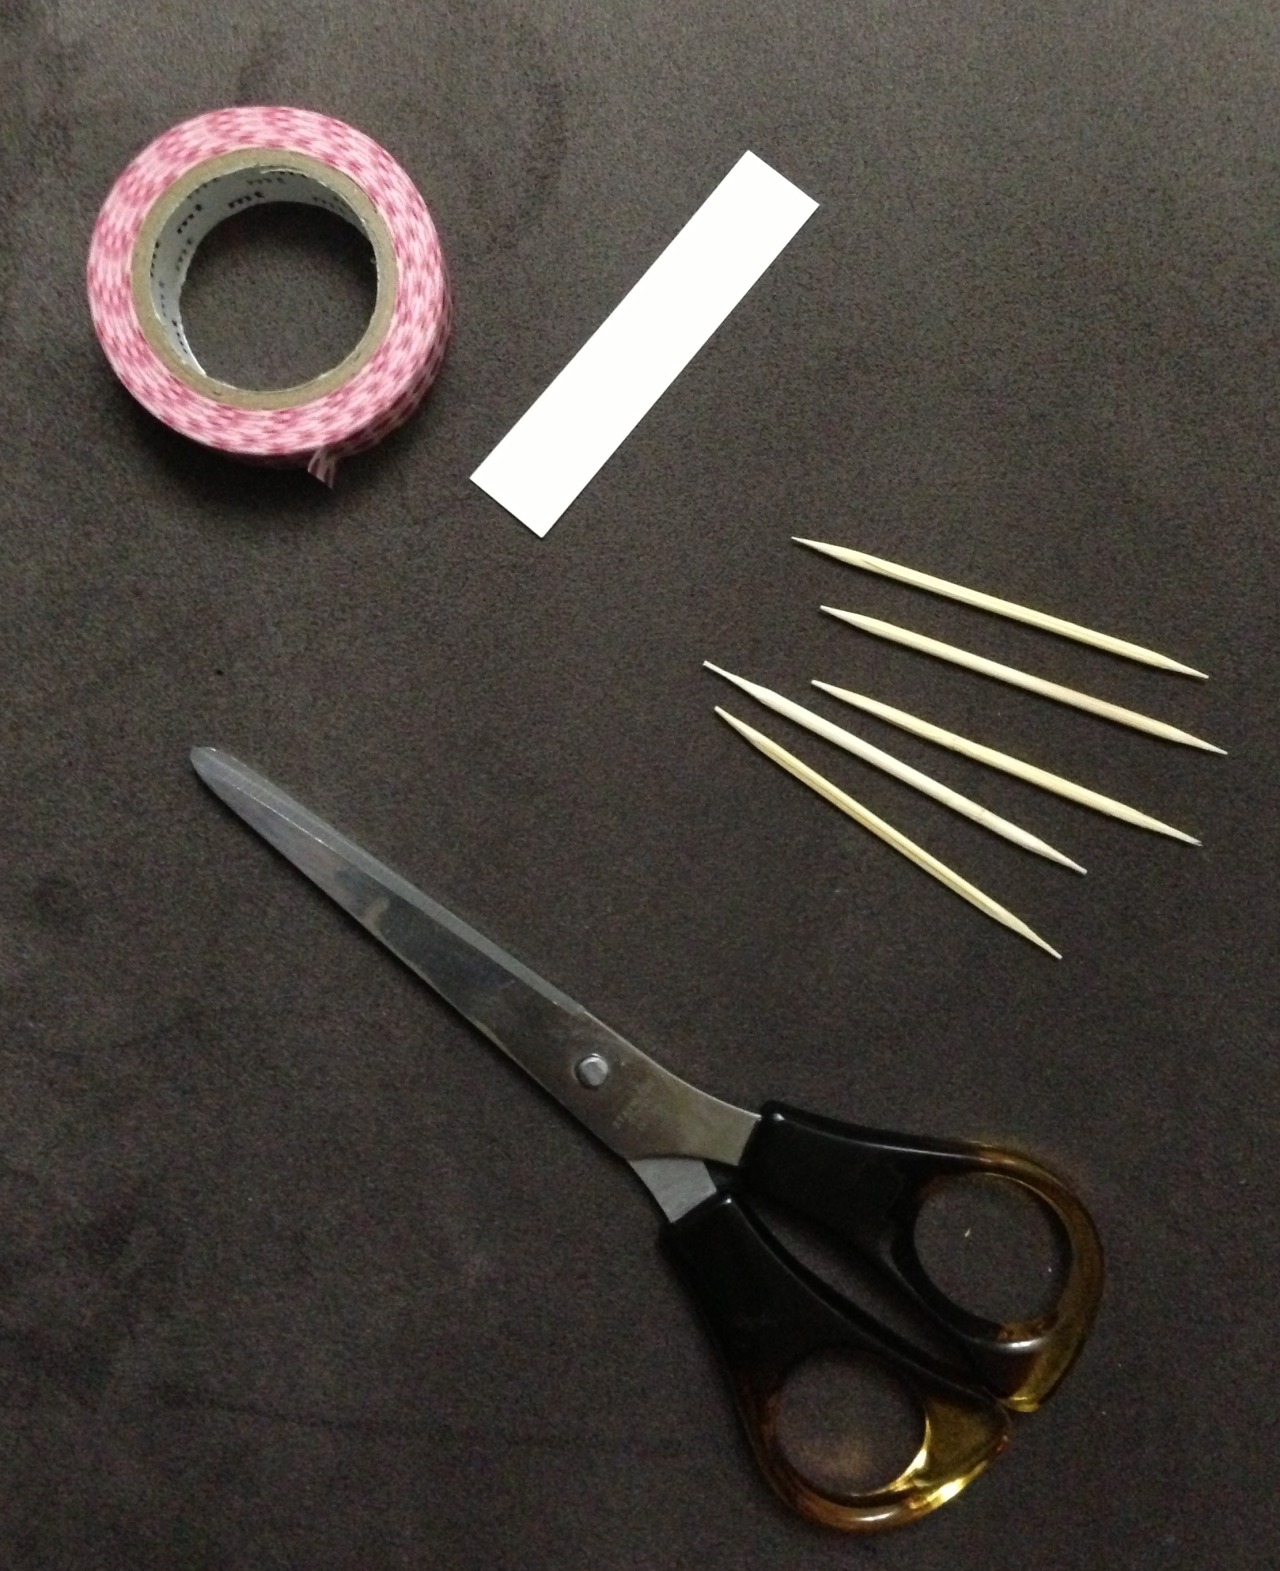
You will need:
How?
Cut a strip of white paper slightly narrower than your Washi tape.
From the strip, cut a small rectangle – about 1.5cm long, but you don’t need to be exact.
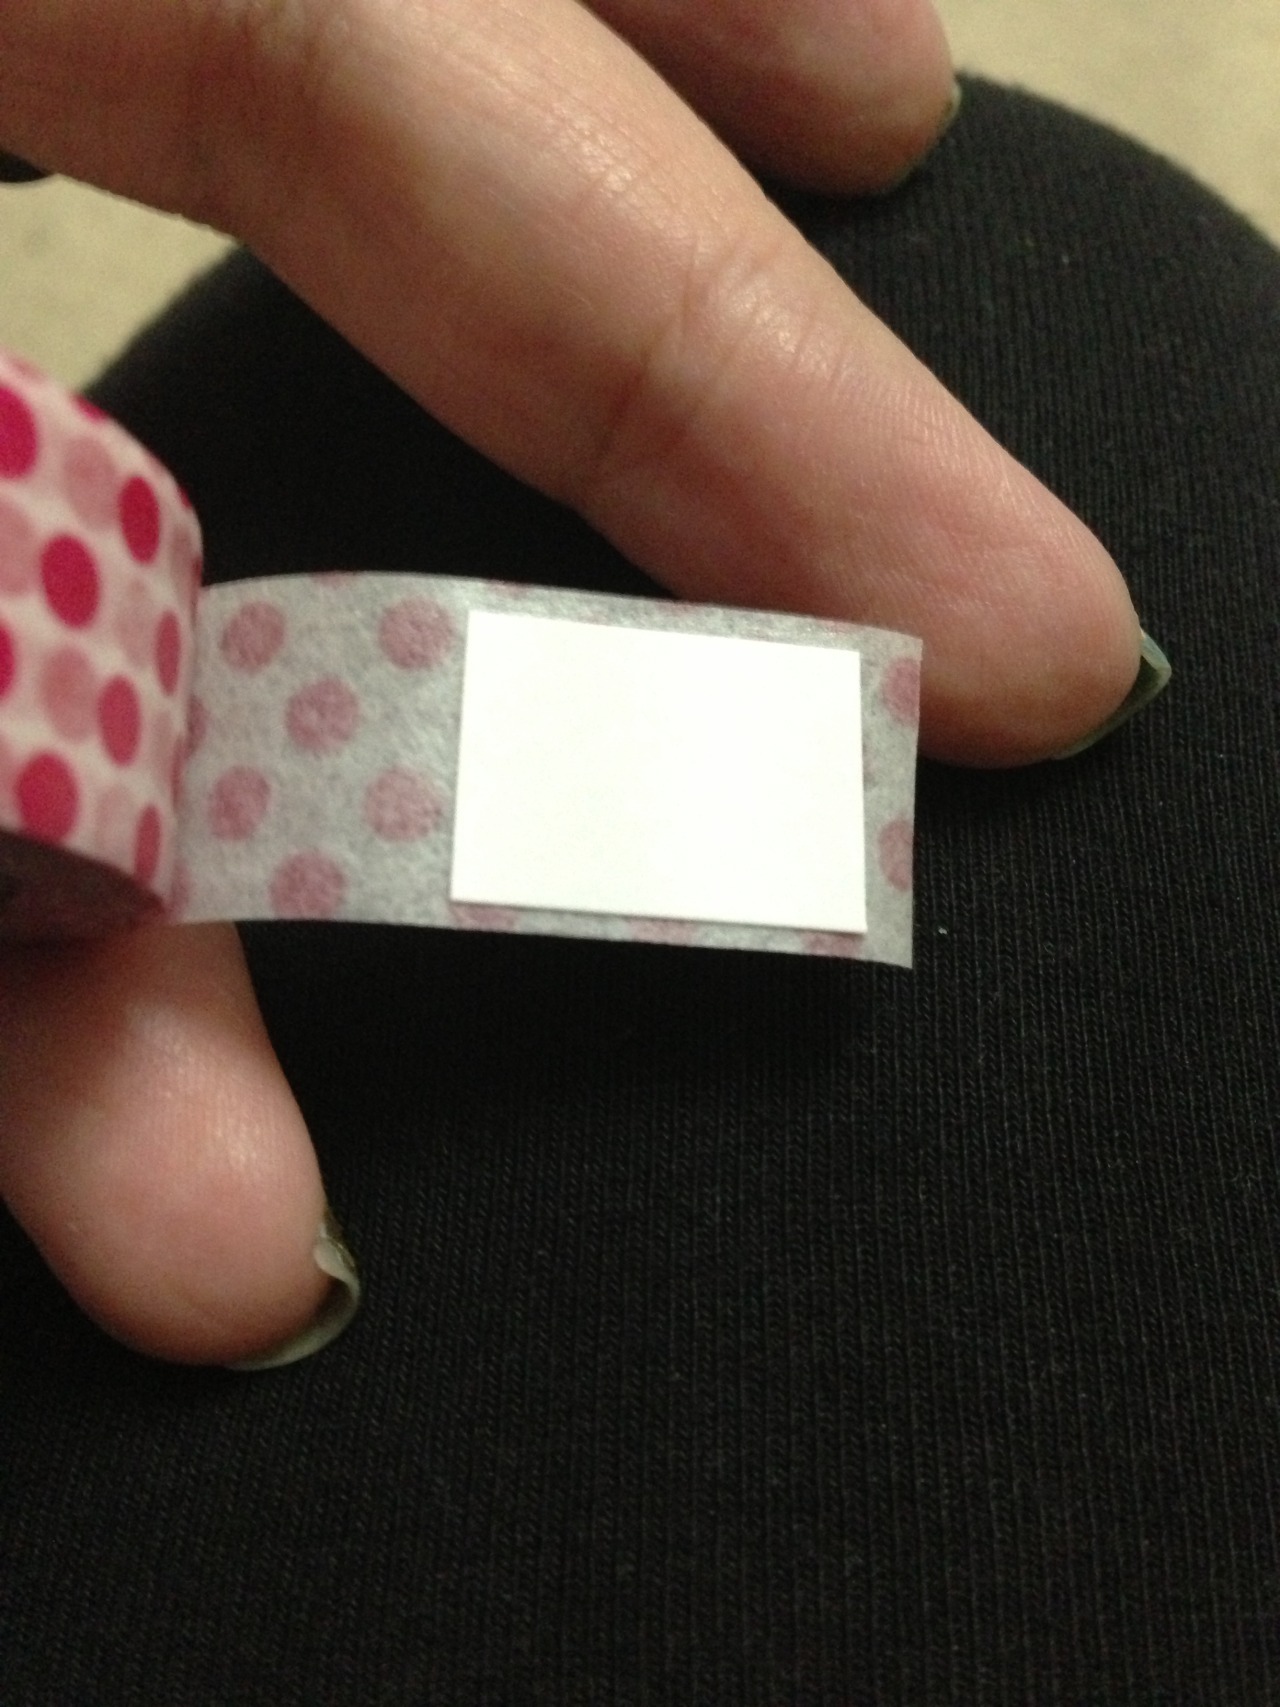
Unroll a little of your Washi tape and place the paper on the sticky side, about 5mm from the end of the tape as shown in the photo.
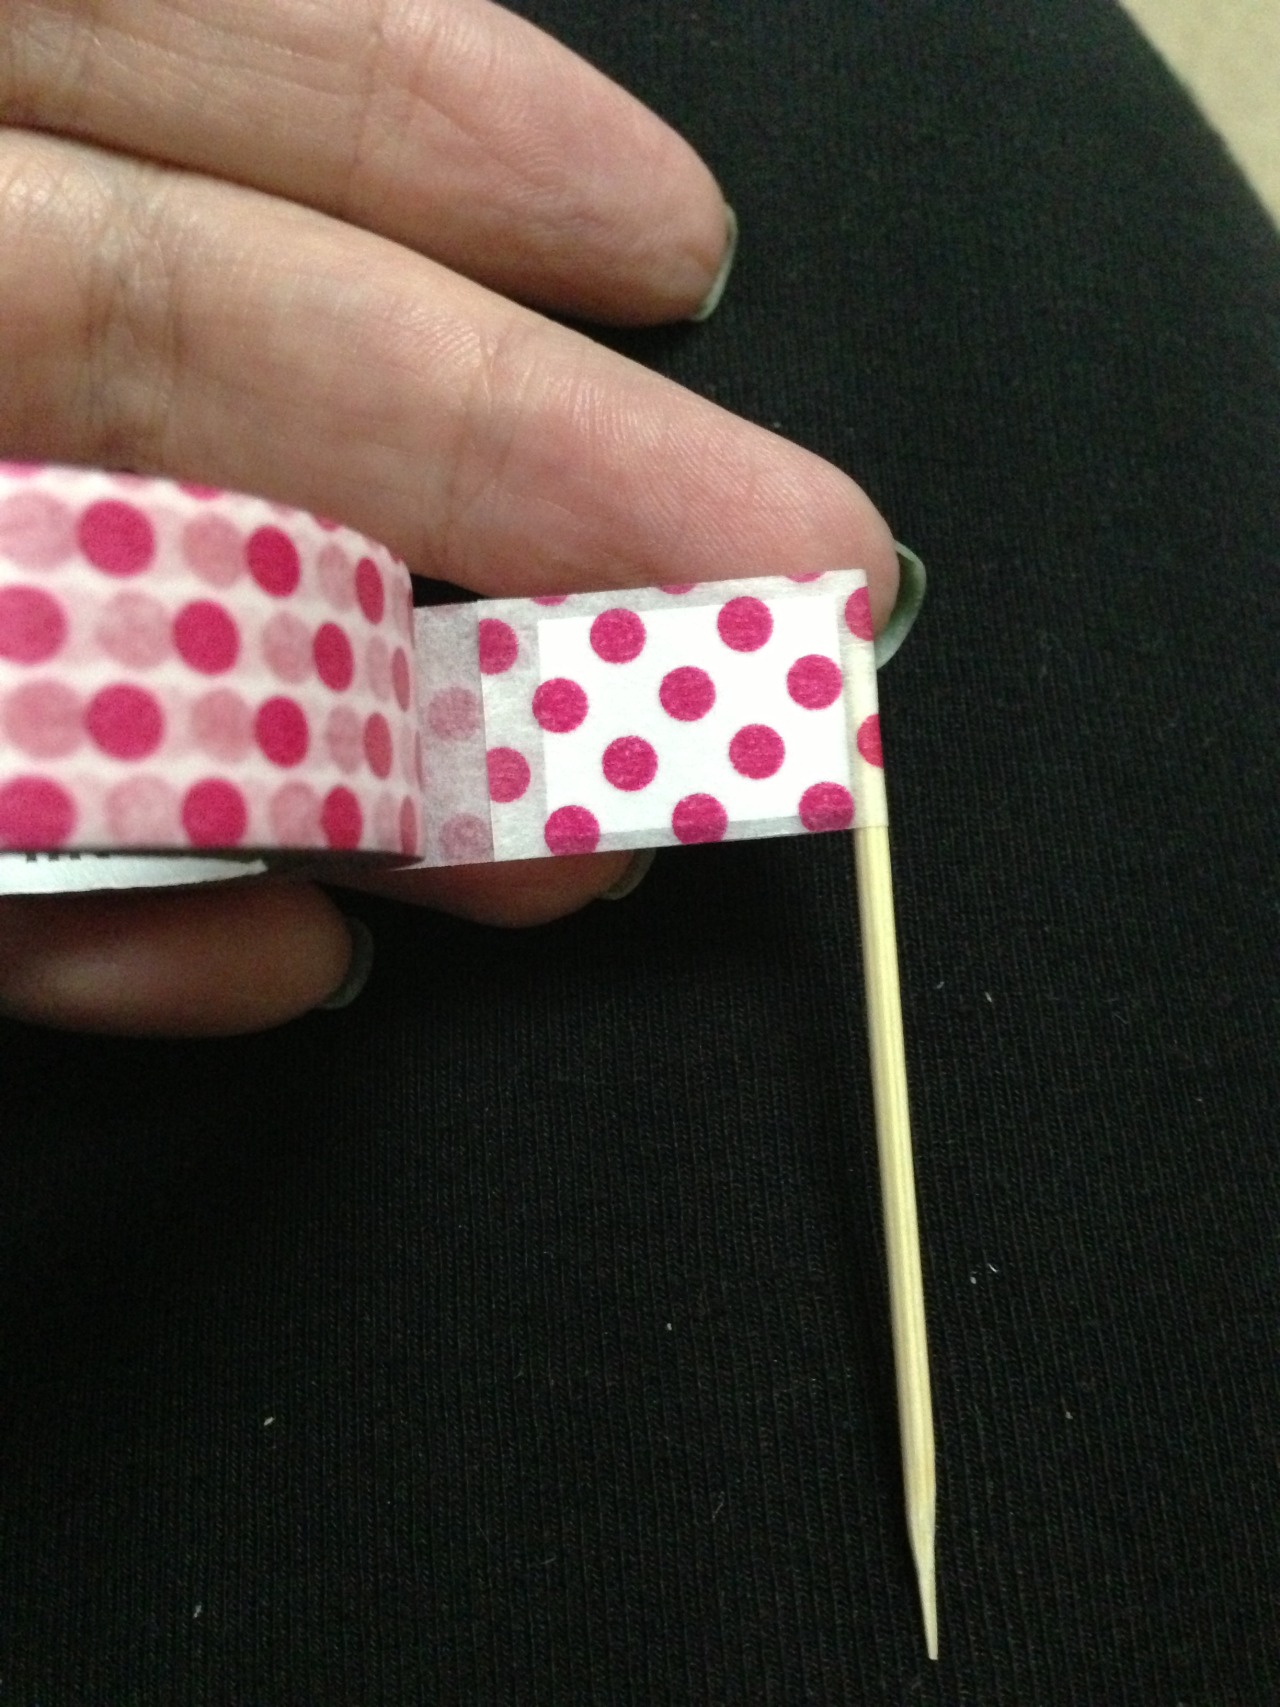
Further along the roll of tape (in my pictures, to the left of the rectangle of paper) place the top of a toothpick.
Fold the Washi tape with the paper, back over the toothpick to seal the toothpick in.
Trim the Washi tape at the edge of where the two sides of tape meet. The rectangular piece of paper should be surrounded on all sides by Washi tape stuck to itself.
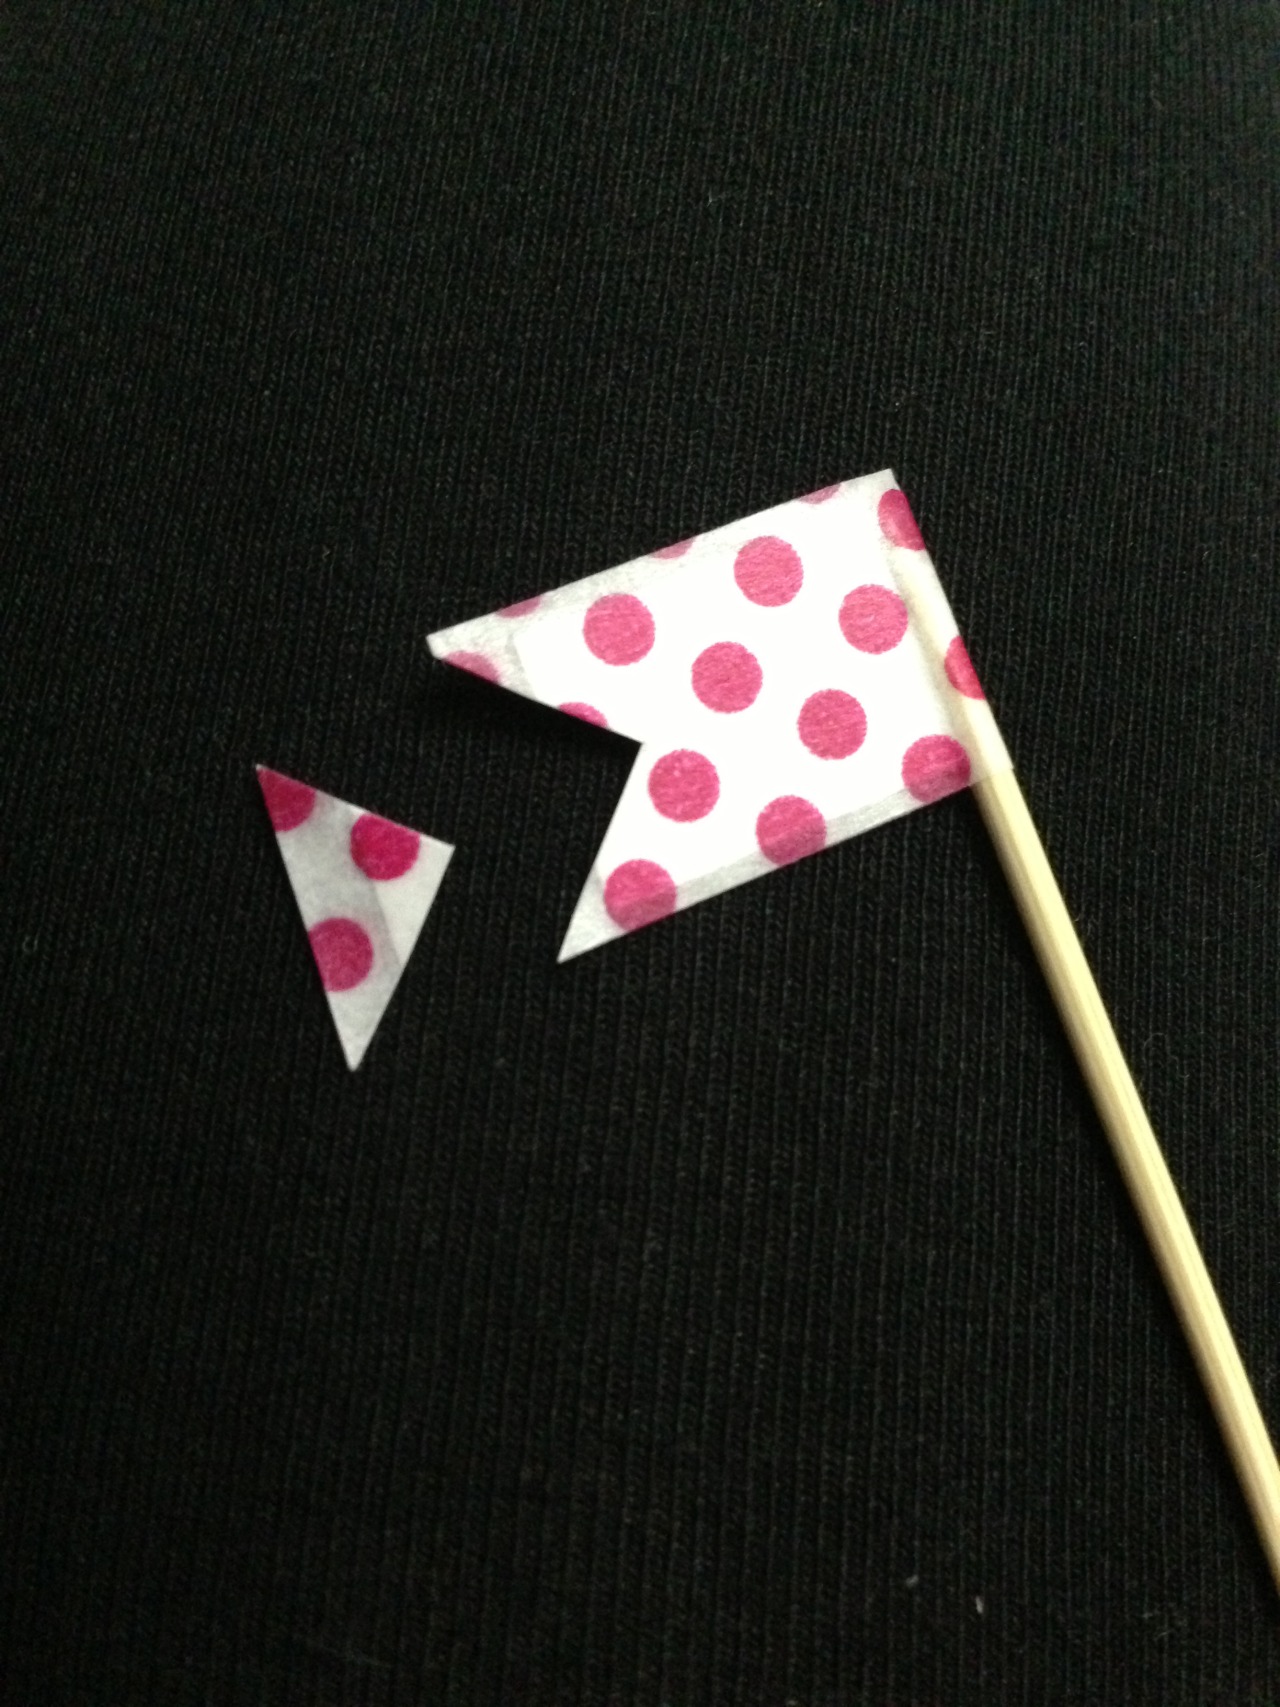
You have a flag! At this stage I trimmed a triangle shape into the ends of my little flags to give them a bit more character.
Make sure you warn cupcake eaters to remove the flags before eating the cupcakes!
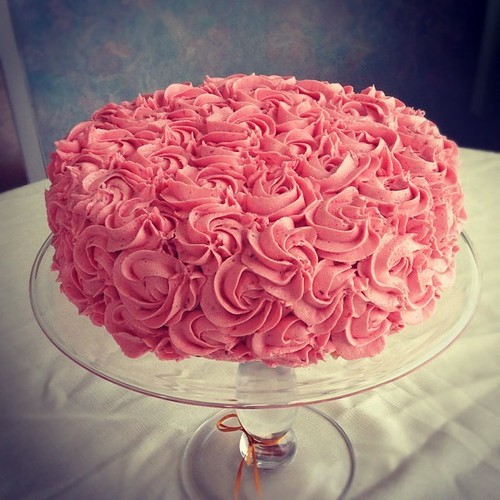
I was out of town for the birthday of a dear friend, so decided to make her a birthday cake to celebrate belatedly. I’d seen this rosette frosting used on some cakes by The Couture Caker (hi Laura!) and wanted to give it a shot. It’s so easy to do with a 1M Wilton tip, and looks super fancy!
Lemon Coconut Cake
Heat the oven to 180°C, grease and/or line a cake tin with a 4+ cup capacity (if you use a ring tin, reduce the cooking time).
Sift the flour and baking powder into a large mixing bowl.
Use a vegetable peeler to peel the lemons, being careful not to get any white pith (we just want the zest, use a zester if it’s easier).
Blend the lemon zest and 3 tbsp of the measure of sugar together, then add it to the mixing bowl with the flour.
Add the sugar and desiccated coconut.
Melt the butter and coconut oil together, then pour into the mixing bowl. Add the milk, eggs, and the juice of one lemon, and mix everything together until it’s smooth and creamy.
Pour into your prepared cake tin and bake for about 40 minutes. Stand the cake in it’s tin for five minutes, then turn it onto a wire rack to cool.
–
I baked two of these, and turned them into a layer cake…
Place one cake on your cake stand and spread it generously with raspberry jam (or a jam of your choosing). Add a thinner layer of white chocolate buttercream frosting, then place the other cake carefully on top.
Coat the whole cake in a crumb layer of white chocolate buttercream frosting, before piping on the rosettes in Raspberry buttercream all over the cake. (There are a million YouTube tutorials on how to do this)
Sprinkle with edible glitter and get celebrating.
Or instagram, which is the first thing I did 😀