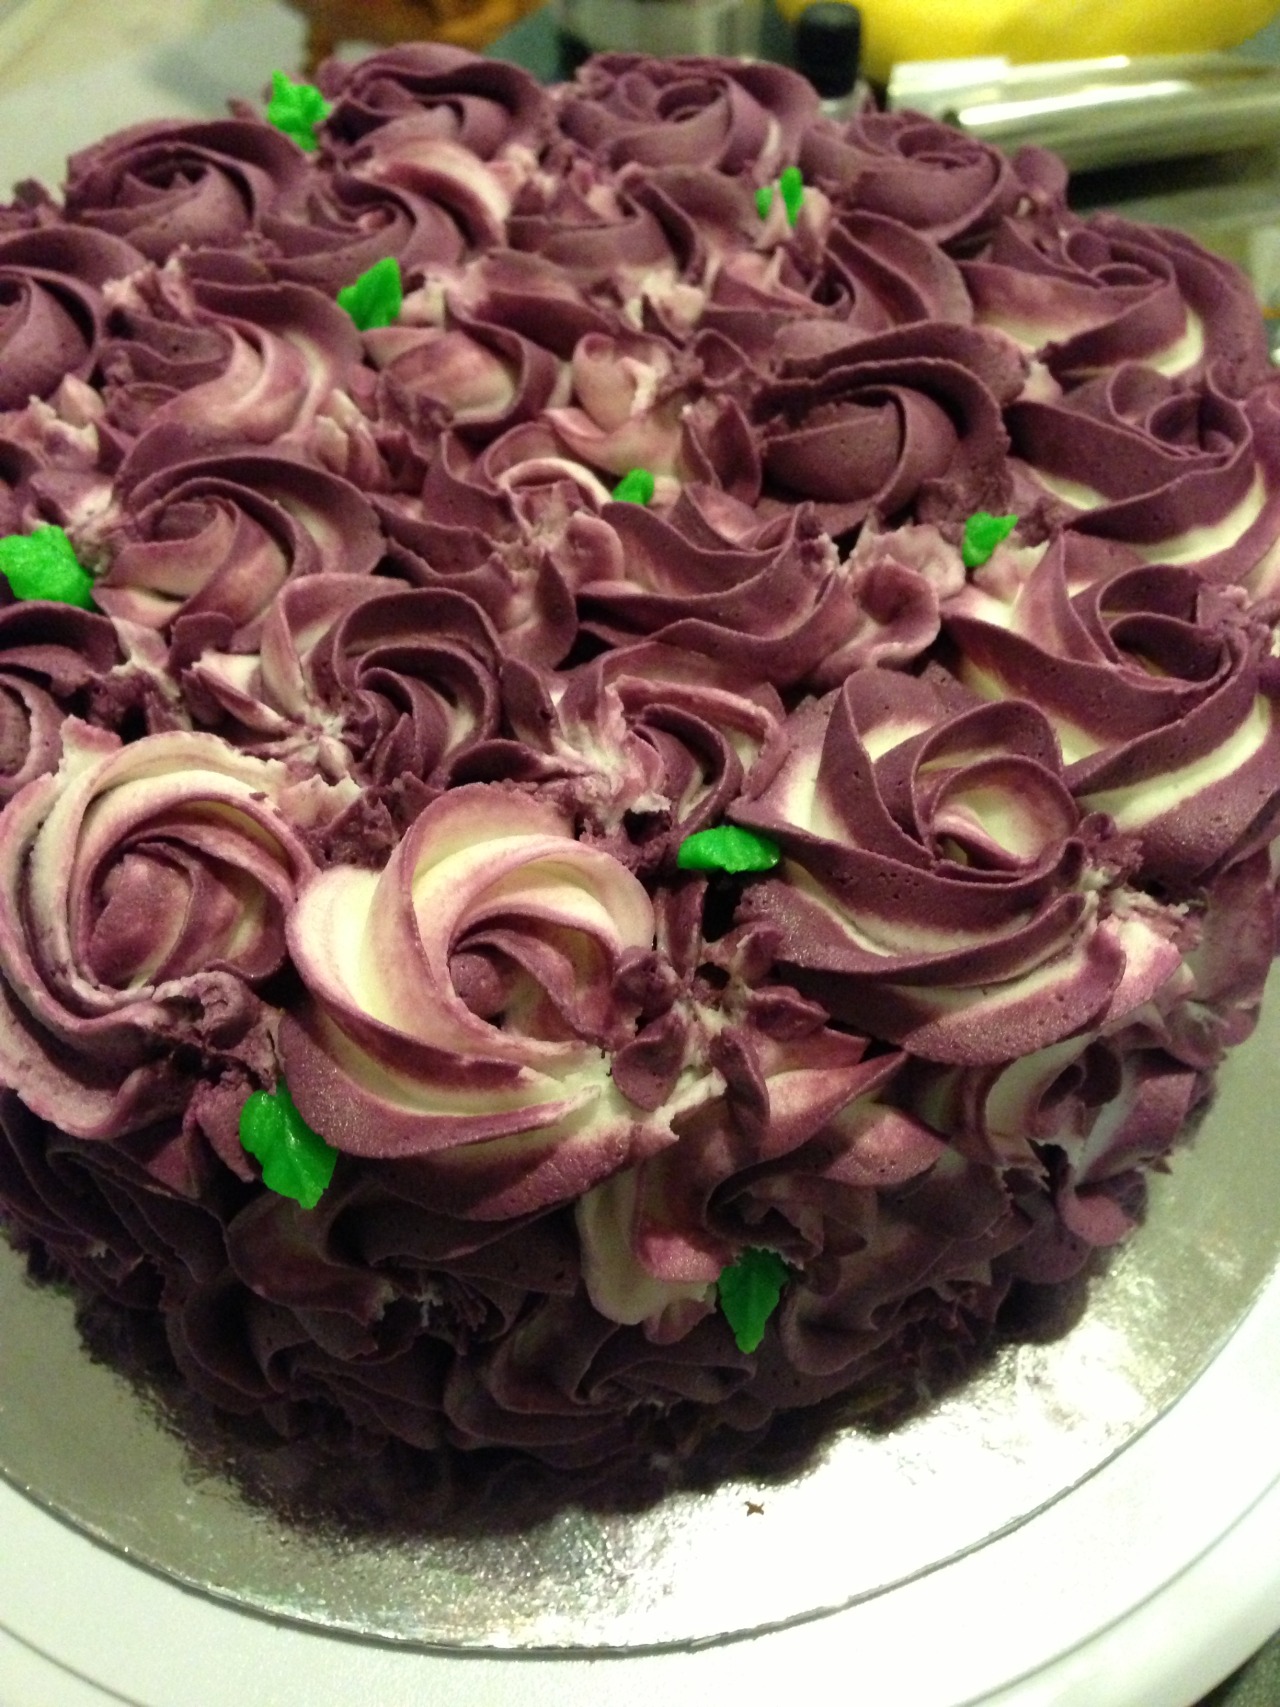
Purple swirl rosette cake, a year ago for the birthday of a friend’s mother.
Just a personal blog, kept since 2008.
Purple swirl rosette cake, a year ago for the birthday of a friend’s mother.
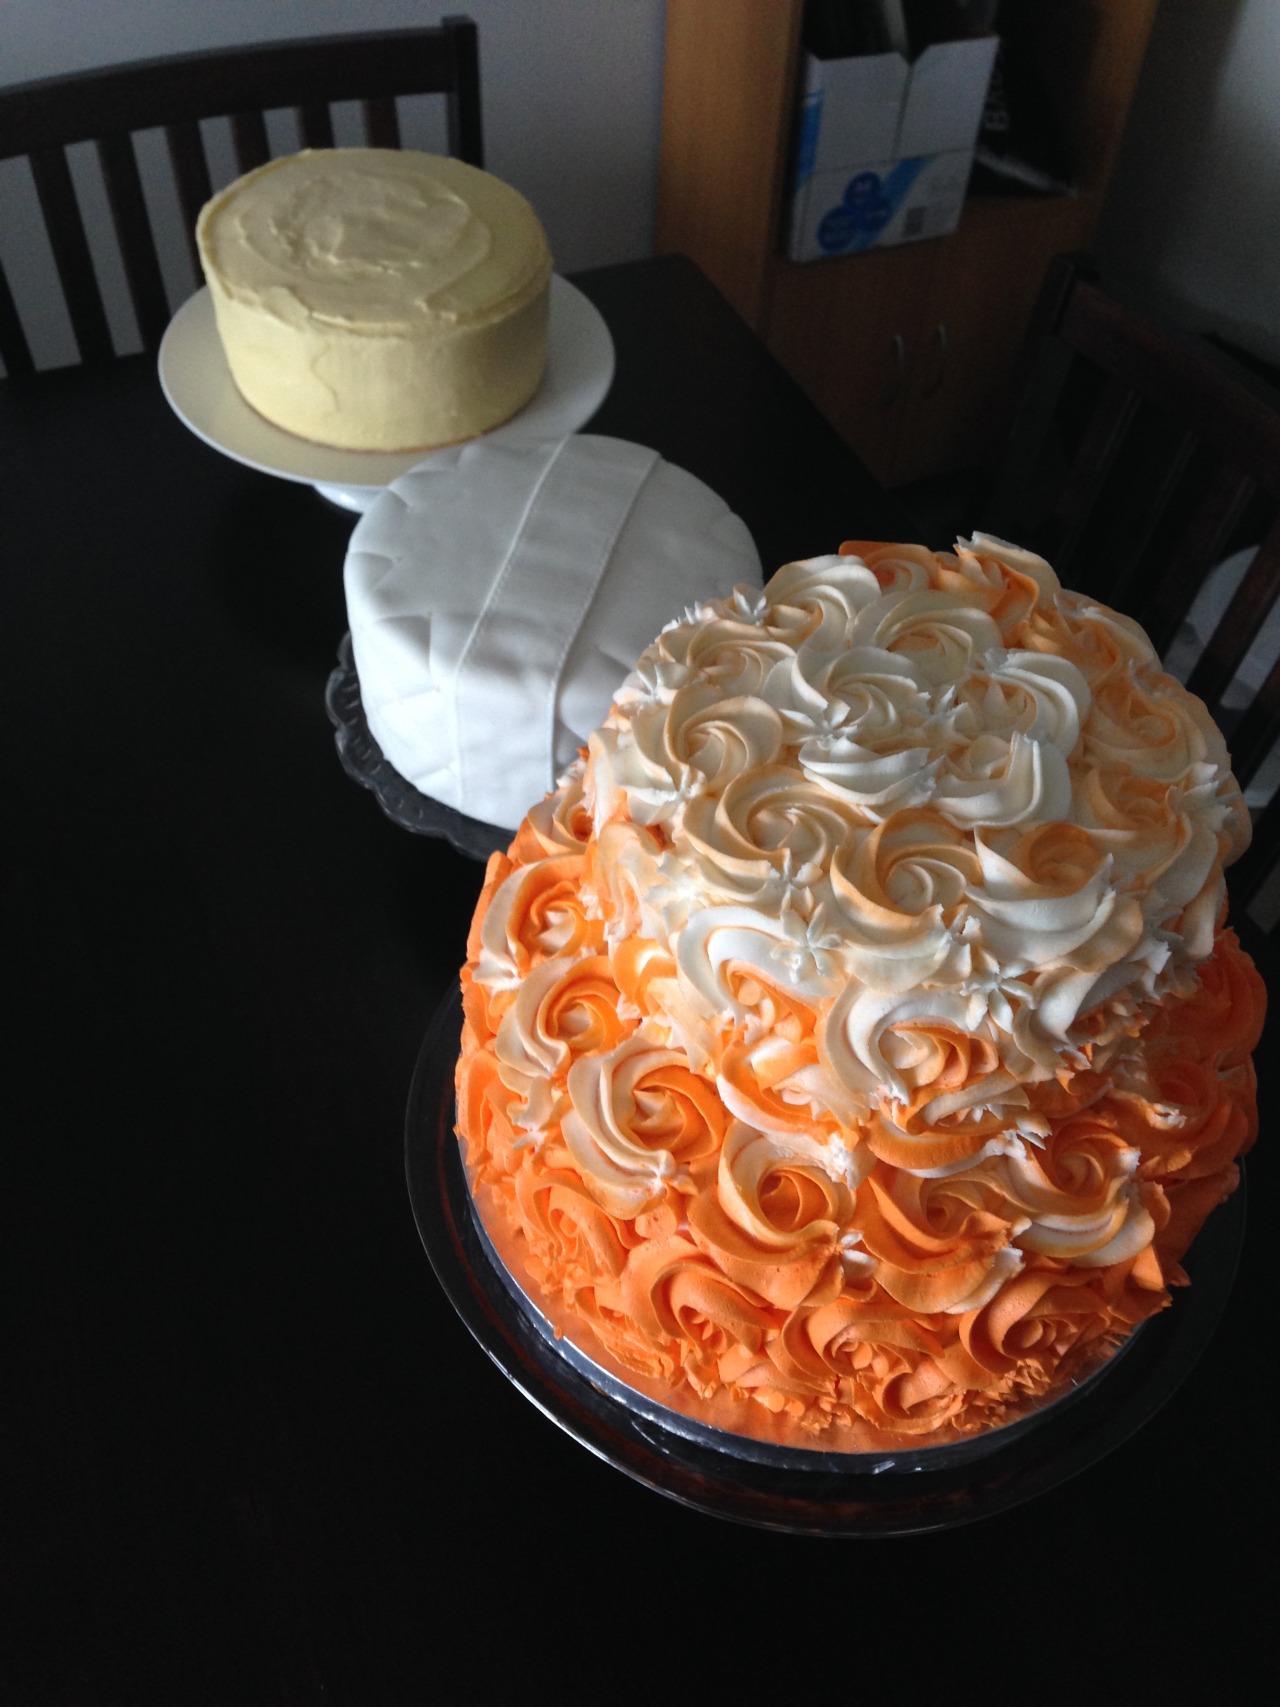
Cake party cakes…

Cake. 3 tiers, chocolate with vanilla buttercream and fondant. Made while sick, nearly killed me. For my nana <3
with vegan chocolate coconut ganache.
This recipe was for Adam’s birthday cake! An invention based on a chocolate version of the white coconut cake recipe I posted recently. It’s a double recipe, so would fill two 8 inch cake pans for a nice tall double layer cake (make extra ganache if that’s your plan!). I used a tall 5 inch pan for a little but high cake coated in ganache that more than served our table of 12.
Ingredients
Dry Ingredients:
Method
Preheat oven to 170°C, line and grease two 8" round cake tins (or one tall 5" one!).
Combine the milk and apple cider vinegar, set aside and allow to curdle.
Sift together the flours, cocoa, guar gum, cocoa, baking soda, baking powder and salt. Add the desiccated coconut to this dry mixture.
Melt the chocolate in a med-large mixing bowl which will eventually contain all ingredients.
Add the oil to the melted chocolate, stir through, then add the extracts of vanilla and coconut. Ideally, the milk and apple cider vinegar combination should have been left to stand for around ten minutes and should be close to room temperature (or at least not cold). Add half of the milk mixture to the chocolate and mix together, then add the other half.
Next add the sugars to the wet mix and stir thoroughly.
Add a third of the dry ingredients, fold into the wet. Add half of the remaining dry ingredients, fold in, and then add the remaining dry mix to complete the batter. It will be slightly lumpy.
Pour into the prepared cake tin(s) and bake for about 45-50 min or until a skewer inserted into the middle comes out clean. Or clean ish – it is a gooey fudge cake after all. Rest the cake(s) in their tin(s) for 10 min on a cooling rack before turning out to cool completely.
At this point you can put the cake in a plastic bag and freeze it, or put it in the fridge for a day or two before icing it.
Vegan Chocolate Coconut Ganache
I used a bar of Green & Blacks Organic Dark 70%, and roughly 50% of the solids from a 400mL tin of “Family Choice” brand coconut cream. Tip – when buying coconut cream – shake the tin, if the contents move about a lot in there, don’t buy it. You want the practically solid stuff. The thicker, heavier and creamier, the better for this job.
Before opening the tin for making this recipe don’t shake it! You want the insides to stay separated so you can scoop the “heavy” cream off the top of the tin.
I didn’t add sweetener to the ganache as the cake itself is quite sweet and the velvety texture is a nice complement to the cake without it’s own sweetness. The coconut flavour doesn’t actually come out as the chocolate masks it, you could add coconut essence or another flavouring though.
Ingredients
Method
Break up the chocolate and melt it down in a double boiler, taking extra care not to get any water or steam in the chocolate. Add the coconut cream, vanilla, and stir until combined and smooth, then remove from heat.
I put mine in the freezer to cool, and stirred it intermittently until it was a nice thick consistency to spread over the cake with my usual offset spatula that I use for buttercream.
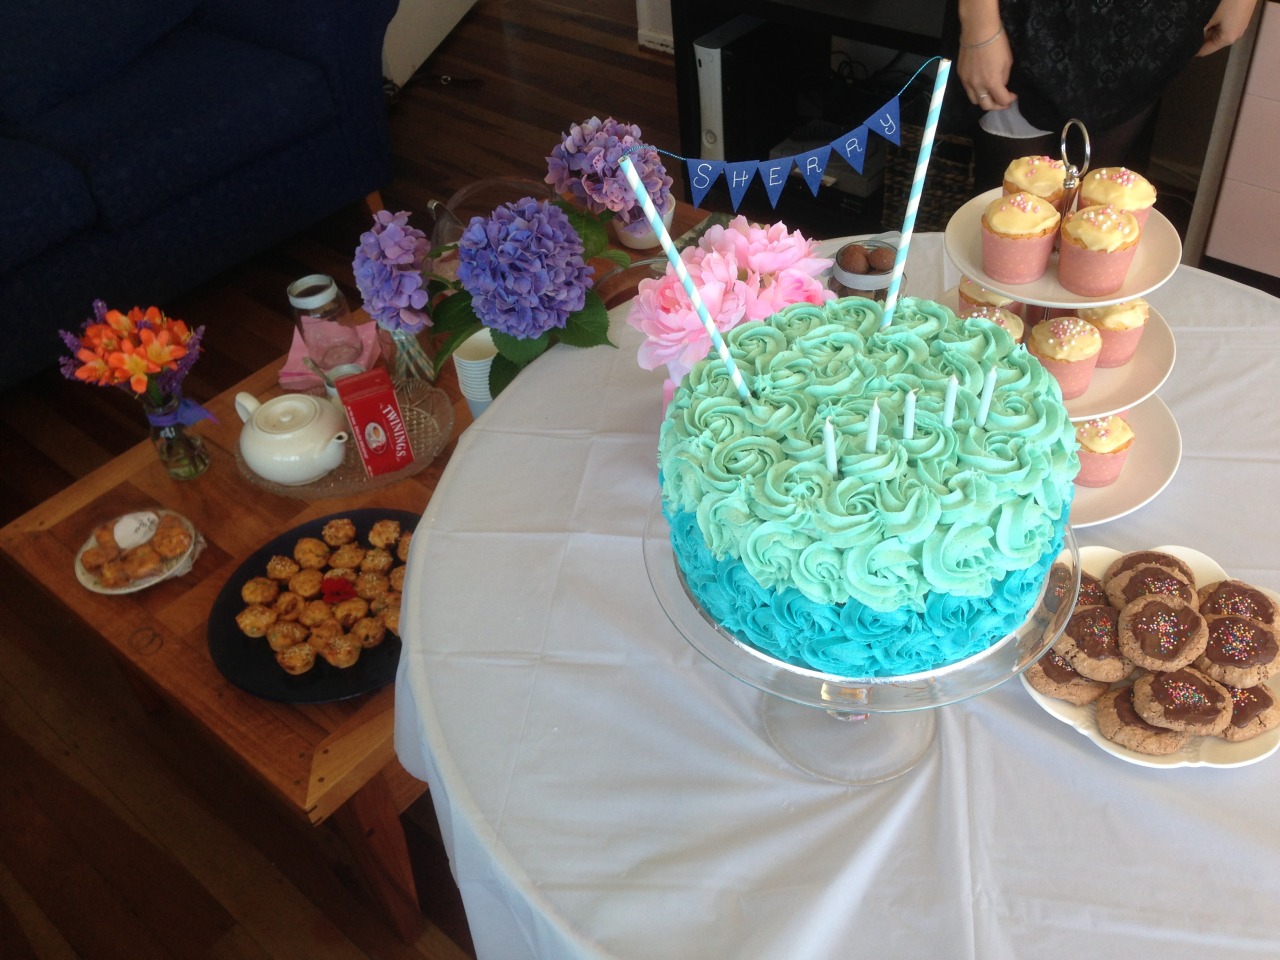
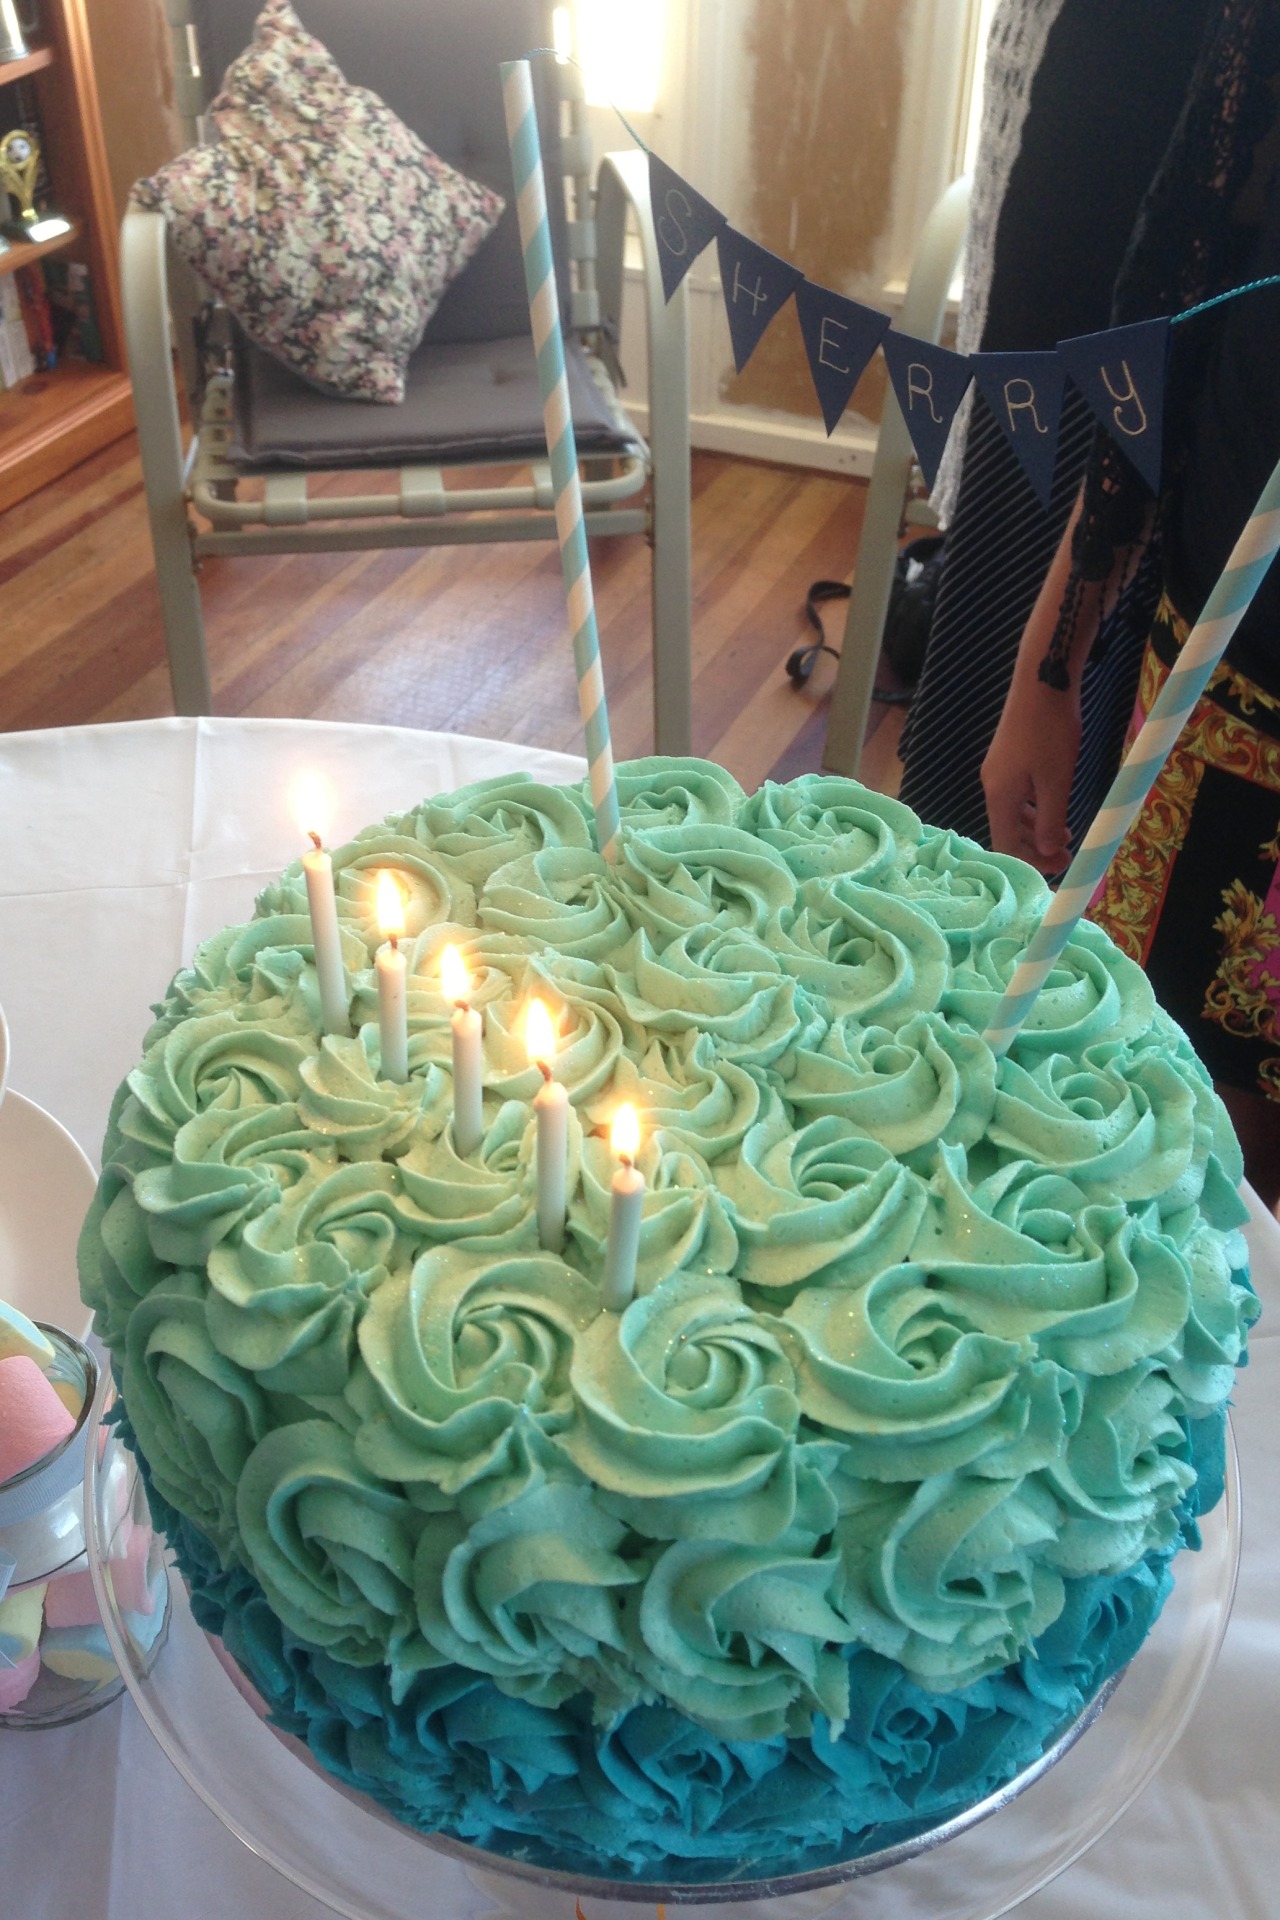
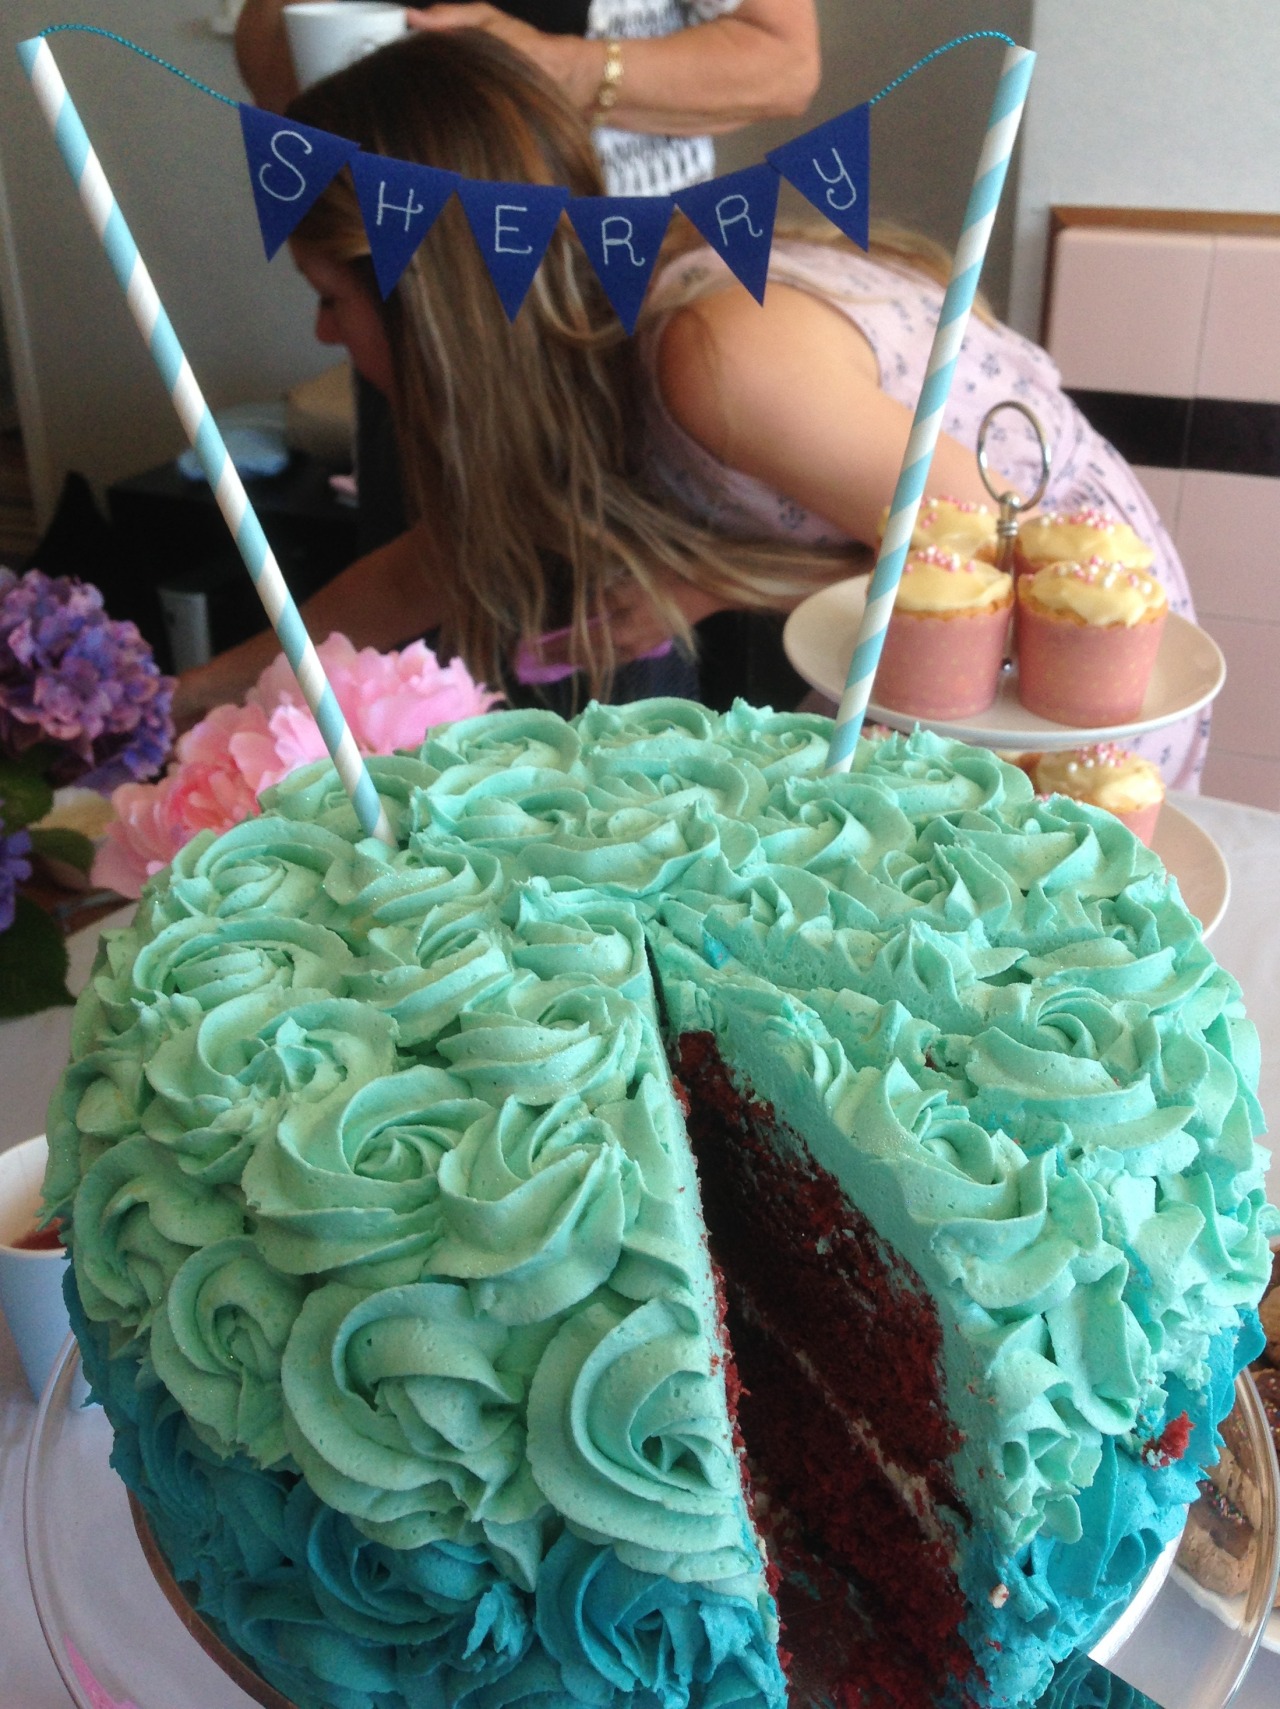
My dear friend Sherry was the first baby born in Taupo in 1988. Having a birthday on New Years day sucks for so many reasons, including the hassle of usually not being to able to celebrate with friends.
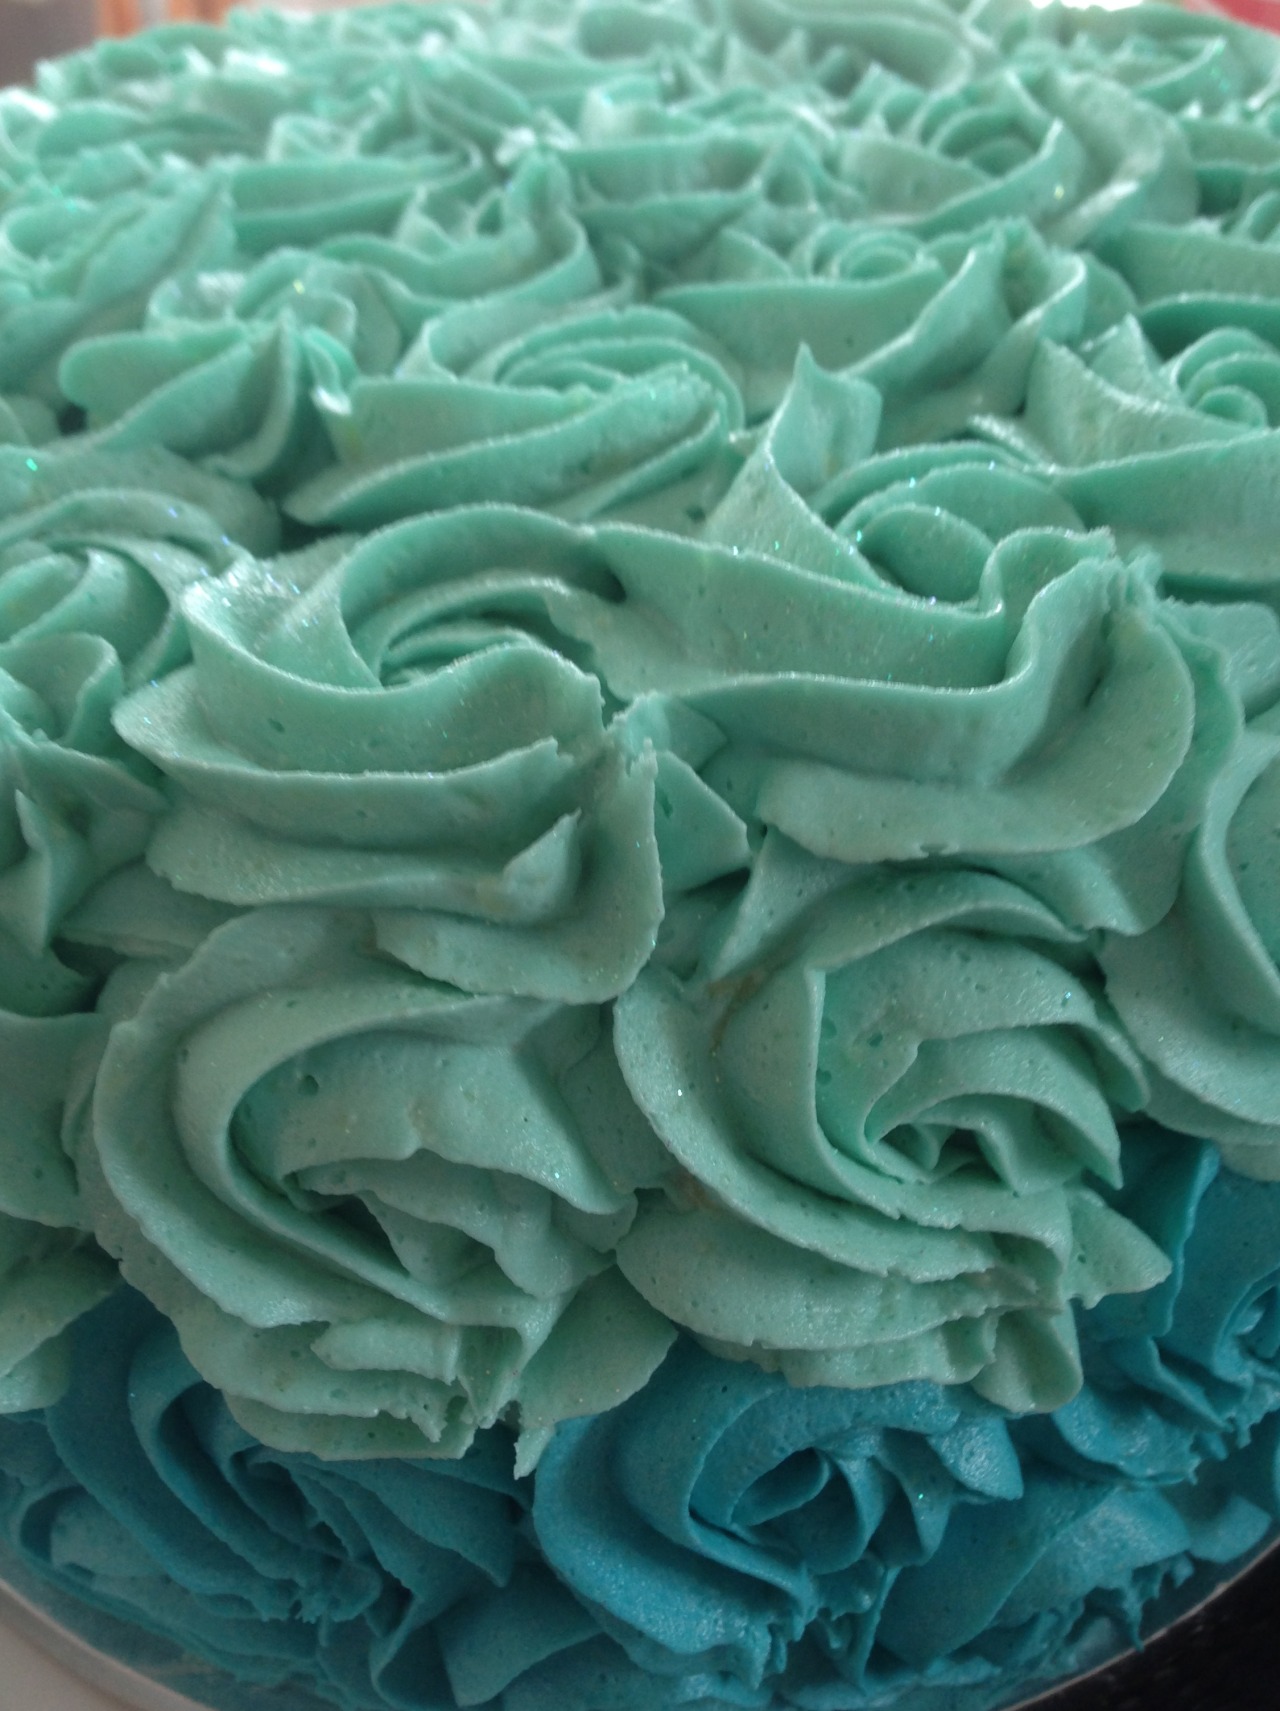
Another of her friends organised a surprise tea party for her this weekend gone, I volunteered to make a cake. I’d made this cake before but didn’t get to taste it that time. Reports were good though so I was keen to make it again. It’s iced in Sherry’s colour, blue, quite a contrast with red velvet!
The recipe is odd in that instead of baking powder, baking soda and white vinegar are combined in the last step, added to the mixture and then whipped into the oven. The cake does rise really well.
Red Velvet Cake
Preheat the oven to 180ºC, and grease your cake tin(s) (use two if you want a layer cake like mine). I like to line the bottom of my cake tin with cut baking paper to ake it easier to remove the cake.
Sift the flour, salt and cocoa together.
In a large bowl which will eventually contain the whole mixture – cream the butter and sugar, then add each egg to the butter mixture beating thoroughly after each addition. Add and beat in the vanilla.
Whisk together the buttermilk and red food colouring. Be really careful! The red mixture will stain things easily.
Alternate between adding the buttermilk and the dry mixture to the butter mixture, beating at a low speed. This helps distribute the ingredients evenly – I was bad at this so my cake was a bit marbled.
Once the three mixtures are combined, measure the baking soda into a cup or small bowl, then add the vinegar and stir. Quickly fold this through the cake batter, fill your tin(s) and get ‘em in the oven!
Check the cake after half an hour. If it’s still super wet (check with a bamboo skewer), lower the temperature to about 160 or 170ºC and check back at 10 and then 5 minute intervals until the inserted skewer comes out clean.
Set the cake in the tin(s) to settle for ten minutes, then turn it/them onto wire racks to cool for a good hour. You can bag this cake and refrigerate it for a day or two if you are prepping in advance.
I baked this one the night before, set it in the fridge overnight and then iced it with white chocolate marscapone frosting in two colours on the day of the celebration. For the rosette frosting technique, check YouTube!
–
Nom nom nom. I doubled the above recipe and baked it in two 9" round cake tins. The cake was HUGE and I think would feed 25 people. You could even thicken the layer of icing between the top and bottom layers of cake and serve the top and second tier separately as it’s essentially two cakes.
For the bunting cake topper, I made paper flags and folded the tops over a piece of blue string, then taped the back. I wound each end of the string around some sticky tack and then a bamboo skewer. Then pushed a paper straw up over the skewer and tack. The skewers are longer than the straws so you can push them easily into the cake.
I have Grand Plans for a birthday cake for a little boy in a few months! Exciting!