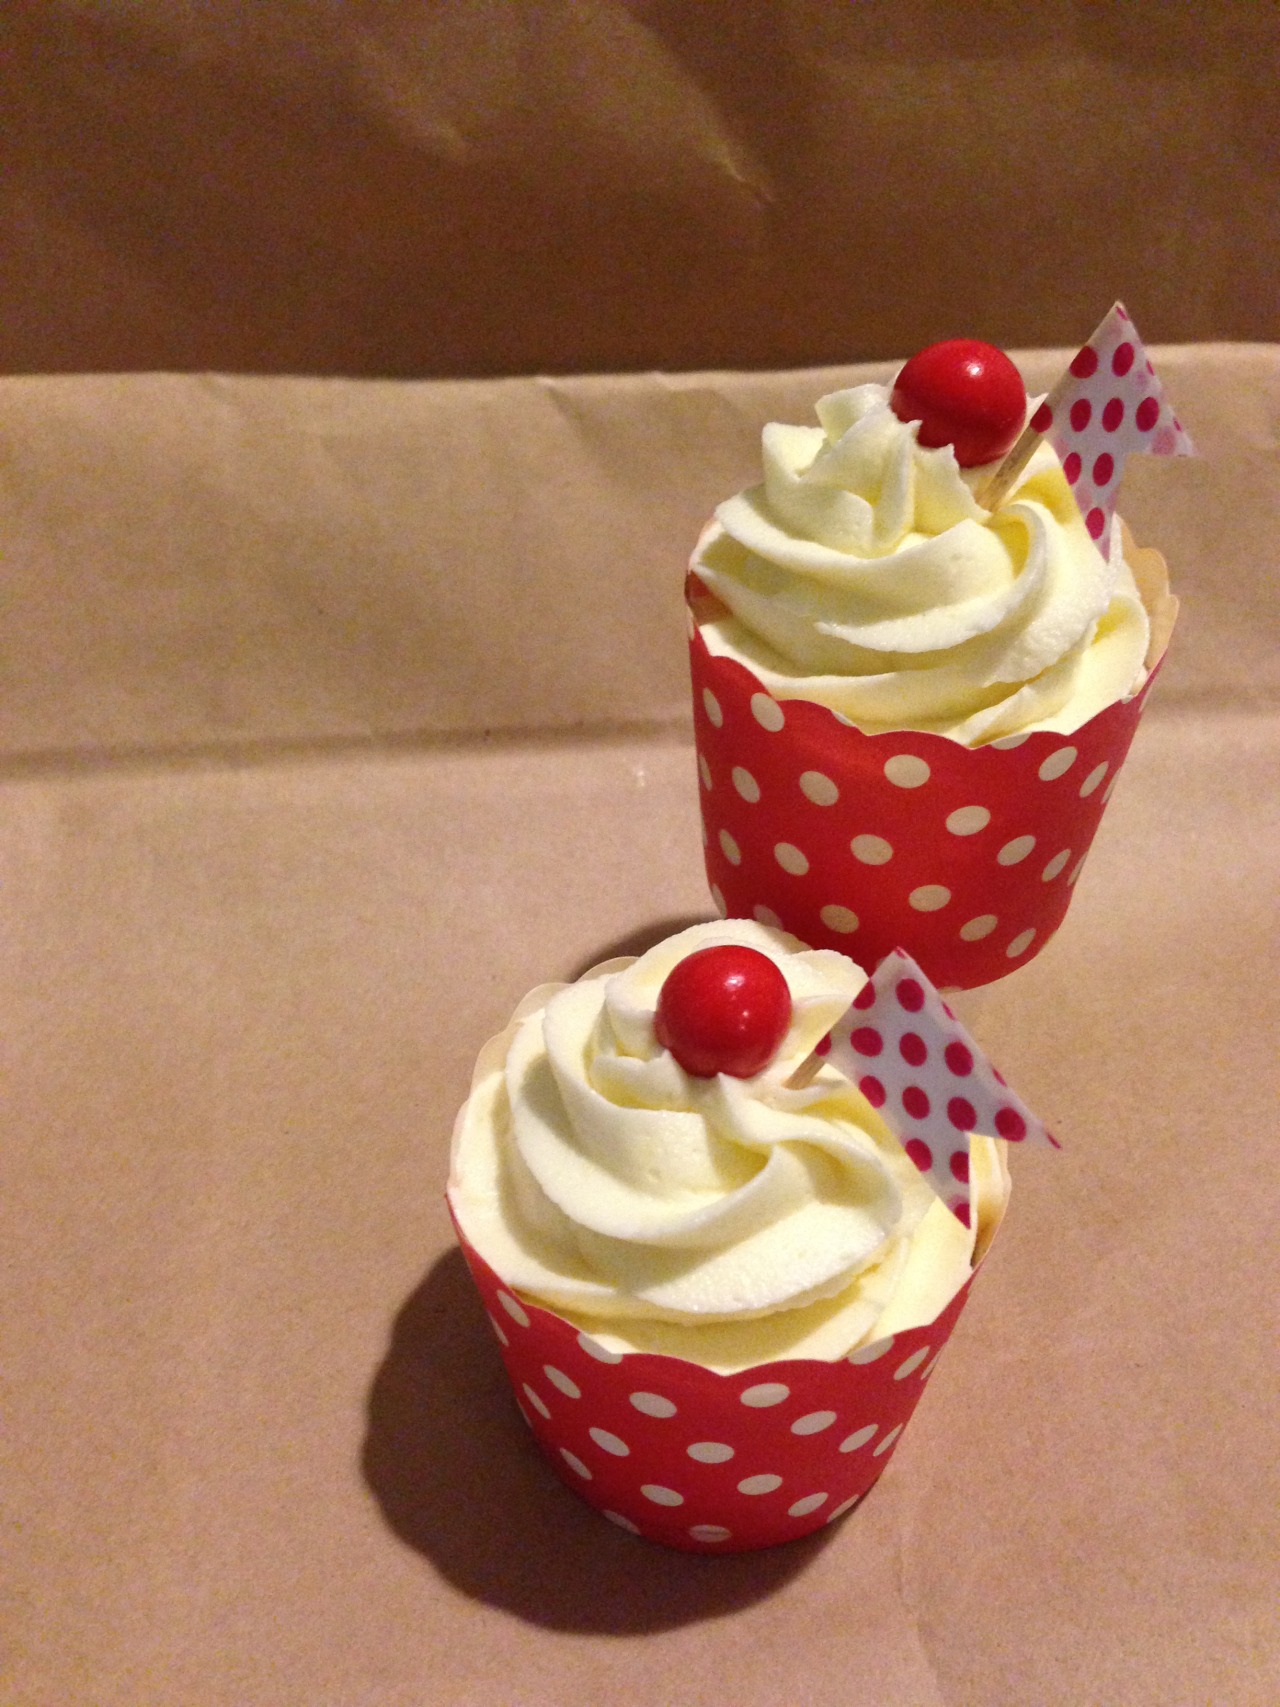
Made some adorable cupcakes for my workmates to celebrate our last day of work for the year tomorrow. I had these cute red and white polkadot cupcake cases from Look Sharp ($5NZD for 25, bargain!), and filled them with lemon coconut cake.
The frosting is white chocolate marscapone buttercream, and I bought a bag of Jaffas (NZ candy) to top the frosting. I initially wanted to make green holly leaves to add a bit more of a festive theme, but (fortunately) thought that was a bit ambitious.
I remembered some red and white spotted Washi tape I’d bought from Wocolate a few weeks ago – perfect! Tiny flag toppers it is!
Photos are just from my phone, but I hope they are useful for someone who’d like to get crafty and make their own wee flags. Here’s how…
Washi tape cupcake topper flags
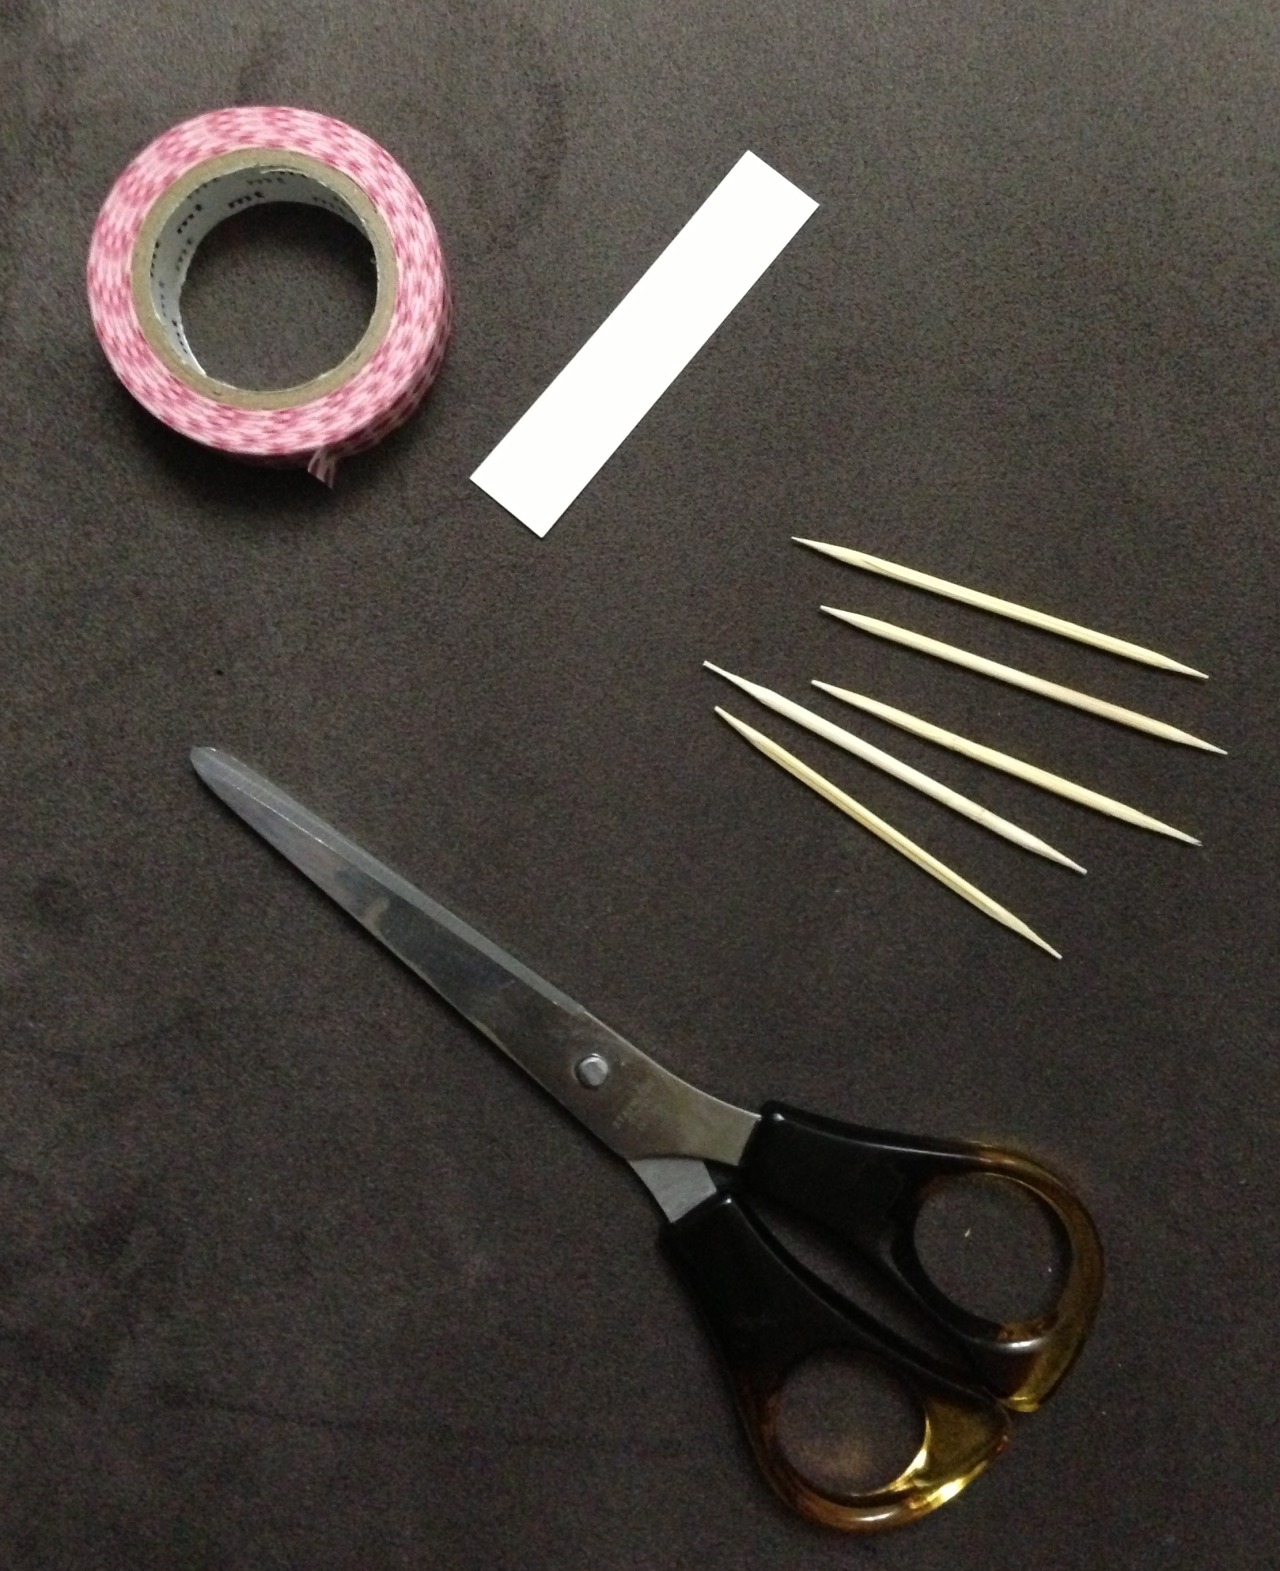
You will need:
- Washi tape – patterned masking tape – I got mine from Wocolate.
- Plain white paper – this helps show off the pattern of your Washi tape, otherwise it can be too transparent.
- Toothpicks – can be wooden or plastic, just remember they are going to go into food!
- Scissors
How?
Cut a strip of white paper slightly narrower than your Washi tape.
From the strip, cut a small rectangle – about 1.5cm long, but you don’t need to be exact.
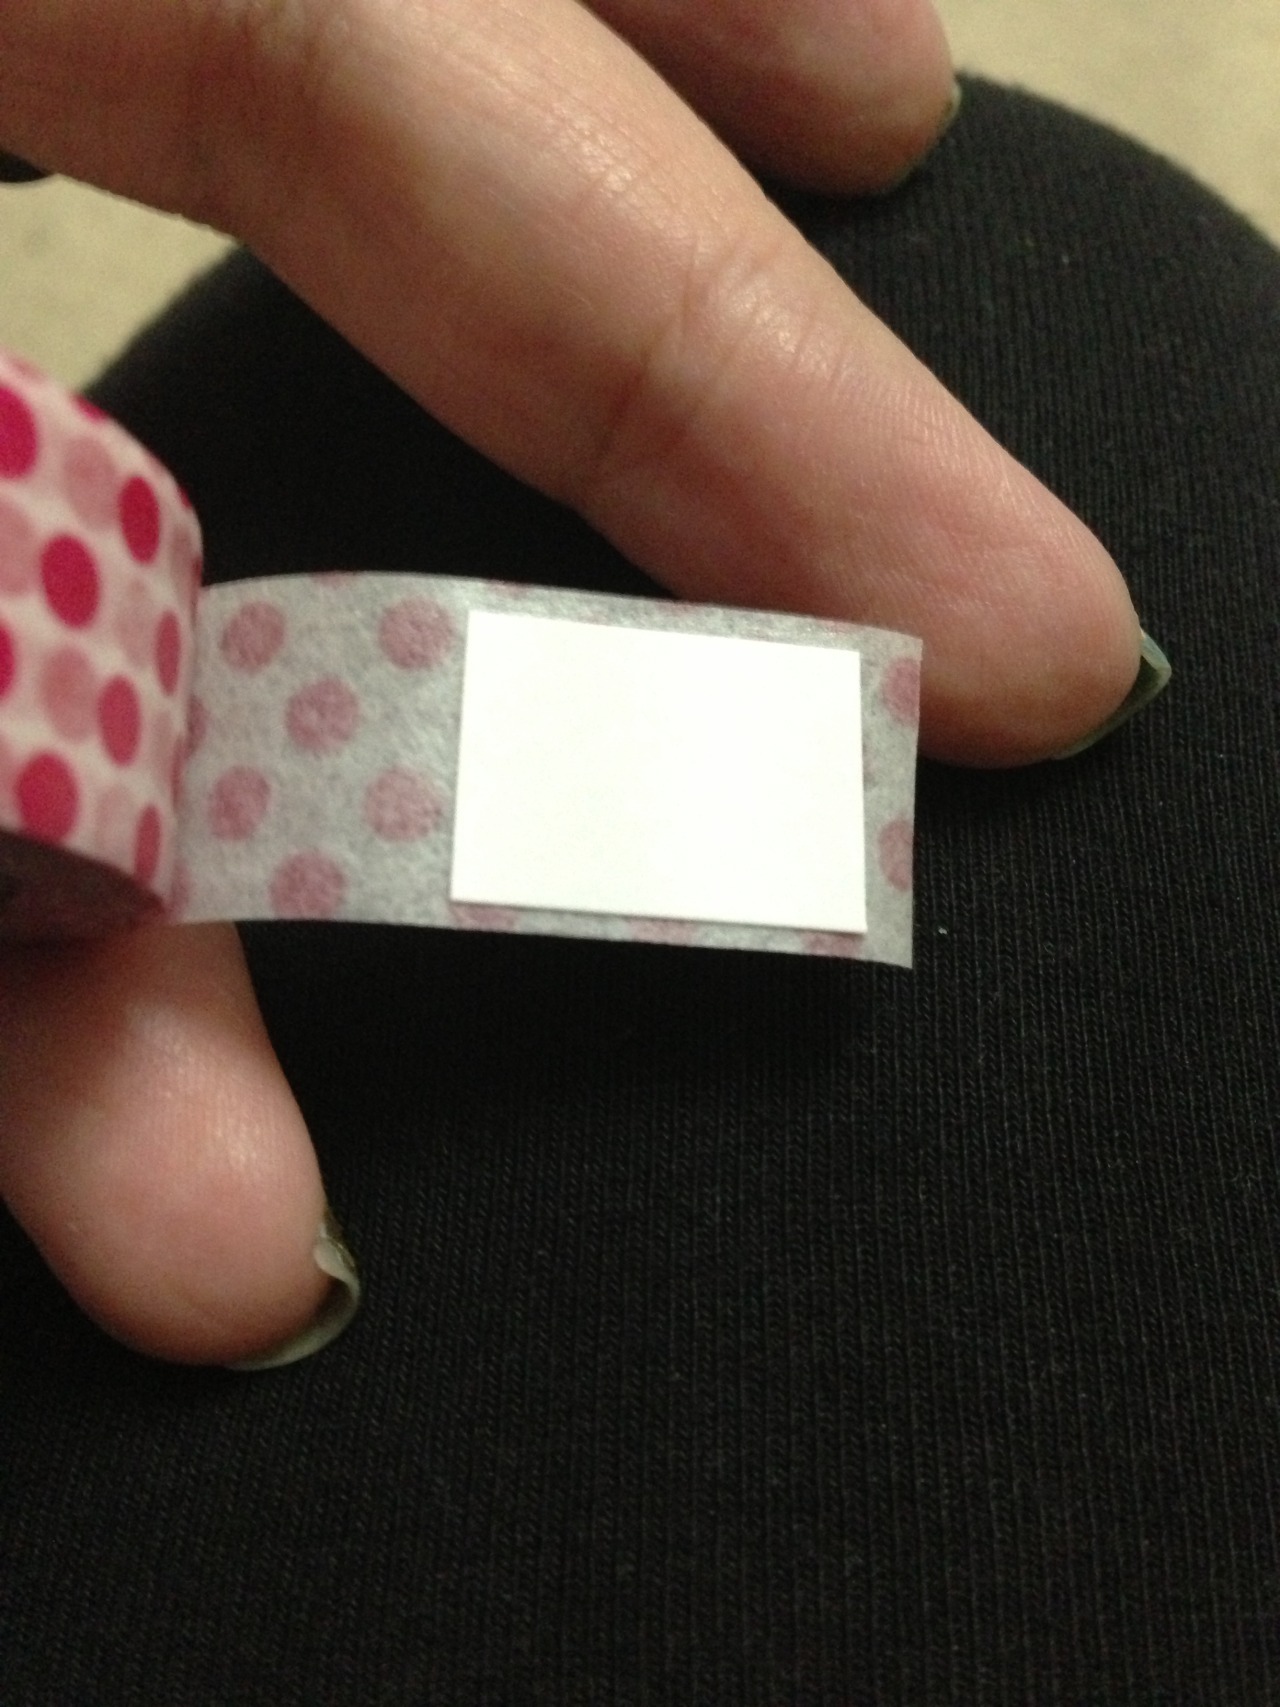
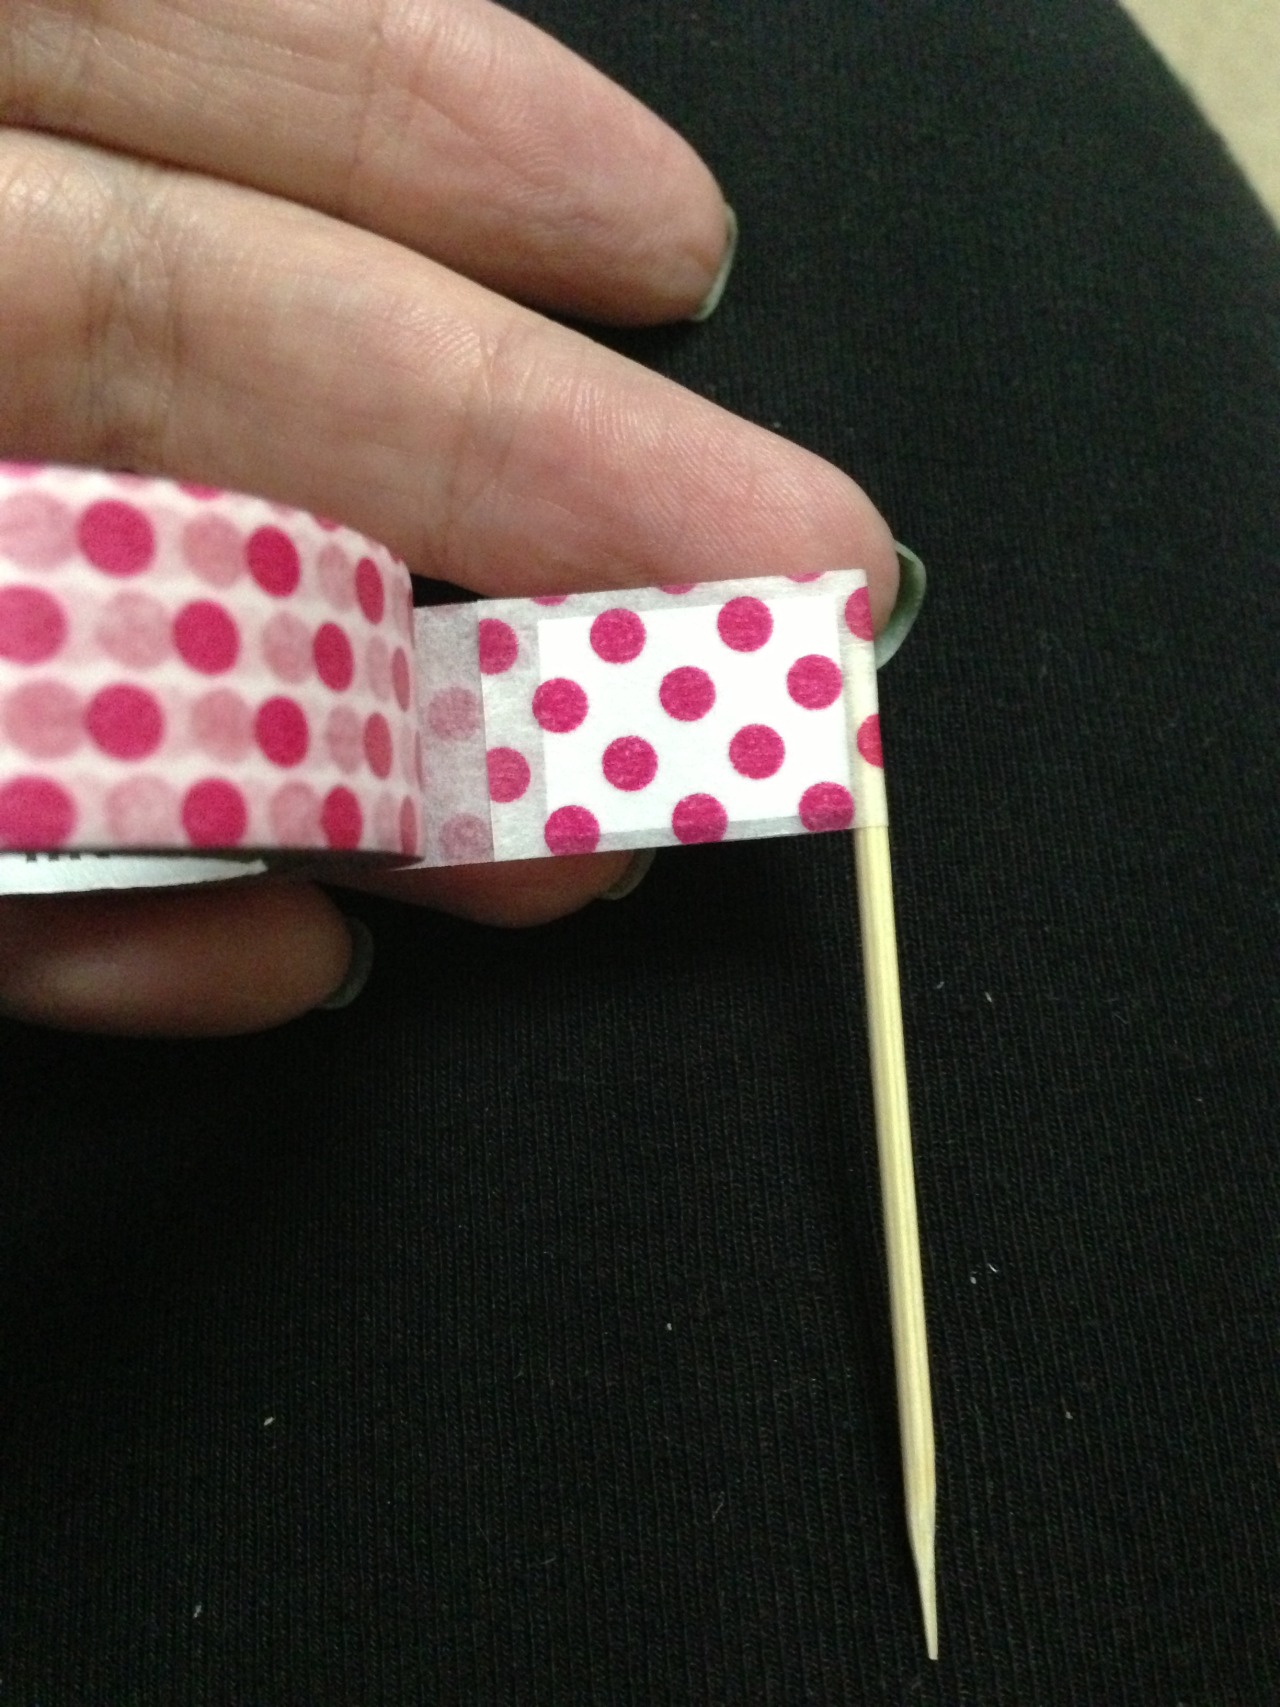
Unroll a little of your Washi tape and place the paper on the sticky side, about 5mm from the end of the tape as shown in the photo.
Further along the roll of tape (in my pictures, to the left of the rectangle of paper) place the top of a toothpick.
Fold the Washi tape with the paper, back over the toothpick to seal the toothpick in.
Trim the Washi tape at the edge of where the two sides of tape meet. The rectangular piece of paper should be surrounded on all sides by Washi tape stuck to itself.
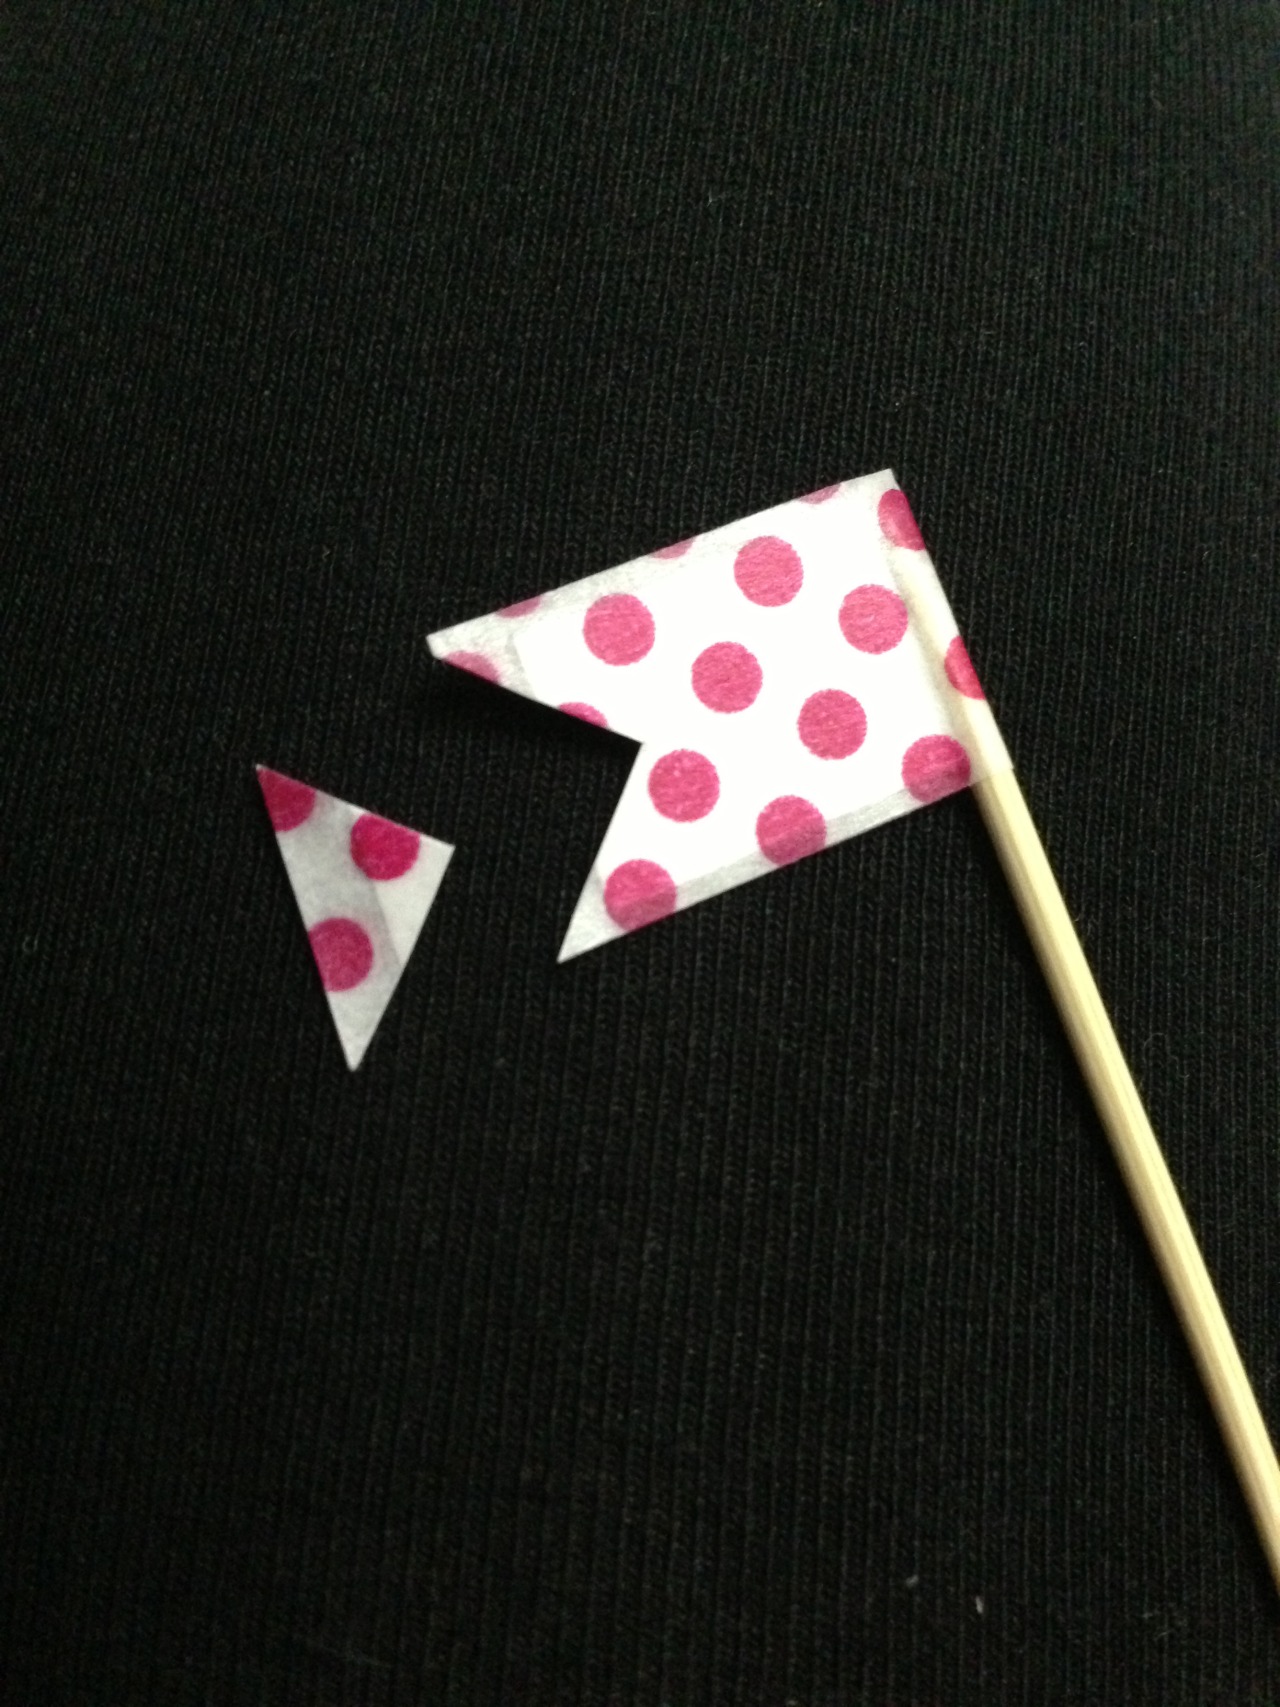
You have a flag! At this stage I trimmed a triangle shape into the ends of my little flags to give them a bit more character.
Make sure you warn cupcake eaters to remove the flags before eating the cupcakes!