Vegan, gluten free, dark chocolate coconut fudge cake


with vegan chocolate coconut ganache.

This recipe was for Adam’s birthday cake! An invention based on a chocolate version of the white coconut cake recipe I posted recently. It’s a double recipe, so would fill two 8 inch cake pans for a nice tall double layer cake (make extra ganache if that’s your plan!). I used a tall 5 inch pan for a little but high cake coated in ganache that more than served our table of 12. 

Ingredients

  • 2 cups almond milk (or soy)
  • 2 tsp apple cider vinegar
  • ½ cup sugar
  • ¼ cup brown sugar
  • 2/3 cup canola oil
  • 2 tsps vanilla extract/essence
  • 1 tsp coconut extract/essence
  • 100g 70% vegan dark chocolate

Dry Ingredients:

  • 1 cup rice flour
  • ¾ cup gluten free flour
  • 2 tsp guar gum
  • 2/3 cup cocoa
  • 1 ½ tsps baking soda
  • 1 tsp baking powder
  • ½ teaspoon salt
  • 1 cup desiccated coconut

Method

Preheat oven to 170°C, line and grease two 8" round cake tins (or one tall 5" one!).

Combine the milk and apple cider vinegar, set aside and allow to curdle.

Sift together the flours, cocoa, guar gum, cocoa, baking soda, baking powder and salt. Add the desiccated coconut to this dry mixture. 

Melt the chocolate in a med-large mixing bowl which will eventually contain all ingredients.

Add the oil to the melted chocolate, stir through, then add the extracts of vanilla and coconut. Ideally, the milk and apple cider vinegar combination should have been left to stand for around ten minutes and should be close to room temperature (or at least not cold). Add half of the milk mixture to the chocolate and mix together, then add the other half.

Next add the sugars to the wet mix and stir thoroughly.

Add a third of the dry ingredients, fold into the wet. Add half of the remaining dry ingredients, fold in, and then add the remaining dry mix to complete the batter. It will be slightly lumpy.

Pour into the prepared cake tin(s) and bake for about 45-50 min or until a skewer inserted into the middle comes out clean. Or clean ish – it is a gooey fudge cake after all. Rest the cake(s) in their tin(s) for 10 min on a cooling rack before turning out to cool completely.

At this point you can put the cake in a plastic bag and freeze it, or put it in the fridge for a day or two before icing it. 

Vegan Chocolate Coconut Ganache

I used a bar of Green & Blacks Organic Dark 70%, and roughly 50% of the solids from a 400mL tin of “Family Choice” brand coconut cream. Tip – when buying coconut cream – shake the tin, if the contents move about a lot in there, don’t buy it. You want the practically solid stuff. The thicker, heavier and creamier, the better for this job. 

Before opening the tin for making this recipe don’t shake it! You want the insides to stay separated so you can scoop the “heavy” cream off the top of the tin.

I didn’t add sweetener to the ganache as the cake itself is quite sweet and the velvety texture is a nice complement to the cake without it’s own sweetness. The coconut flavour doesn’t actually come out as the chocolate masks it, you could add coconut essence or another flavouring though.

Ingredients

  • 100g vegan dark chocolate
  • 400ml tin coconut cream (full, not “lite”)
  • 1 tsp high quality vanilla essence

Method

Break up the chocolate and melt it down in a double boiler, taking extra care not to get any water or steam in the chocolate. Add the coconut cream, vanilla, and stir until combined and smooth, then remove from heat.

I put mine in the freezer to cool, and stirred it intermittently until it was a nice thick consistency to spread over the cake with my usual offset spatula that I use for buttercream.
Vegan, Gluten Free Peanut Butter Chocolate Chip Coconut Cookie Recipe

How’s that for a title. Just dripping with SEO.

Anyway, last week I had cookies on the brain and spent some time sifting through internets looking for a recipe. I wanted peanut butter and chocolate, no eggs, no dairy, no gluten. Most recipes used dumb egg replacers, actual eggs or other undesirable too-exotic ingredients and things.

After much reading I tried this combo to a satisfyingly delicious result, fortunately it only made very few cookies because over the course of the week I ate all of them.

Notes on ingredients:

Flour: I used a store brand gluten free flour which is a combination of flours. I think seed based flours would hold up best rather than starchy ones in this recipe but hey, experiment away! I’d be curious to see what happened with rise flour for instance.

Peanut Butter: I love peanut butter with more salt than sugar, and my cookies turned out quite salty, because I added even more salt. This was delicious to me but be wary of this and consider adding no salt at all (if salt is listed before sugar in the ingredients of your peanut butter, you know it has more salt. If neither are listed, your peanut butter is healthier but probably less tasty!).

Oils and milk: coconut oil could be substituted for extra light olive or canola oil, and the milk could be swapped for anything or omitted completely, I just found it helped bind the ingredients.

Ingredients

  • ½ cup desiccated coconut
  • ½ cup gluten free flour
  • ½ tsp baking powder
  • 2 heaped tbsp peanut butter
  • 1 tsp vanilla essence
  • 2 tbsp coconut oil (slightly warmed but not melted)
  • ¼ tsp salt
  • 2 tbsp almond milk
  • ½ cup brown sugar
  • ½ cup dark (vegan) choc chips

Method

Preheat your oven to 170°C and grease or line an oven tray with baking paper.

Combine everything except the chocolate chips and mix well. When all the ingredients are evenly distributed, add the chocolate chips. I found the mixture didn’t stick together particularly awesomely.

Spoon balls of mixture out onto the tray and flatten, I made 9 medium sized cookies and they spread about 15-20% during baking.

Bake for 12-15 minutes or until the edges start to brown.

Sugar free Raspberry/Chocolate vegan Smoothie

Fiona had the most amazing raw, gluten/vegan raspberry and chocolate cake for her birthday last weekend. So good.

I’ve taken to slicing and freezing overripe/surplus bananas for smoothies. I find they make them super creamy even without any kind of milk, more so with milk. A thicker “smoothie” negates any ice cream craving, this recipe is better than ice cream. And the banana flavour is not very pronounced. Okay, getting on with it:

  • 1 cup frozen raspberries
  • 1 frozen banana (ideally, sliced)
  • 1.5 tsp cocoa powder
  • ¼ to ½ cup soy (or other) milk

Chuck everything together and blend thoroughly. I like to use less milk so everything blends but is very thick, then eat it with a spoon.

It’s not hugely sweet, but the sweetness of the banana keeps the cocoa from being to bitter and the raspberries lend a tart deliciousness.

Special trick the first!


Special trick the second!


Today I learned not one, but two really cool things to do with cupcakes.

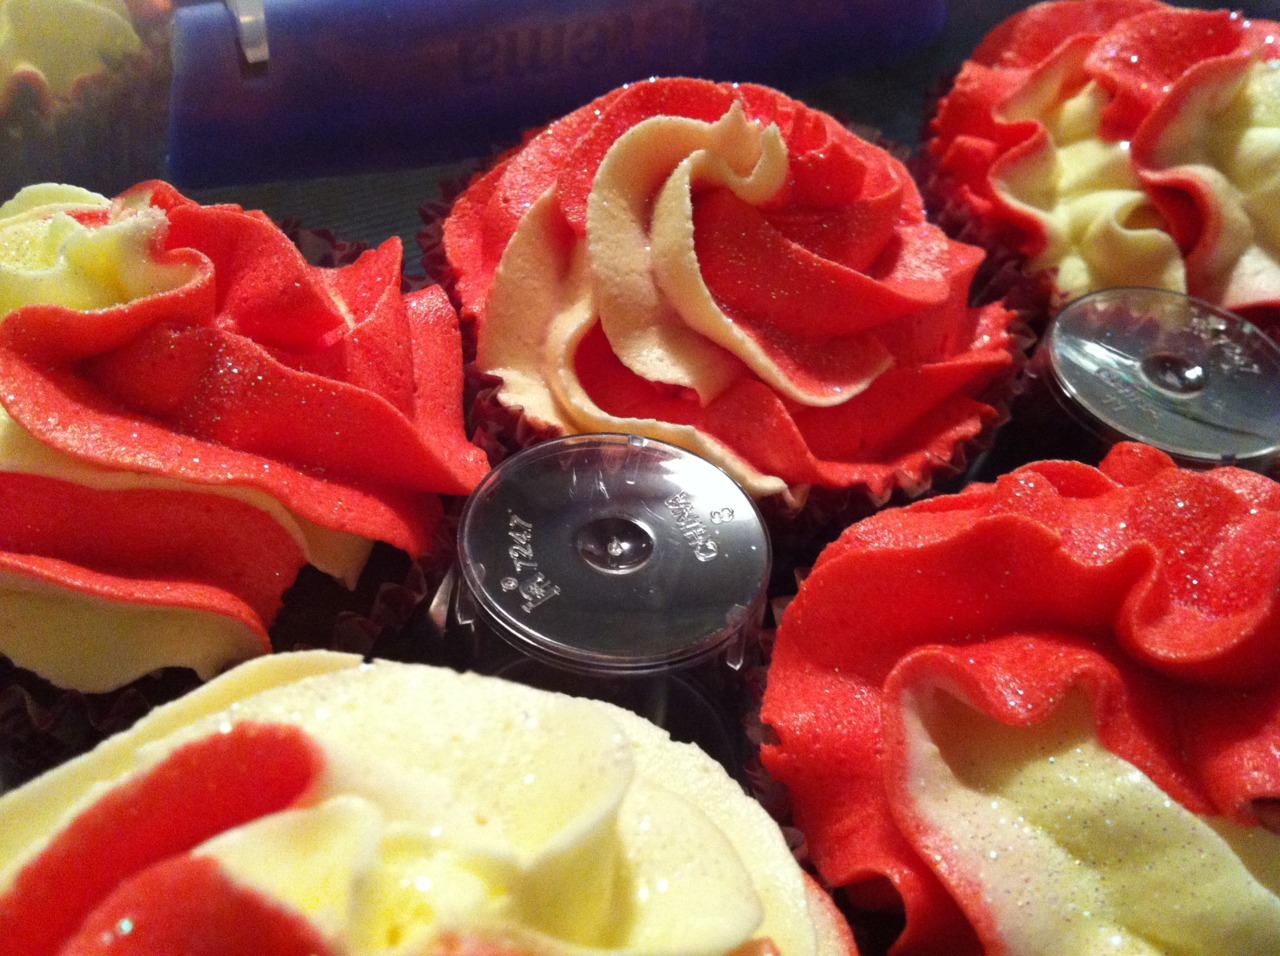
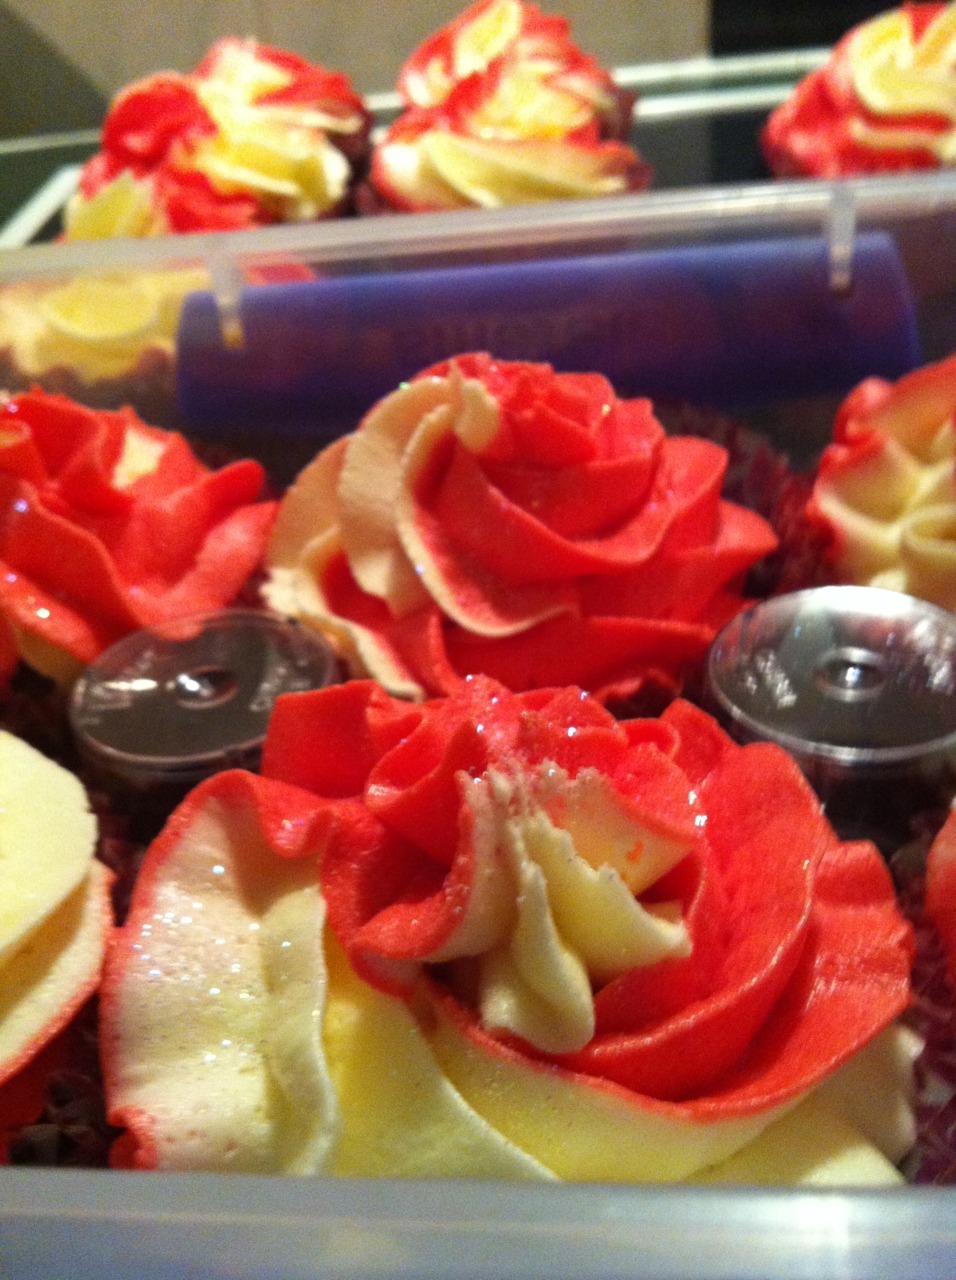
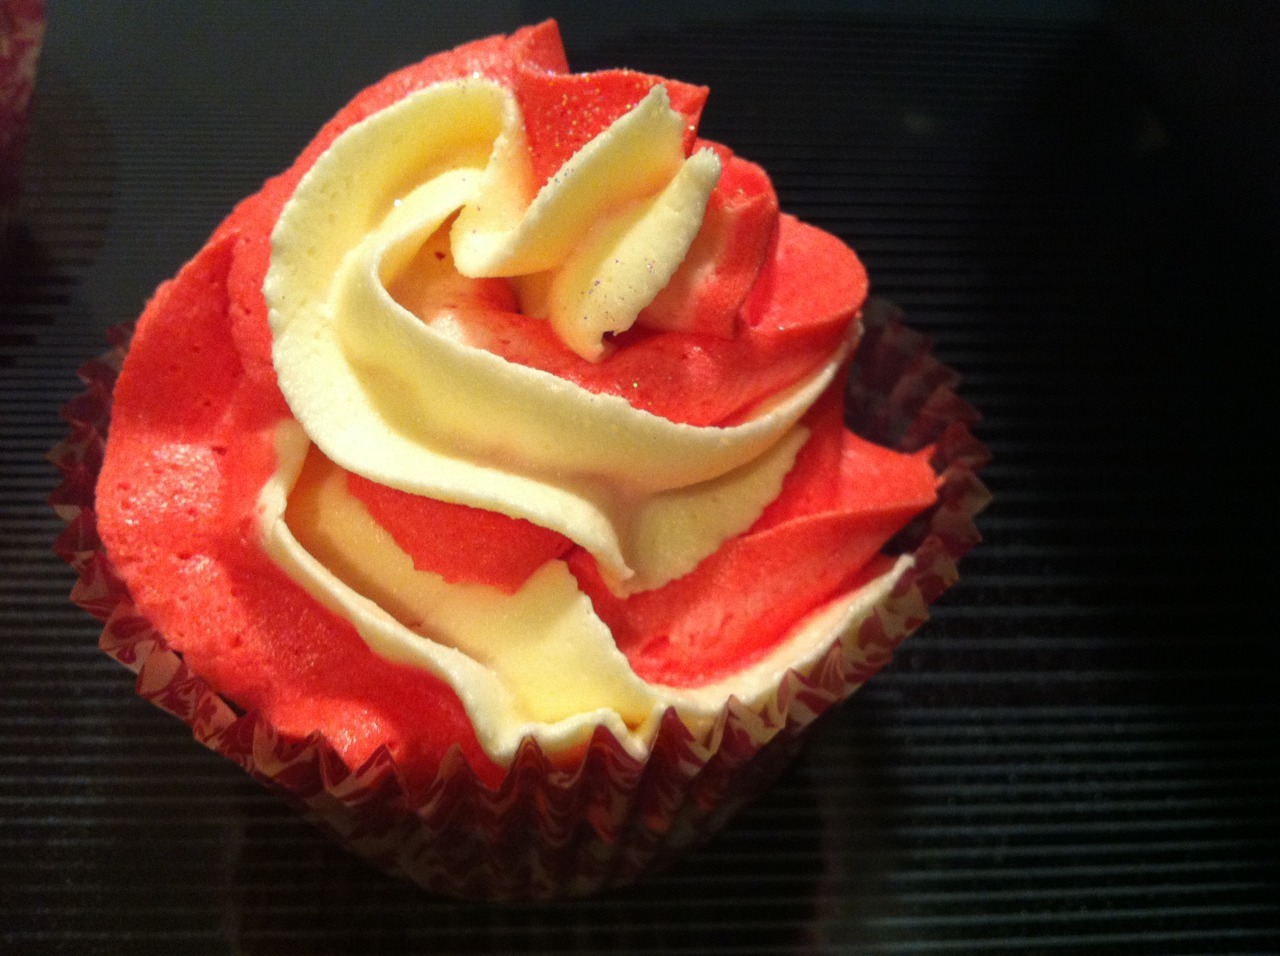
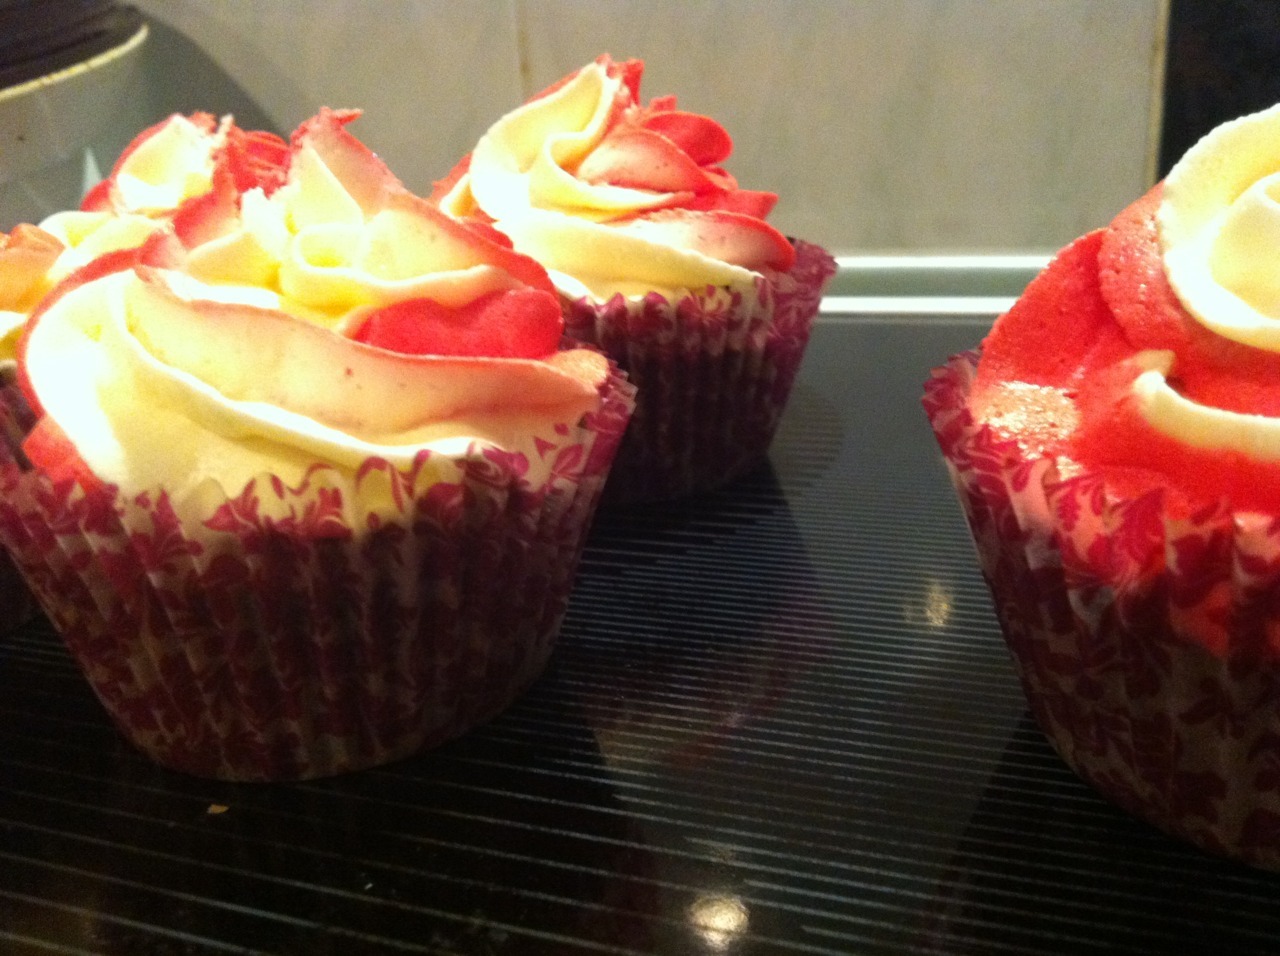
Thing the first: How to pipe frosting so you get pretty multi-tonal icing. It looks way cool, though my cellphone pictures don’t really do ‘em justice (#lazy).

Thing the second: That an upturned plastic shot glass is the perfect spacer for keeping cupcakes from crashing into each other when placed in a container. Win! 

Chocolate Cupcakes with Duo Tone Peppermint Buttercream Frosting

For the cakes:

  • 150g softened butter
  • 150g castor sugar
  • 175g flour
  • 1 tsp baking powder (or just use self raising flour)
  • 3 eggs
  • 2 tbsp cocoa
  • 1 tsp vanilla essence

Making these cupcakes is a breeze, and only takes one bowl.

Cupcakes:

  1. Set your oven to 180 degrees Celsius, and prep 12 cupcake cases in a muffin pan. I like to spray ’em with canola oil spray so the cases don’t stick to the cake.
  2. Soften the butter in a medium sized bowl.
  3. One at a time, break each egg into a cup and give it a quick whisk with a fork before dropping it in with the butter.
  4. Add the vanilla essence and the sugar to the wet ingredients. 
  5. Sift the flour, baking powder and cocoa into the bowl with the wet ingredients.
  6. Beat the mixture together with an electric mixer for a few minutes until it’s smooth and creamy.
  7. Spoon the mixture into the cases, leaving room for the cakes to rise, and place ’em in the center of your oven for ten minutes.
  8. Rotate your baking tray/muffin tray and put the cupcakes back in the oven for another 6-8 minutes, until they spring back when pushed or a skewer inserted into the middle comes out clean.
  9. Remove from the oven and let cool for a few minutes, before placing the cupcakes on a wire rack to cool completely before icing.

Icing ingredients:

  • 100g butter (unsalted would be best)
  • 2 cups icing sugar
  • 2 tbsp milk
  • Peppermint essence
  • Food colouring

You will also need three piping bags (or two resealable bags and a piping bag) and a wide star-shaped piping nozzle.

Making the icing:

  1. Soften the butter, and then beat it until it’s smooth.
  2. Sift the icing sugar, and add about a third of it to the butter and beat it together.
  3. Add half the remaining icing sugar, then continue to beat.
  4. Add the milk, peppermint essence (I used about 1.5 teaspoons), and remaining icing sugar and beat thoroughly.
  5. Spoon half of the icing into one of your piping or resealable bags and set it aside.
  6. Add your food colouring to the remaining icing, and beat it again to mix the colour through thoroughly. You may need to add a little more icing sugar, as the food colouring will thin the icing down a bit.
  7. Spoon the coloured icing into your second piping bag or resealable bag.

Piping the icing:

  1. Load your last piping bag with your star nozzle, then position the two icing-filled bags inside the empty bag, so they are side by side. I used two resealable bags inside a piping bag and found it useful to squeeze the resealable bags around a bit so they fit evenly side by side. Then, take them out and snip the corners of your resealable bags to even sizes, and place them back inside the piping bag with the nozzle.
  2. The idea is, when you squeeze the outer bag, the icing comes out of both the inner bags together and meets in the nozzle, forming a well balanced duo tone stream of frosting.
  3. Twist the end of the outer bag and squeeze firmly to push the icing out the nozzle. Pipe slowly in a circle around your cooled cupcake from the outer edge, inward, finishing with a twist of the nozzle in the center of the cupcake.

Sprinkle the tops of your cupcakes with edible glitter, and apply liberally to friends and work colleagues <3