White Coconut Cake


Vegan and gluten free, this cake is chalky white in colour, especially if you use clear vanilla and coconut essence/extracts and coconut oil. Handy if you want to delicately colour it – light pink, aqua, yellow, any difficult colours would play nicely with this mix. Remember to bake in a light coloured pan if you really want a white cake.

The cake is quite sweet alone, you could reduce the sugar to half a cup as the coconut lends a sweetness complimented by the vanilla. Switch the sugar for 2 tbsp of honey if you prefer, but you may sacrifice the “whiteness”.

My current sneaky trick: a batch of this batter divided into cupcakes which are then frozen without icing. You can pop a frozen cake in the microwave for 30 seconds and it’s amazing just like that with a cup of tea. Yum.

Ingredients

  • 1 cup almond milk (or soy)
  • 1 teaspoon apple cider vinegar
  • ¾ cup sugar
  • 1/3 cup coconut oil (or canola)
  • 1 teaspoon vanilla extract/essence
  • ½ teaspoon coconut extract/essence

Dry Ingredients:

  • 1 cup rice flour
  • 1 tsp guar gum
  • 1/3 cup desiccated coconut
  • ¾ teaspoon baking soda
  • ½ teaspoon baking powder
  • ¼ teaspoon salt

Method

Preheat oven to 170°C, line and grease an 8" round cake tin.

In a mixing bowl, combine milk and apple cider vinegar and allow to curdle.

Sift the dry ingredients together. 

Add the sugar, oil, and extracts to the milk and apple cider vinegar, combine. Mix the dry ingredients into the wet, adding a third of the dry ingredients at a time.

When all of the ingredients are combined, the batter will have some lumps and will be quite wet.

Pour into the prepared cake tin and bake for about 45-50 min or until a skewer inserted into the center emerges clean. Rest the cake in its tin for 10 min on a cooling rack before turning the cake out to cool completely.

Yes the illustration is odd. That is what my frozen white cupcakes look like.


Been baking. These are vegan cupcakes with cream cheese flavoured duotone buttercream roses.

I know, cream cheese and buttercream do not sound vegan. Did you know professional buttercream is made from vegetable shortening? It keeps better*. Thank goodness – doing a cake decorating course without sampling the frosting would have been rather difficult.

These babies will be sold off to sweet toothed TRN staff to help me recoup the ridiculous amounts of money I’ve been spending on baking stuff lately…

*Apparently most use meringue powder though (with egg) to get the buttercream to “set” a little.


Almond Rose Cupcakes

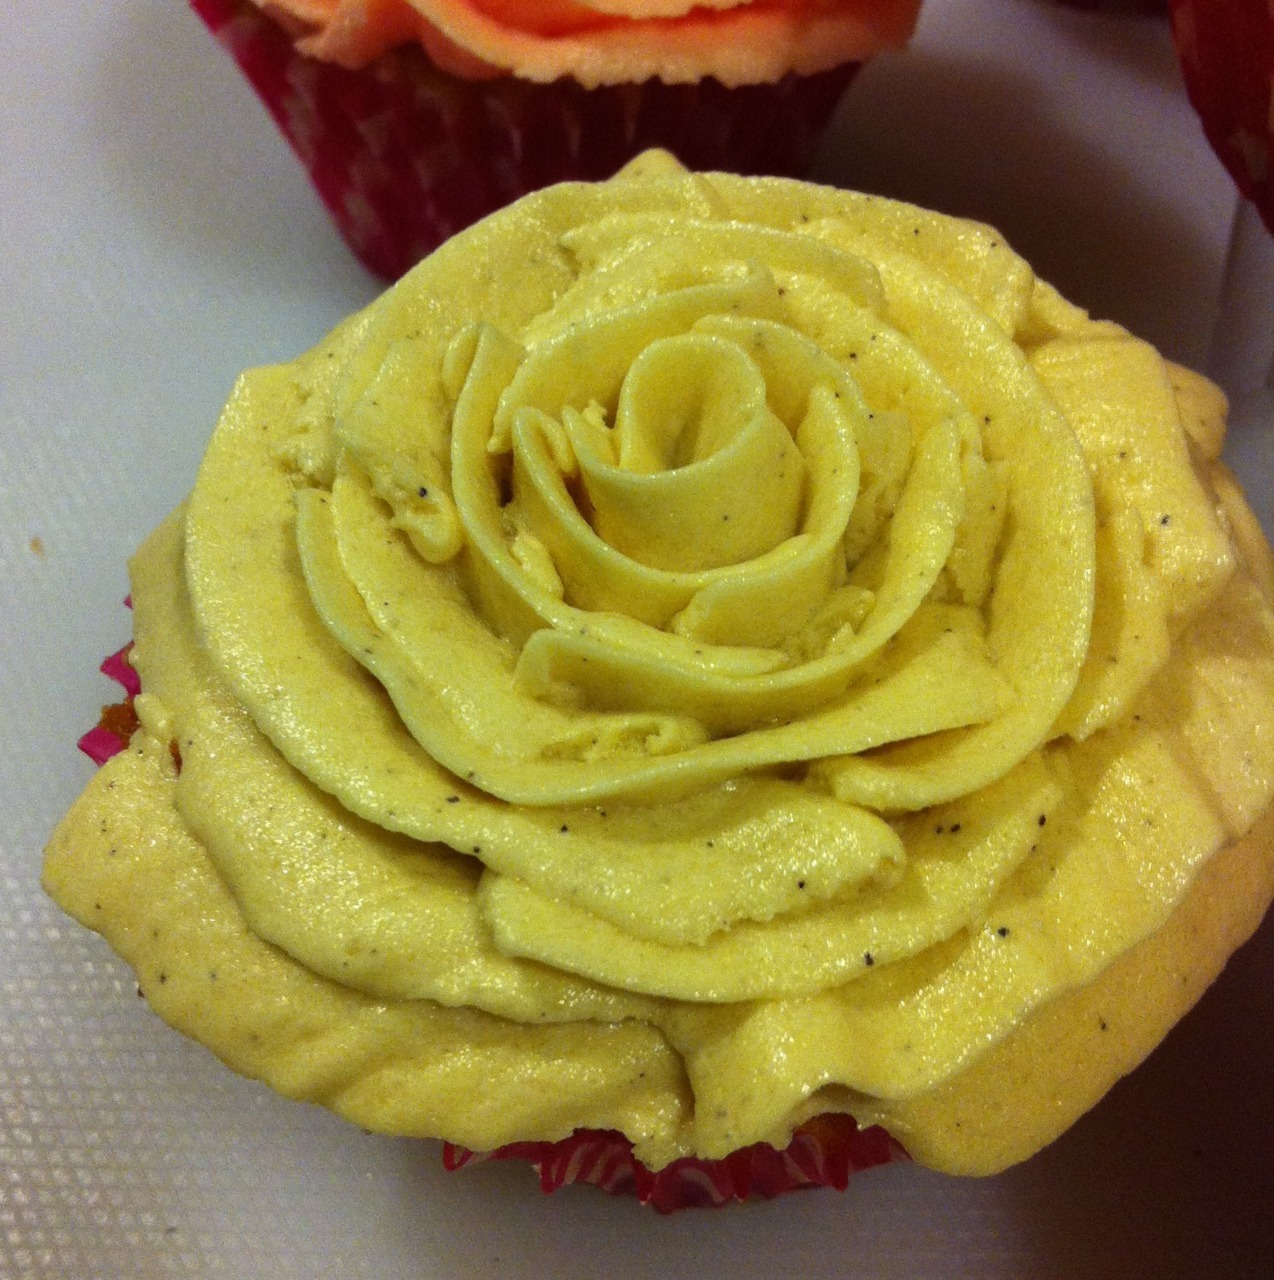
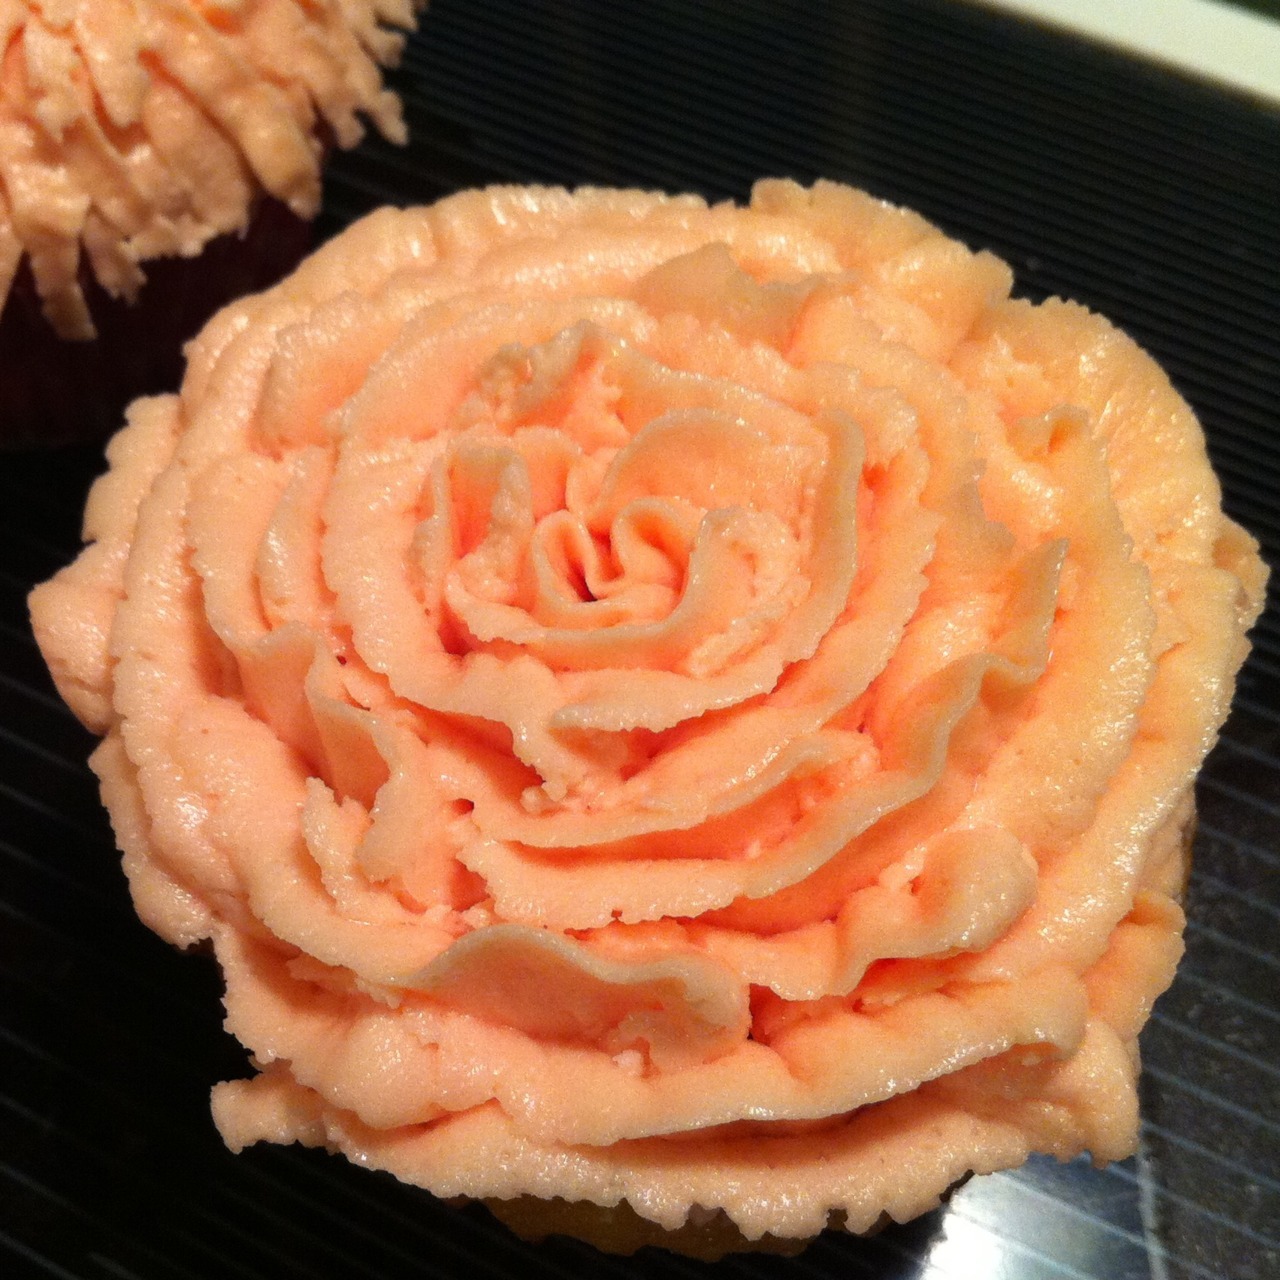
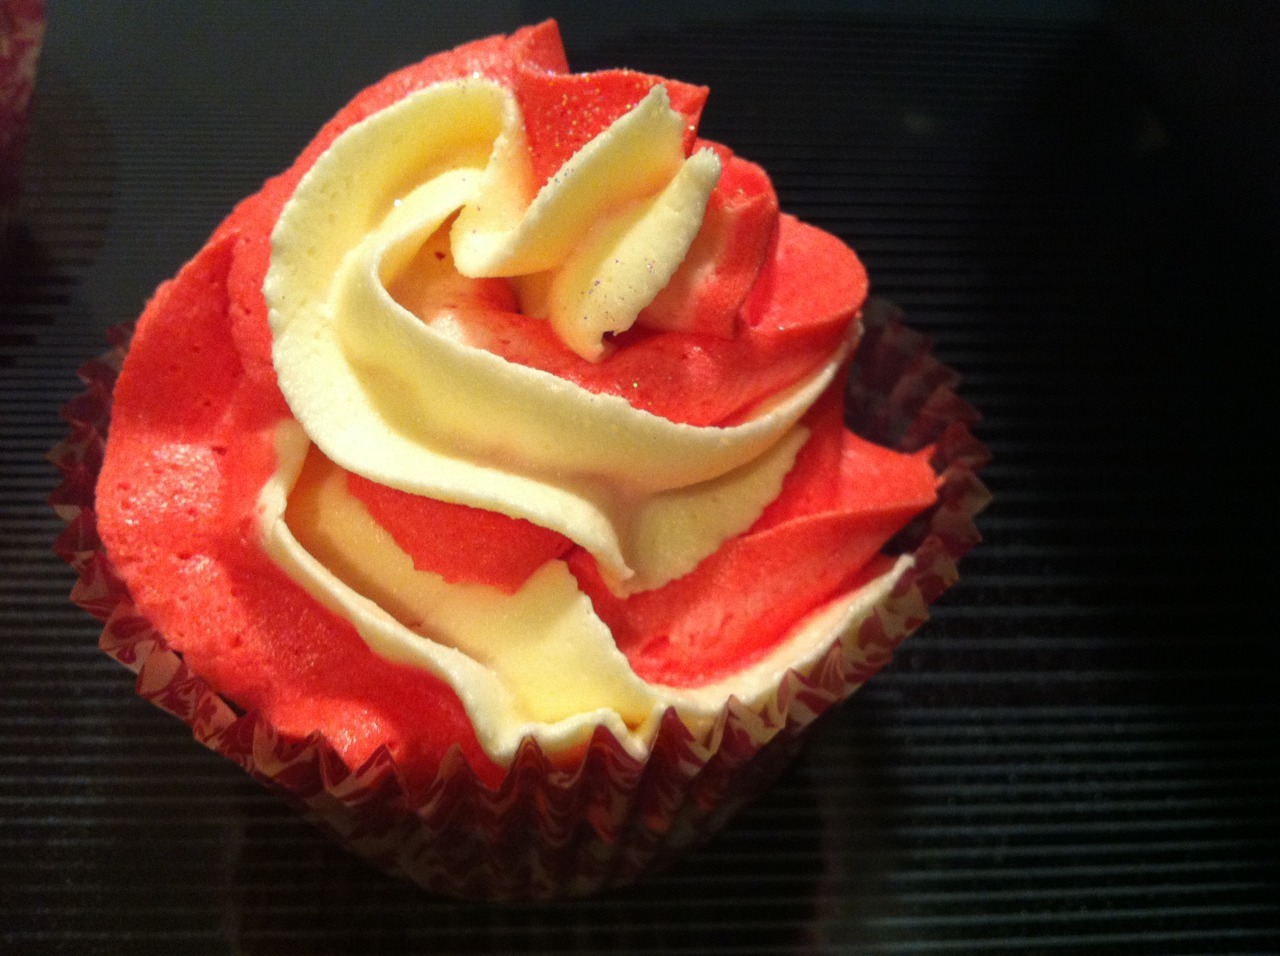
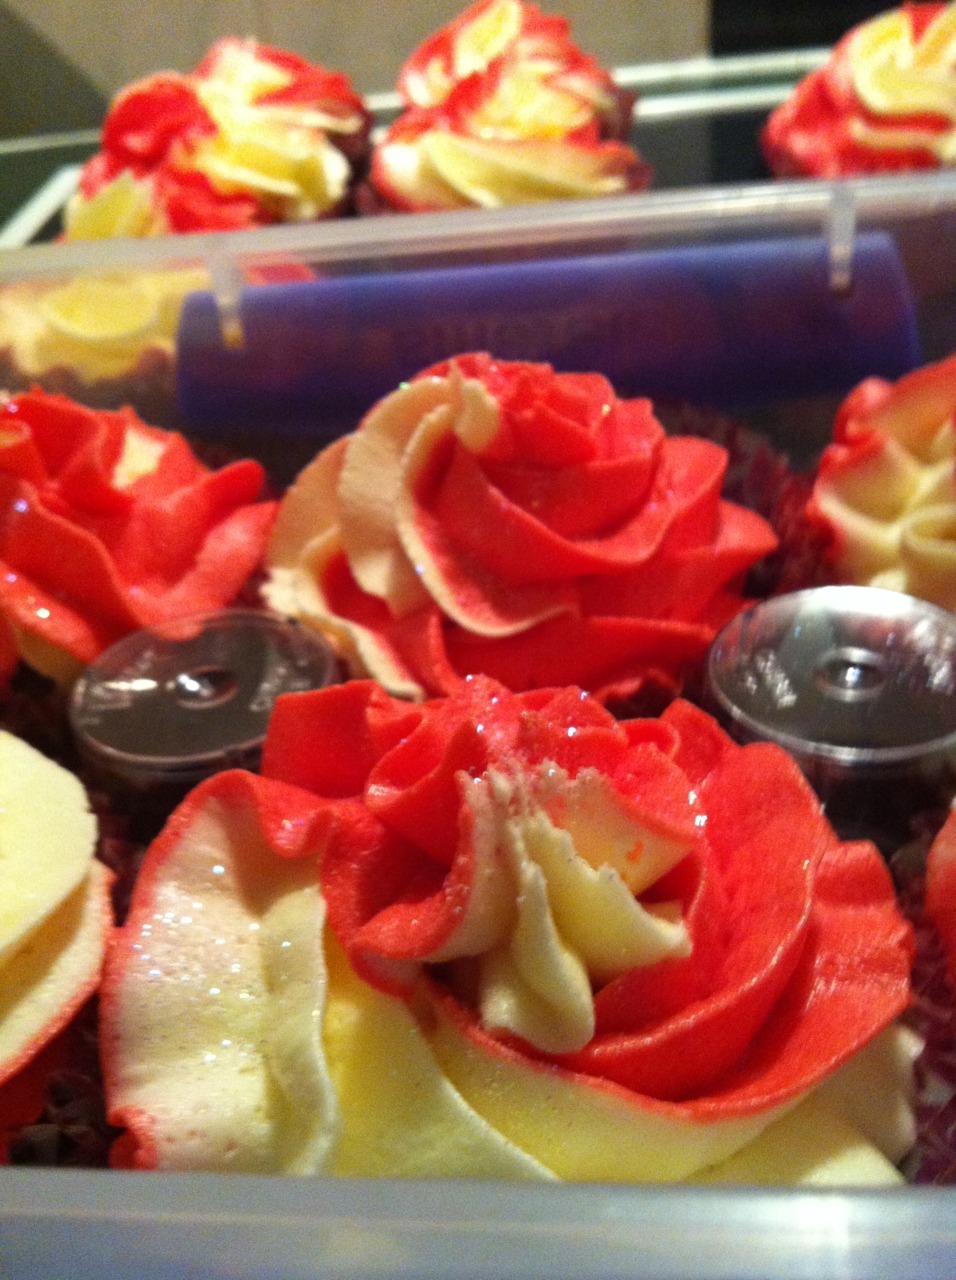
It’s incredible what people can do with a piping bag and some frosting. After I worked out the “petal cupcakes” style of “rose” (it’s super easy), I was up for a more realistic looking version.

I also blame days of beng sick, sitting on the couch watching too much food TV.

YouTube is wonderful for learning things. How to make fancy nail art, how to cast on your knitting, how to crochet a magic circle… How to pipe roses!

If you’re really lucky, you’ll find an enthusiastic asian man with bad sound and crazy overlays on his video, demonstrating how to pipe a rose. Nutty, but effective.

This calls for a trip to the homestore for baking supplies. You’ll need a Wilton 104 flower tip for your rose petals, I also got a flower nail but don’t actually think it’s necessary for cupcakes.

I warn you, this cupcake recipe is incredibly good. The cake isn’t too gloopy or too dry, has a nice crumb and delicate flavour without being bland. Nice texture from the almond. It was a happy mistake too – who measures oil in weight? Surprise.

Almond Cupcakes

  • 100g Canola oil
  • 1 cup sugar
  • 1 tsp vanilla essence
  • 1 tsp almond essence
  • 2 eggs
  • 1 cup plain flour
  • ½ cup ground almonds
  • 1 tsp baking powder
  • ¼ tsp salt
  • ½ cup milk (I used skim milk)

Beat the oil and sugar together in a large bowl. Beat in eggs, one at a time. Add vanilla essence and almond extract and beat.

In another bowl, sift together flour, baking powder and salt. Stir in ground almonds with a fork.

Add a third of the dry mixture to the wet mixture, beat. Add half the measure of milk and continue beating.

Add half the remaining dry ingredients, beat to combine and then continue to beat in the remaining milk. Finish adding the remaining dry ingredients and beat together.

I found the mixture was quite wet, and although I usually hate to beat my batter so much for fear of it getting tough, this turned out just fine.

This amount should be plenty of batter for 12 cupcakes. Load up your cupcake cases and bake them at 180°C for about 25 minutes (test with a skewer).

Because I was super impatient to get my icing on, I shoved my cupcakes in the fridge to cool faster.

Buttercream Icing

I usually do about 150g of softened butter and really roughly two cups of icing sugar, beaten until smooth.

Then, if I’m doing two flavours I separate it in half, putting half in a second bowl.

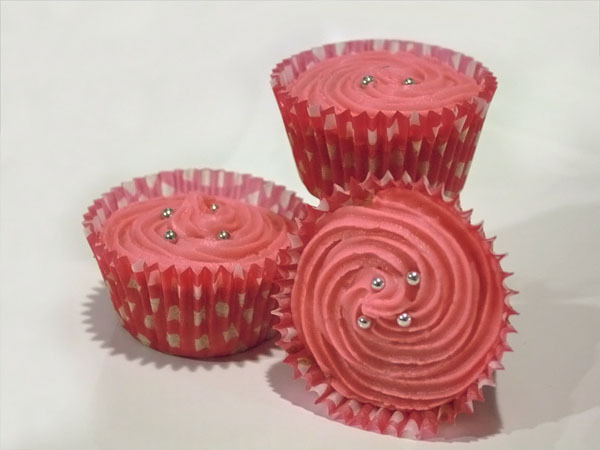
Bowl the first: For the raspberry flavour I used raspberry flavoring (FYI – cordial doesn’t really work) and some red food colouring for the pink.

Bowl the second: For the espresso icing, I made a shot of espresso coffee from espresso ground beans in my coffee machine, and let it cool. I then scooped the crema and coffee off the top into the icing – about two or three tablespoons full.

(Sans coffee machine, I’d suggest dissolving 1.5tsp of instant coffee into 2tbsp of warm water and using that.)

Add about half a teaspoon of ground beans for a little bit of extra colour and prettiness, and beat together. Insanely delicious icing.

Don’t forget the handy glad-wrap-piping-bag-filling trick. It works so well, and means you can use the one reuseable bag for two flavours of icing without the pain of washing in between.

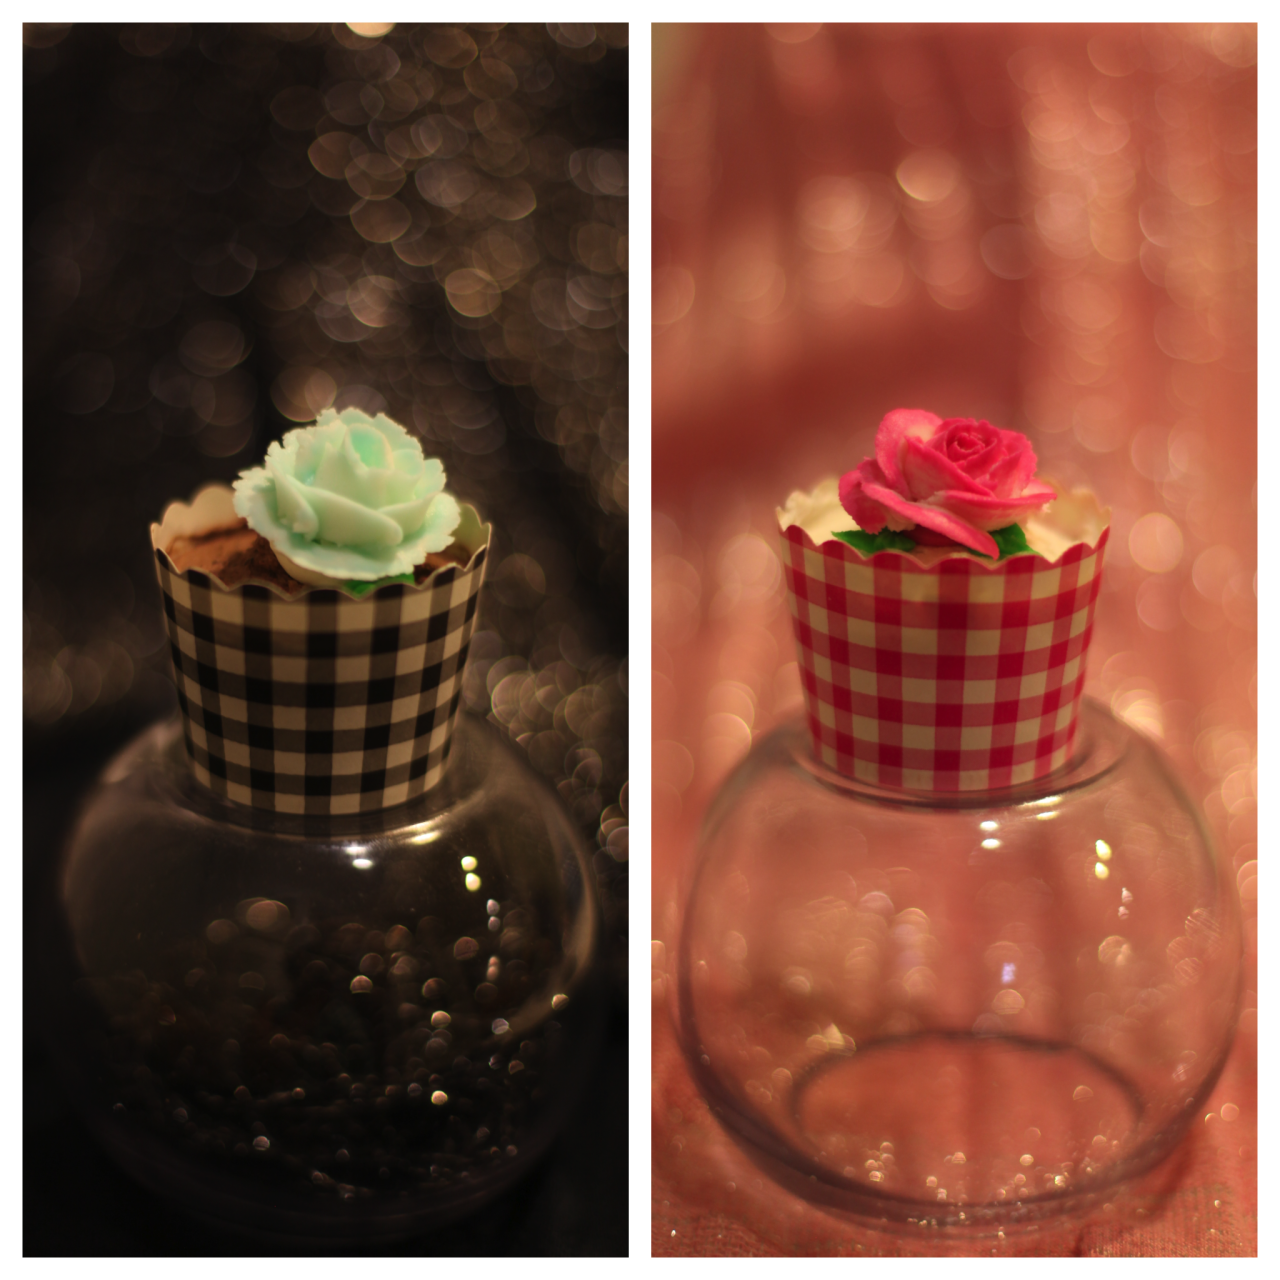
Although the video tutorials for roses mostly use nails, I piped my roses directly onto my cupcakes, without the “base cone” that you’ll see demonstrated in most videos.
(I admit, I flat out forgot that part)

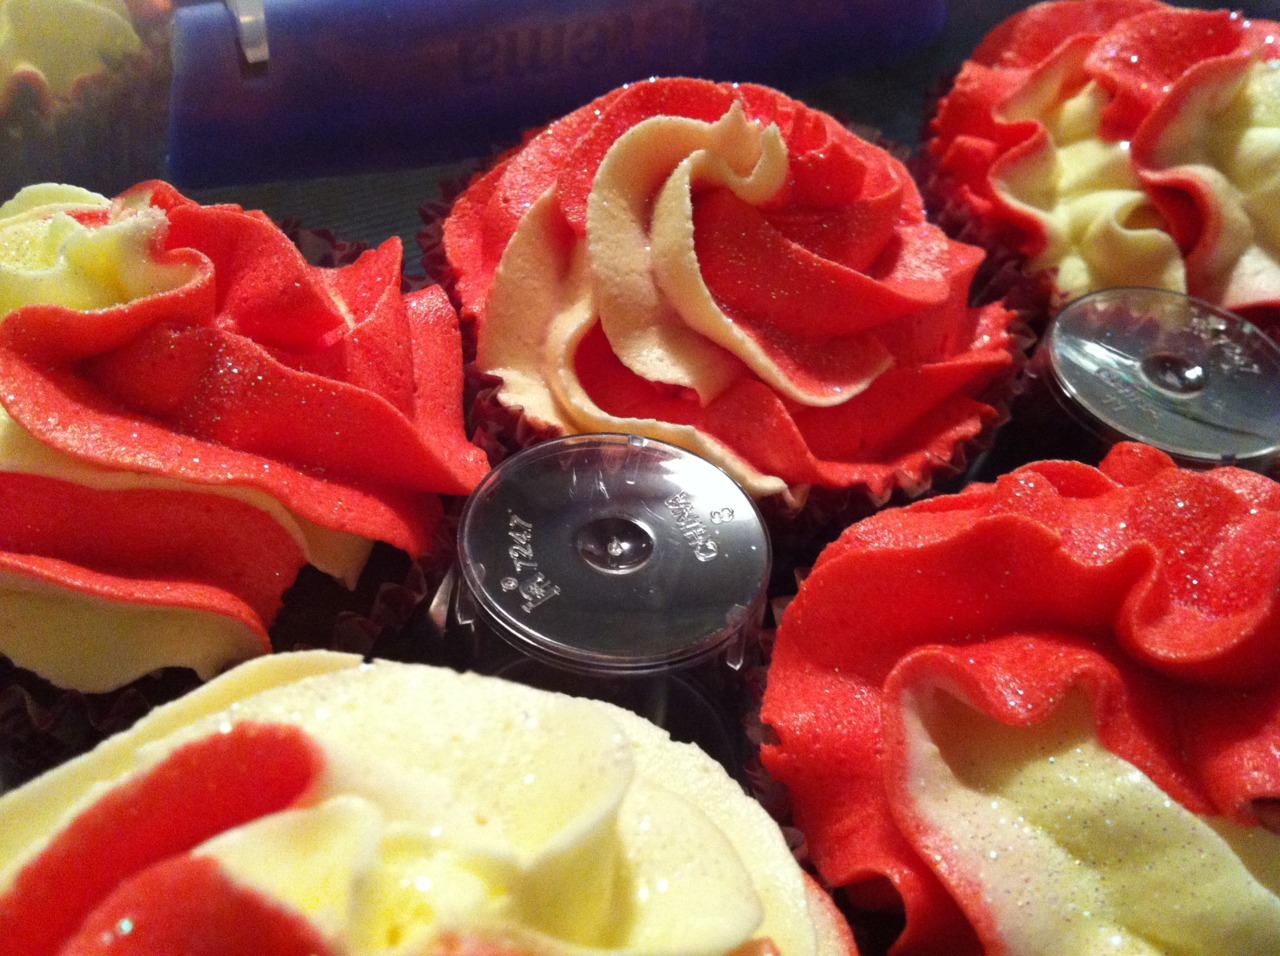
Extra for experts: this chrysanthemum flower is pretty easy and forgiving to create too, also demonstrated by our enthusiastic and crafty asian friend.

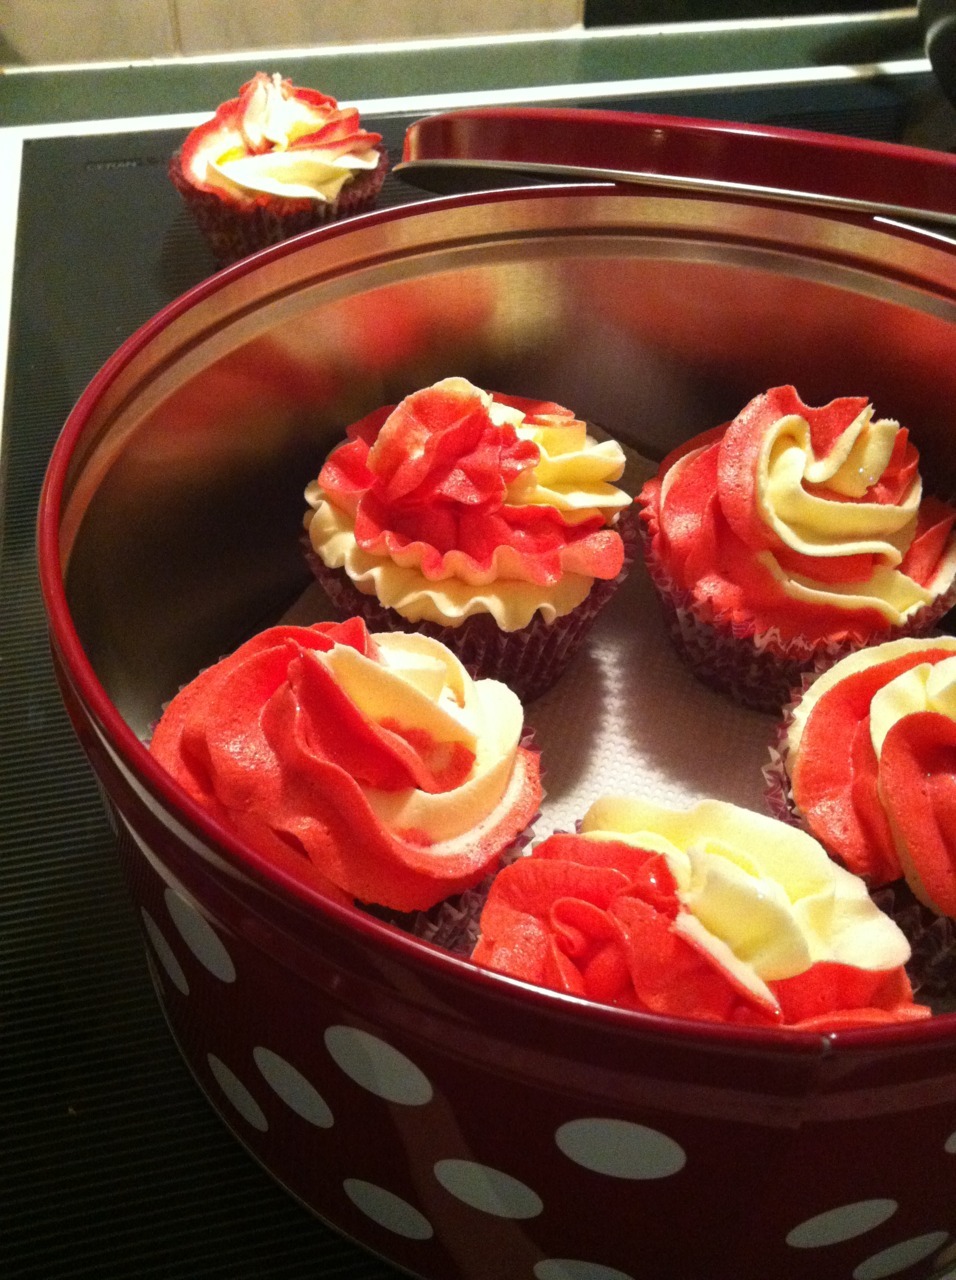
The most important part in this process is being a massive showoff, and sharing your cupcakes with as many friends, colleagues and family as are lucky to snaffle one. xx

Special trick the first!


Special trick the second!


Today I learned not one, but two really cool things to do with cupcakes.

Thing the first: How to pipe frosting so you get pretty multi-tonal icing. It looks way cool, though my cellphone pictures don’t really do ‘em justice (#lazy).

Thing the second: That an upturned plastic shot glass is the perfect spacer for keeping cupcakes from crashing into each other when placed in a container. Win! 

Chocolate Cupcakes with Duo Tone Peppermint Buttercream Frosting

For the cakes:

  • 150g softened butter
  • 150g castor sugar
  • 175g flour
  • 1 tsp baking powder (or just use self raising flour)
  • 3 eggs
  • 2 tbsp cocoa
  • 1 tsp vanilla essence

Making these cupcakes is a breeze, and only takes one bowl.

Cupcakes:

  1. Set your oven to 180 degrees Celsius, and prep 12 cupcake cases in a muffin pan. I like to spray ’em with canola oil spray so the cases don’t stick to the cake.
  2. Soften the butter in a medium sized bowl.
  3. One at a time, break each egg into a cup and give it a quick whisk with a fork before dropping it in with the butter.
  4. Add the vanilla essence and the sugar to the wet ingredients. 
  5. Sift the flour, baking powder and cocoa into the bowl with the wet ingredients.
  6. Beat the mixture together with an electric mixer for a few minutes until it’s smooth and creamy.
  7. Spoon the mixture into the cases, leaving room for the cakes to rise, and place ’em in the center of your oven for ten minutes.
  8. Rotate your baking tray/muffin tray and put the cupcakes back in the oven for another 6-8 minutes, until they spring back when pushed or a skewer inserted into the middle comes out clean.
  9. Remove from the oven and let cool for a few minutes, before placing the cupcakes on a wire rack to cool completely before icing.

Icing ingredients:

  • 100g butter (unsalted would be best)
  • 2 cups icing sugar
  • 2 tbsp milk
  • Peppermint essence
  • Food colouring

You will also need three piping bags (or two resealable bags and a piping bag) and a wide star-shaped piping nozzle.

Making the icing:

  1. Soften the butter, and then beat it until it’s smooth.
  2. Sift the icing sugar, and add about a third of it to the butter and beat it together.
  3. Add half the remaining icing sugar, then continue to beat.
  4. Add the milk, peppermint essence (I used about 1.5 teaspoons), and remaining icing sugar and beat thoroughly.
  5. Spoon half of the icing into one of your piping or resealable bags and set it aside.
  6. Add your food colouring to the remaining icing, and beat it again to mix the colour through thoroughly. You may need to add a little more icing sugar, as the food colouring will thin the icing down a bit.
  7. Spoon the coloured icing into your second piping bag or resealable bag.

Piping the icing:

  1. Load your last piping bag with your star nozzle, then position the two icing-filled bags inside the empty bag, so they are side by side. I used two resealable bags inside a piping bag and found it useful to squeeze the resealable bags around a bit so they fit evenly side by side. Then, take them out and snip the corners of your resealable bags to even sizes, and place them back inside the piping bag with the nozzle.
  2. The idea is, when you squeeze the outer bag, the icing comes out of both the inner bags together and meets in the nozzle, forming a well balanced duo tone stream of frosting.
  3. Twist the end of the outer bag and squeeze firmly to push the icing out the nozzle. Pipe slowly in a circle around your cooled cupcake from the outer edge, inward, finishing with a twist of the nozzle in the center of the cupcake.

Sprinkle the tops of your cupcakes with edible glitter, and apply liberally to friends and work colleagues <3


Twitter’s Hottest Home Baker is a project conjured up over sashimi one lunch break.

We were dissatisfied with the cupcake making on a television baking competition, and thought it would be great to compete with all of Twitter.

Priya took this little concept, and ran with it. Very far.

There’s a random mystery theme, a countdown till bakeoff, and soon the oppurtunity to add your own theme. Entries are submitted via twitpic with the hashtag #hothomebaker, and can then be rated by anyone.

These are my sweet little Strawberry cupcakes, rate them!