Pea & Potato Soup

Last week I made this soup on a rainy, grey Monday evening. It tasted even better reheated the next day at work with some dry toast for lunch.

This soup will keep well refrigerated for about a week – remember to let it cool completely before you refrigerate it, or the condensation in your container will water it down. I haven’t tried freezing it, but I might do that next time – in cupfuls suitable for work lunches.

Ingredients:

  • 2 teaspoons olive oil
  • 1 brown onion, diced
  • 2 cloves of garlic… squashed (I couldn’t crush them, but that would be preferable!)
  • 2 cups of peeled, diced potato (about 4 medium sized potatoes)
  • 2 and a half cups of frozen peas (minted peas would be okay, but well, minty…)
  • 2 cups boiling water
  • 2 cups stock (I only had chicken stock, but vegetable would be ideal)
  • Salt and pepper
  • Sour cream (for serving) 

Method:

Heat the oil in a large saucepan, add the onions and garlic and cook them until the onion is clear. Browned onion would be fine, but I’d advise against going too far in that direction because I burned mine a bit, and it made the soup kinda grey…

Add the potatoes, peas, water, and stock. Bring the mixture to the boil, then reduce to a medium heat, cover the pot and simmer for about ten minutes or until the potato is tender.

At this stage, I took the pot off the stove and roughly blended the soup with a hand-held “whizz stick”/bamix machine with blades. The idea is to blend it to the consistency you expect of soup – I left mine a little chunky (yum!).

If you don’t have a whizz stick, you can let the soup cool a bit and then put it through a blender in batches, then return it to the pot and reheat it on the stove.

Add salt to taste – about a teaspoon in my case. Better too little than too much!

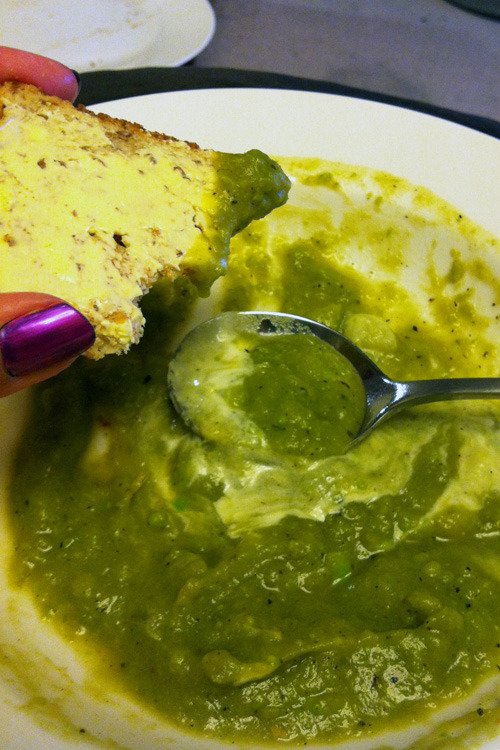
I served mine with toast, salt and white pepper, and a teaspoon of sour cream.

Delicious Crumble

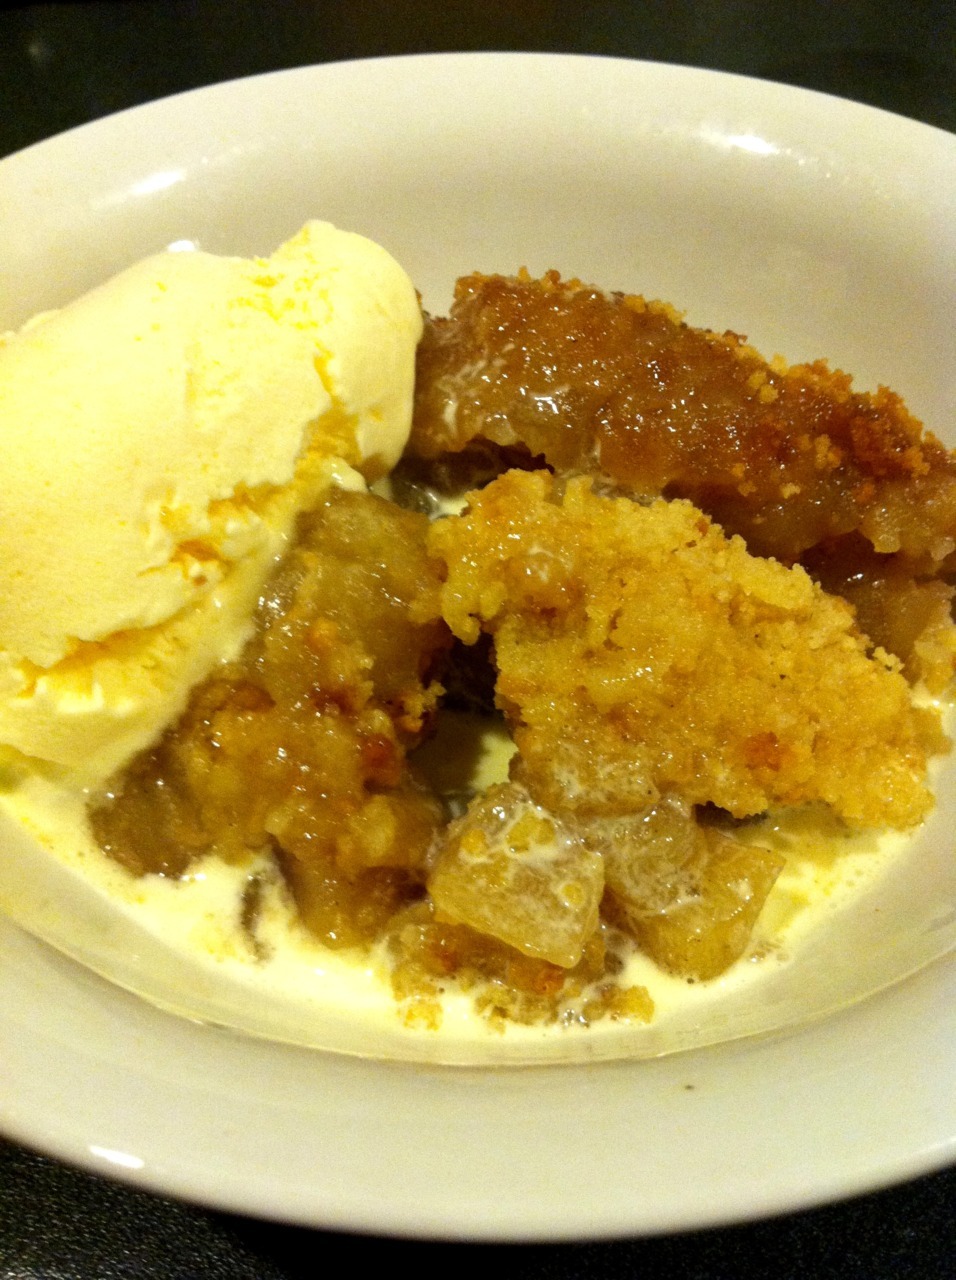
Inspired by Amber’s spot-on post about apple crumble, the chill in the air, and my mother dropping off some home-grown organic apples and feijoas, I made this apple and feijoa crumble tonight.

I had plans of using up all the feijoas, but they were a mission to peel so I only put in a few – it’s suprising how strong the flavor was though – just right in my opinion.

Amber’s recipe is super simple and undaunting, I was a little tricky and tried some other things with it to great effect. This is the first time I’ve tried making apple crumble, it’s not a big dish in my household (but it should be!). I remember loving it at boarding school though and when my grandmother used to serve it.

It’s girl guide biscuit time (meaning, there are some surviving in my cupboard) so I added half a packet to the crumble (amazing!).

Ingredients

  • 8 apples of any variety
  • 5 small feijoas
  • 1 cup water
  • 2 tbsp brown sugar
  • 1 tbsp manuka honey
  • ¾ tsp ground cardamon
  • ½ tsp cinnamon

For the topping:

  • ½ cup melted butter
  • 1 cup sugar
  • 1 cup standard plain flour
  • ½ packet crushed plain biscuits (girl guides if you have ‘em!)

Preheat your oven to 180 degrees celsius. Boil water. Peel, core, and chop apples roughly into small pieces. Peel and chop feijoas. Put the fruit in a saucepan with ½ a cup of hot water and cook on a high heat until boiling. Reduce the heat slightly to a simmer and stir occasionally.

Add the sugar, honey and spices and continue to stir occasionally to ensure the mixture doesn’t burn on the bottom of the saucepan. Add more water if necessary and continue to simmer (I think mine was on the stove about 20-30 minutes all up).

In a bowl, melt the butter then add sugar and stir. Add flour and combine. Crush the biscuits to a fine texture (or blend them) and stir into the butter mixture.

The fruit should be slightly syrupy but still have a fair amount of liquid – I found this was absorbed up into the crumb topping where it caramelised slightly in baking.

Pour the fruit mixture into an oven-safe dish, then spread the crumb mixture evenly on top. A gap at the top of the dish is great – the fruit will continue to boil in the oven and spillage is no fun to clean up.

Place the dish in the center of your oven for about half an hour – until the crumble topping is golden brown.

Serve warm with a scoop of vanilla ice cream or cream – be warned, it is really tasty!


Vegan Chocolate Cake/Cupcakes

I made this recipe for this month’s Twitter’s Hottest Home Baker challenge – but the end results looked a little too poo-like for me to enter. They were delicious though!
I’m not vegan, but I have an eight year old cousin who can’t eat eggs or nuts, so these were made with him in mind. My mum’s gluten free – so for her, I’d take out the flour and a tablespoon worth of oil, and use 1 cup of ground almonds and ½ cup rice flour instead. Winner.

Ingredients

  • 1 ½ cups standard flour
  • 1 tsp baking soda
  • 1/3 cup cocoa
  • 1 cup sugar
  • ½ cup canola oil
  • ½ cup water
  • ½ cup pulp-free orange juice
  • 1 tsp vanilla essence
  • 1 tsp malt vinegar

Method

Sift flour, baking soda and cocoa together, stir in sugar.
In a separate bowl, combine canola oil, water, orange juice and vanilla essence.
Mix wet and dry mixtures together, then stir the malt vinegar through just before pouring the mixture into your cake tin/muffin tray.
I baked mine in a silicone muffin tray at 180 degrees celsius for 10-15 minutes, and found that they only rose up a little bit. 
For icing, I used icing sugar, cocoa, orange juice and a tiny bit of canola oil.


It’s Twitter’s Hottest Home Baker time again, (what?) and now bakers can suggest themes to go into the pool. On Friday at midnight this month’s theme was drawn – Caramel!

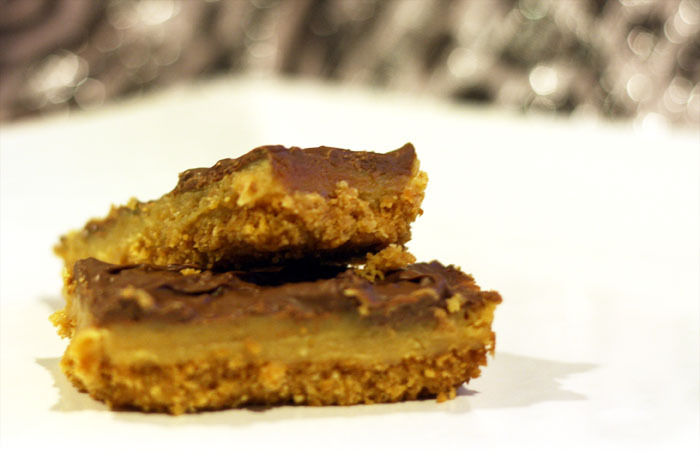
Caramel Slice sprang to mind immediately, I love the stuff. It’s so so bad, but so so good, and I actually haven’t tried making it before.

I had a look through my recipe books, and did a little browsing through some baking sites. In the end I chose the best sounding aspects of a range of recipes, and melded them together into my own little plan of attack.

Instead of the baked flour base most recipes seem to have, I went for a base that I use for cheesecake and just adore – it makes the slice a little crunchy too as it’s baked. I added ground almonds to the base but it would also rock with desiccated coconut.

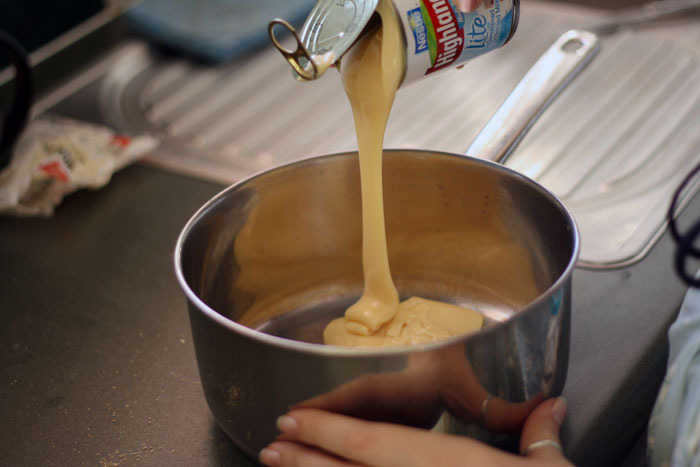
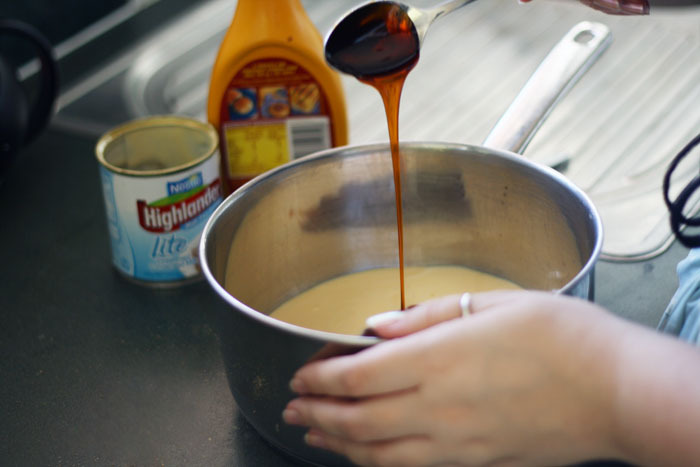
Most recipes use two spoons of golden syrup in the caramel, but I like it to be darker so doubled that to great effect. I was using lite condensed milk (haha!) which is a little less sweet than the normal one, but the slice is still really rich.

Whittker’s milk madagascar chocolate has a very distinct flavour, it matches beautifully with the caramel.

This time I cranked out the tripod and took photos all the way through too.

Check out (and vote for!) my entry in the competition on the Twitter’s Hottest Home Baker website.

Crunchy Baked Caramel Slice

Ingredients

Base:

½ packet Super Wine biscuits
100g butter
40g ground almonds

Filling:

1 tin lite sweetened condensed milk
4 tbsp Golden Syrup
30g butter 

Topping:

250g Whittakers Milk Madagascar Chocolate

Method

Preheat your oven to 180 degrees.

Blend the biscuits to crumbs, and add the ground almonds.

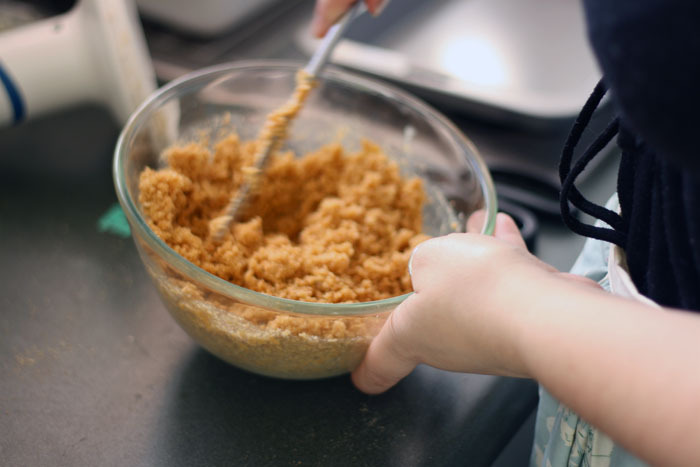
Melt the butter, mix it incrementally into the biscuit mixture, it looks a bit like wet breadcrumbs.

Line your baking pan with baking paper, and give it a spray of cooking oil to help with the sticky factor.

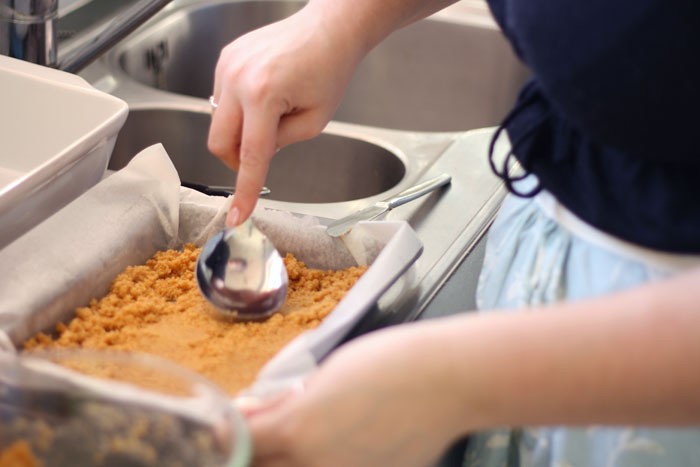
Press the biscuit base into the baking tin, I use a big, quite flat spoon. Pack the crumbs in tightly and evenly. Put the base into the oven for ten minutes.

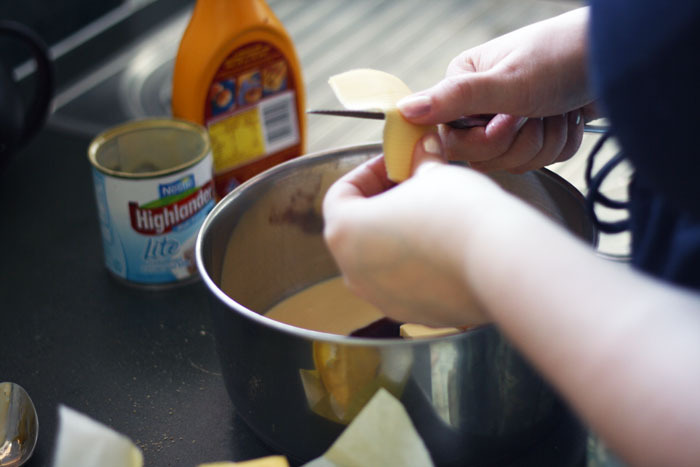
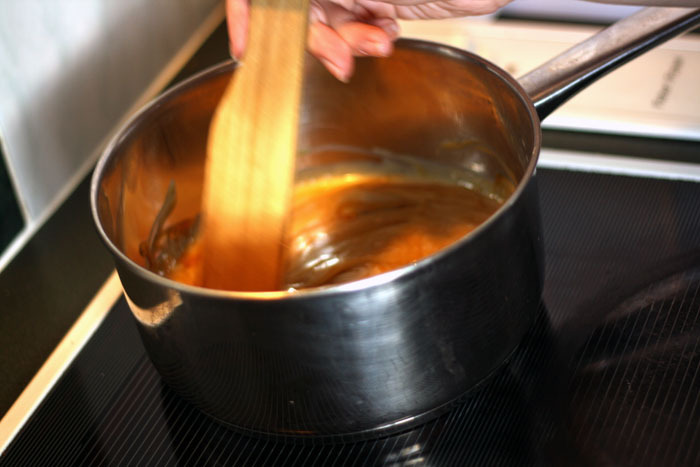
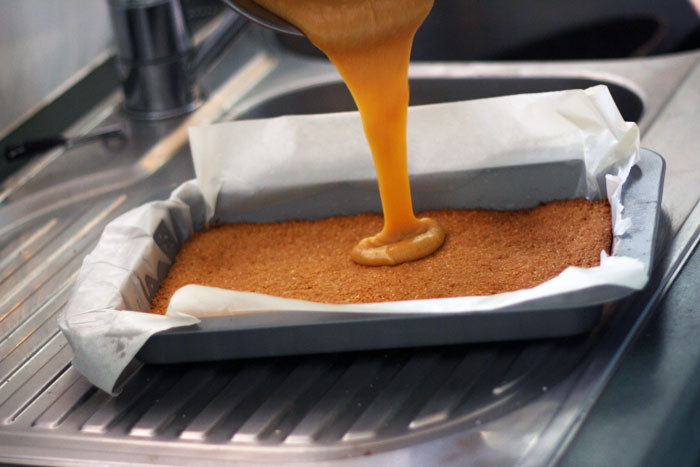
Combine the condensed milk, golden syrup and second measure of butter in a thick-based pot and stir over medium heat. Be careful not to burn the caramel – it starts to stick to the base quite quickly. You can remove it from the heat when the butter has melted and the mixture has thickened slightly.

The base should be out of the oven by now, pour the caramel over the base and spread it evenly. Put it back in the oven for ten minutes.

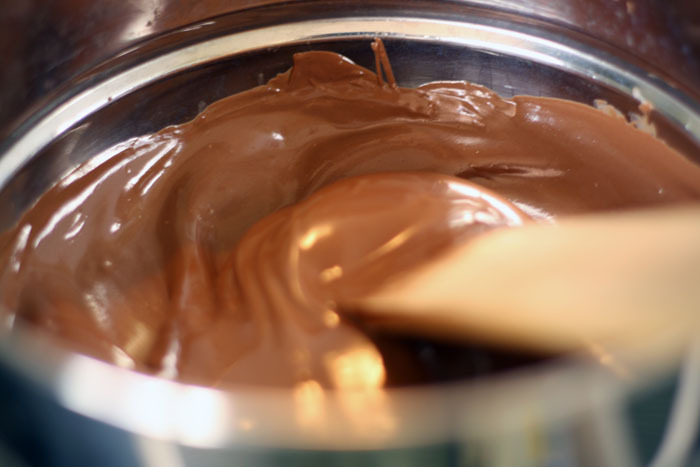
Melt the chocolate in a double boiler (my preference) or in the microwave. If you don’t want the chocolate to set solidly on your slice, add a tablespoon of oil or cream as you’re melting the chocolate.

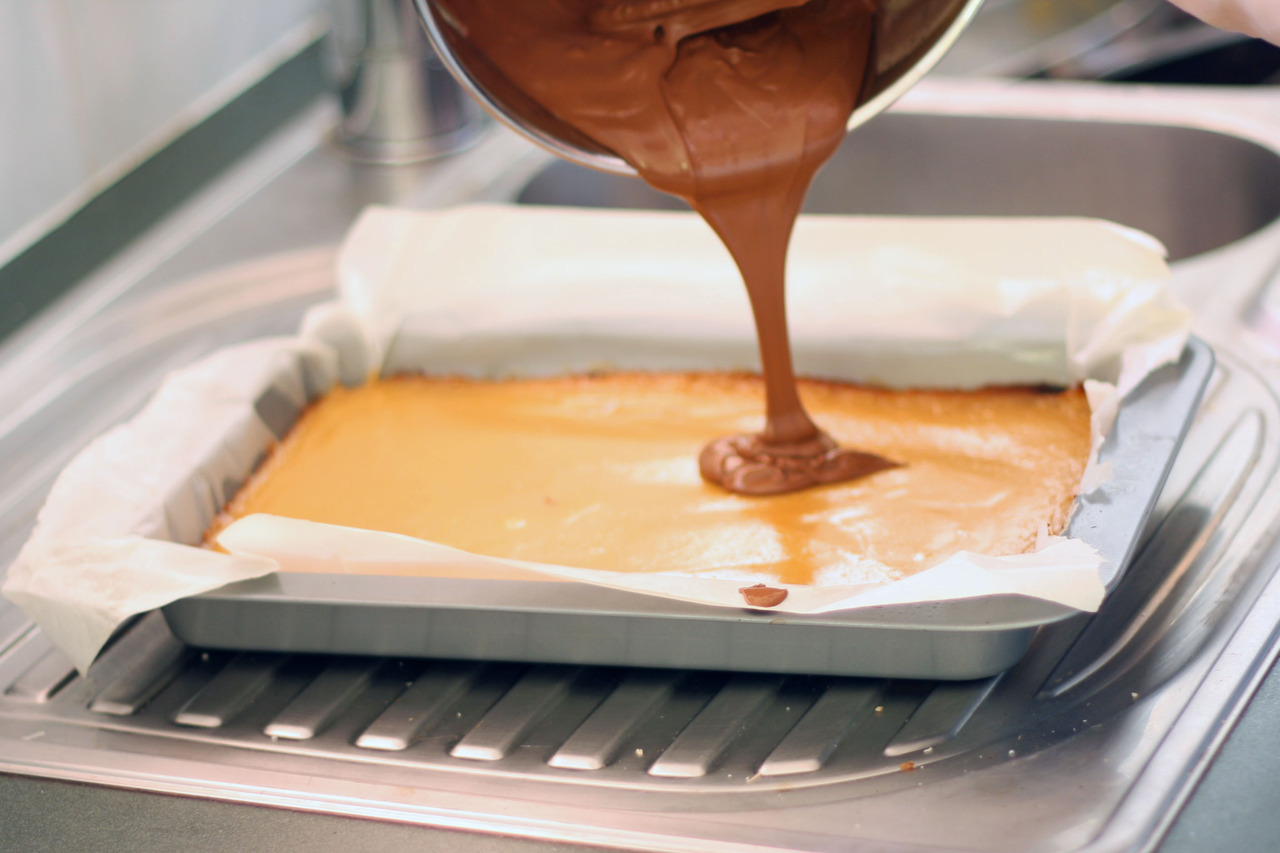
Pour the melted chocolate over the slice and spread it so it covers the slice evenly, up to all edges. Let the slice cool a little longer, then put it in the fridge. In about fifteen minutes, take it out and cut the slices before the chocolate has set hard. Put it back in the fridge.

When it’s all set, you can take it out of it’s pan. It apparently keeps in the fridge for about four days – if you/family can resist eating it for that long!