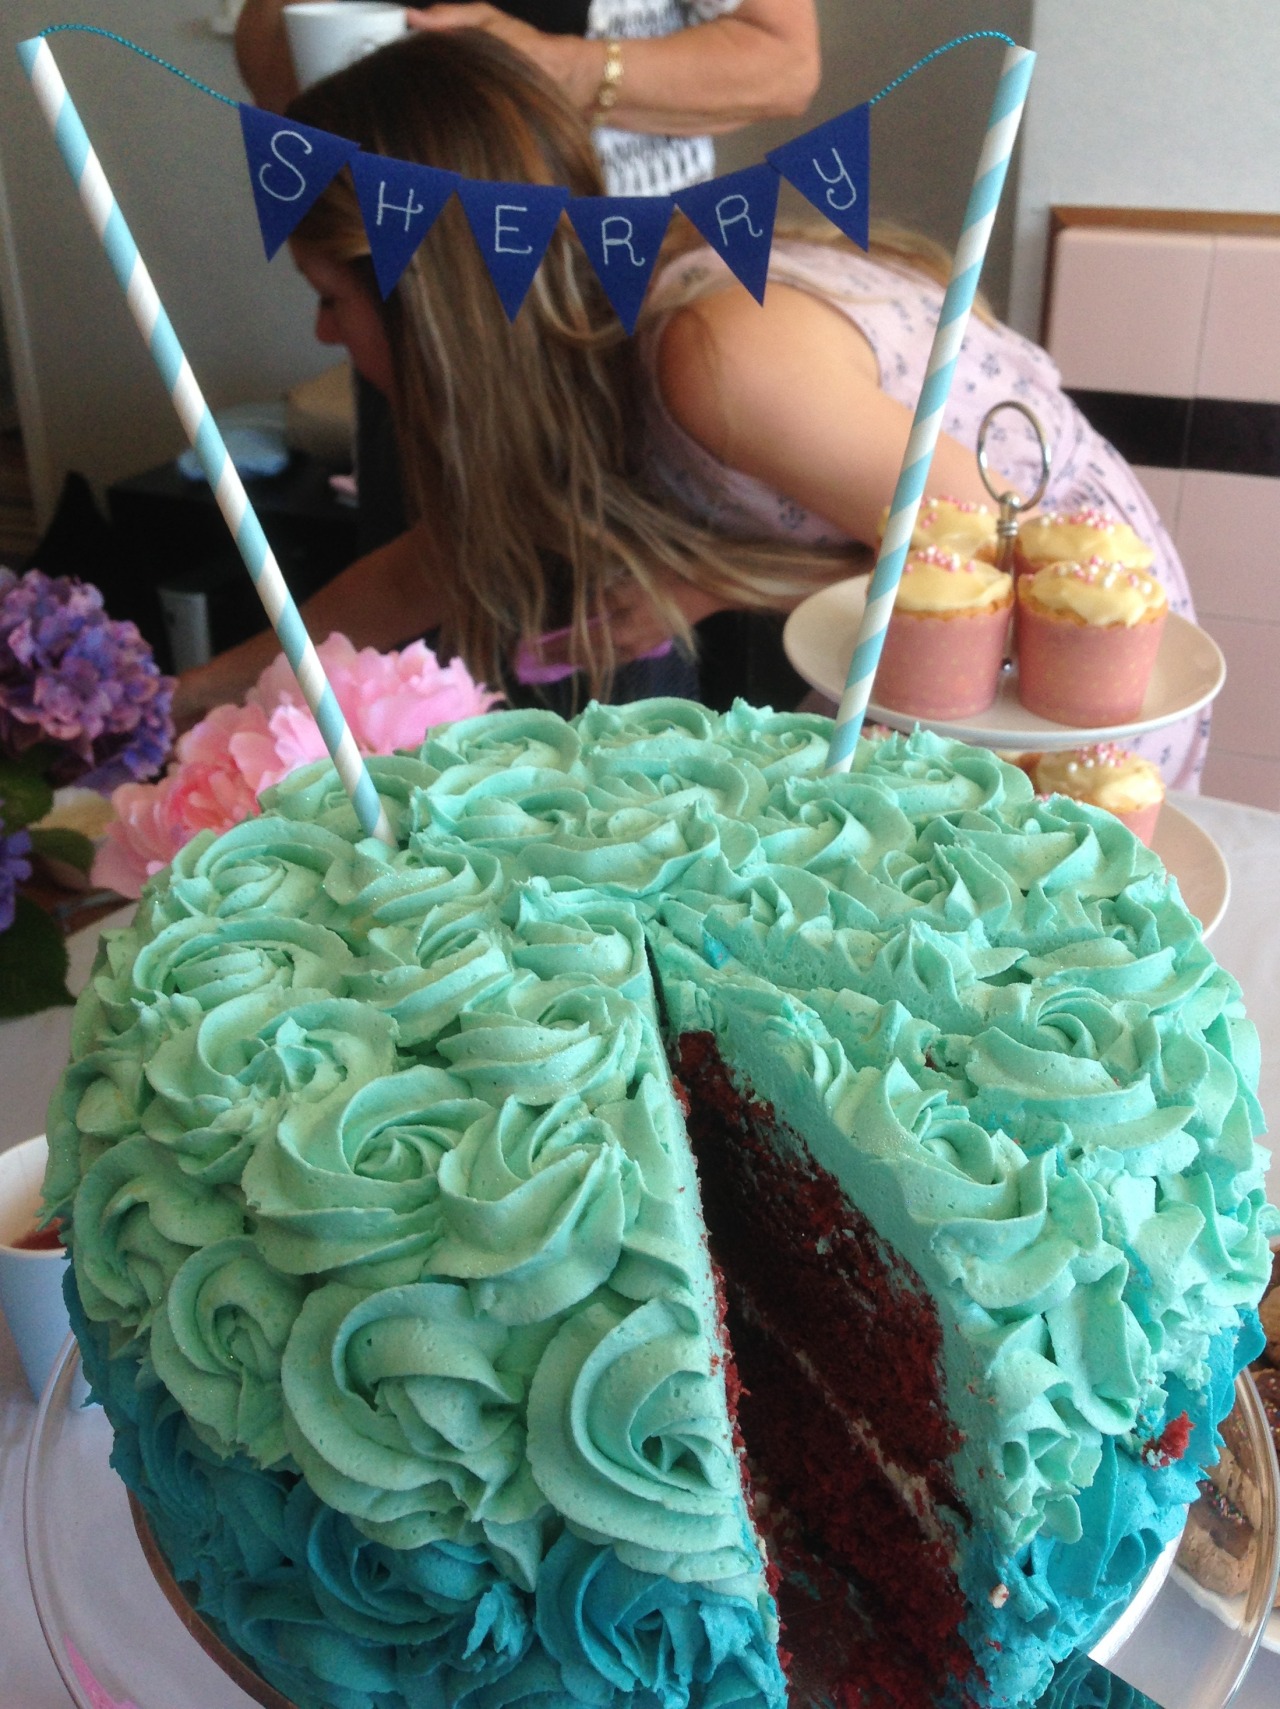
My dear friend Sherry was the first baby born in Taupo in 1988. Having a birthday on New Years day sucks for so many reasons, including the hassle of usually not being to able to celebrate with friends.
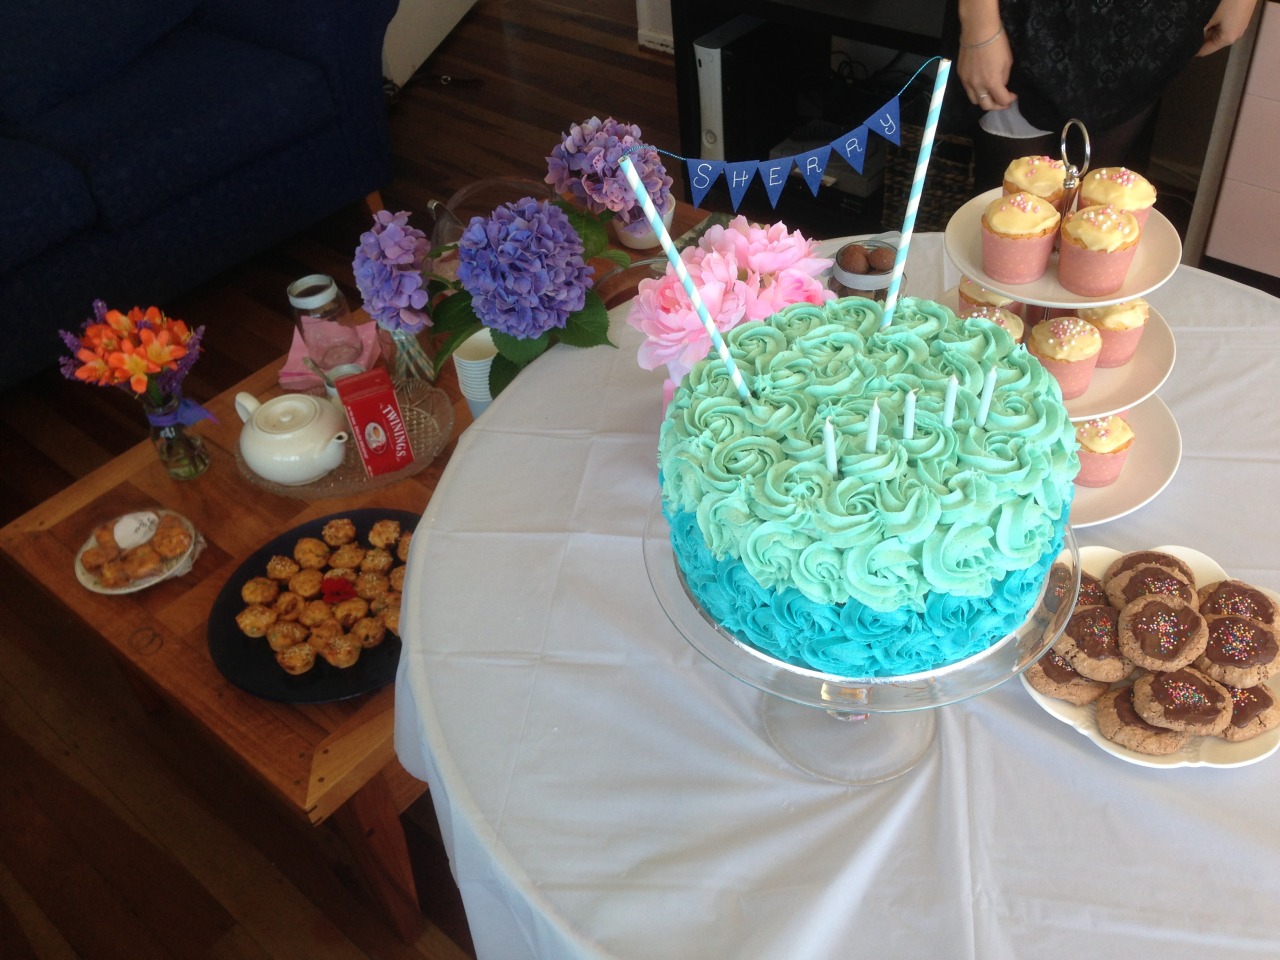
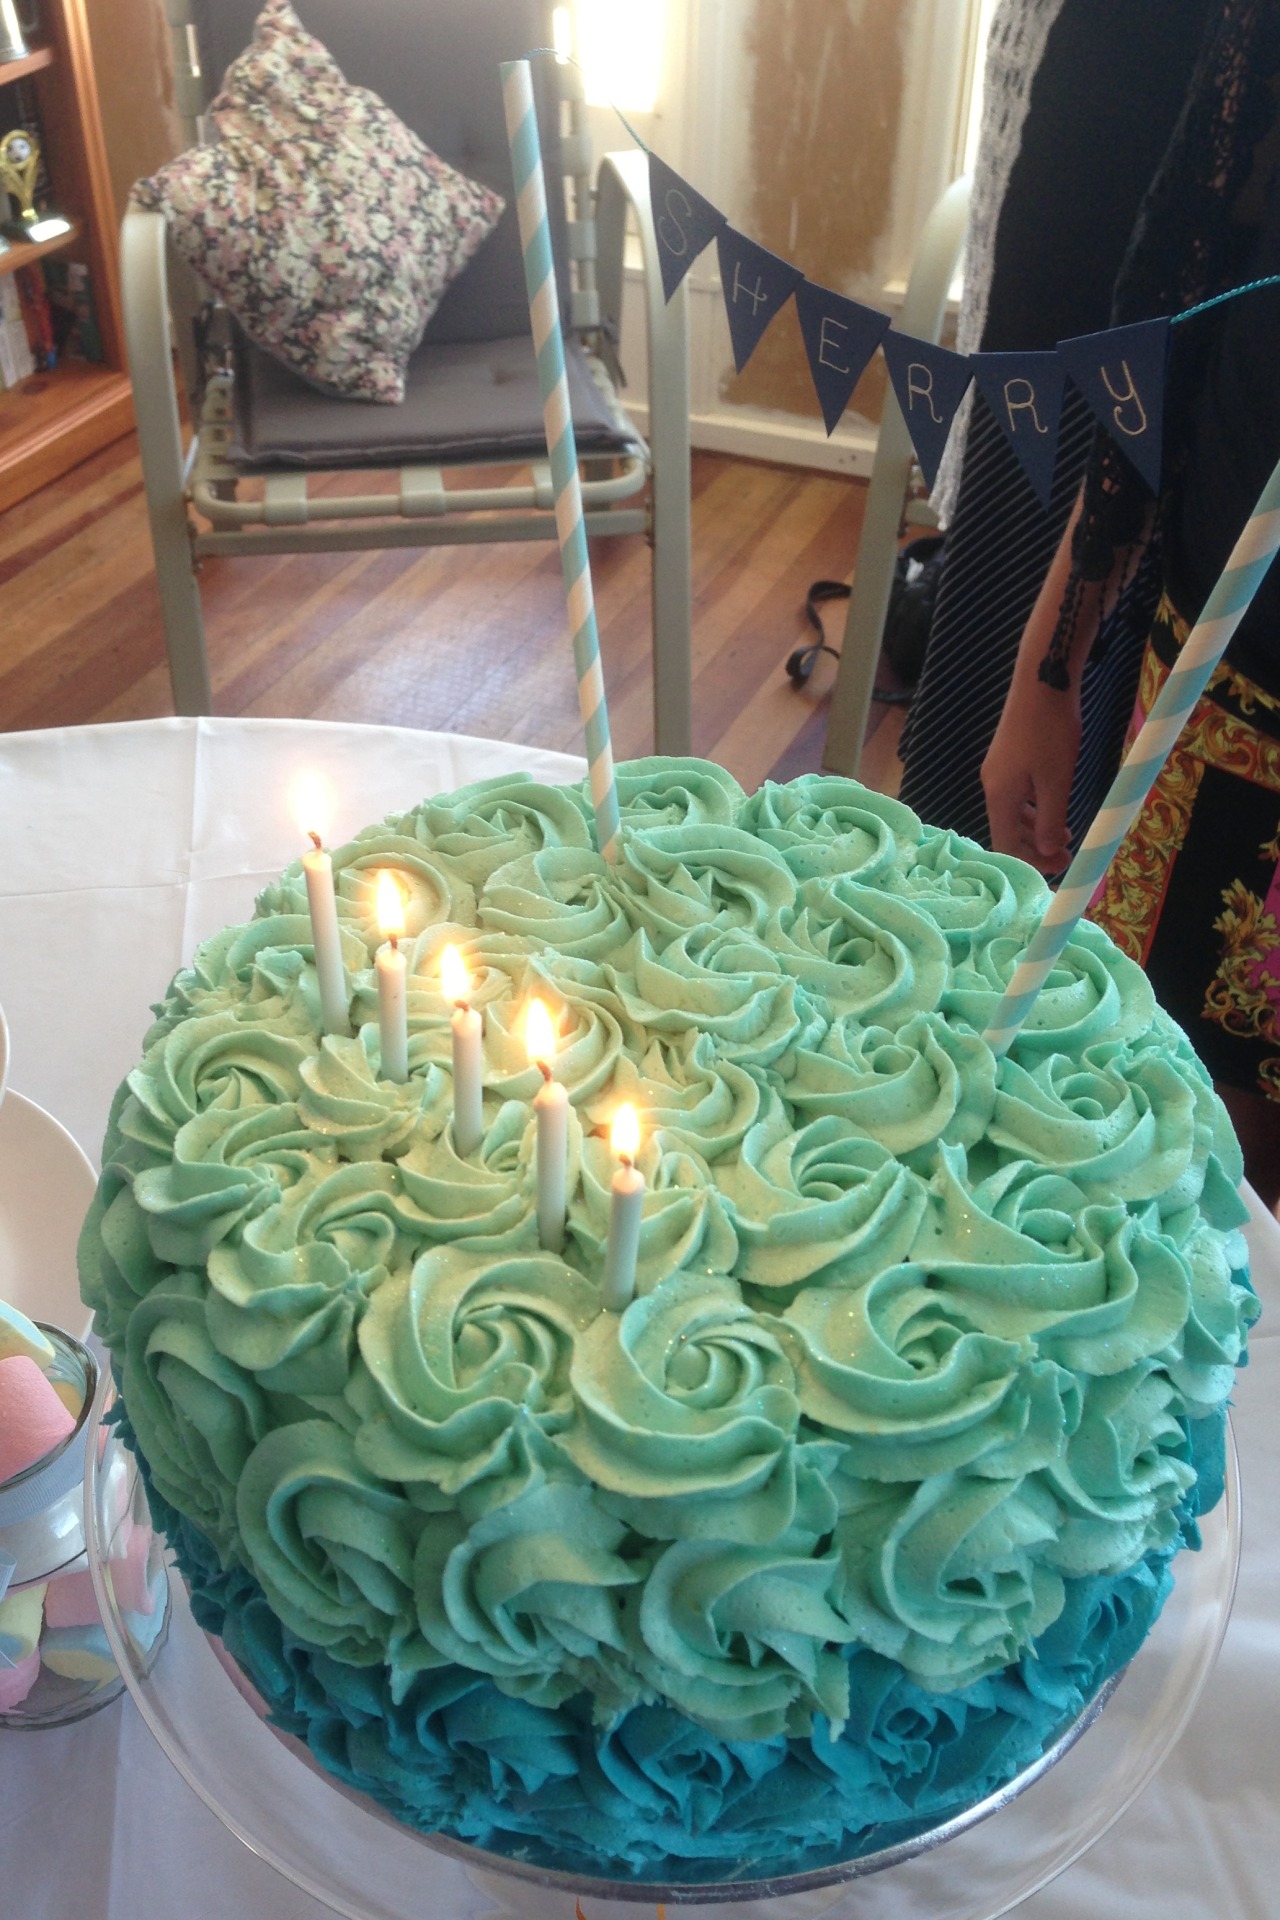
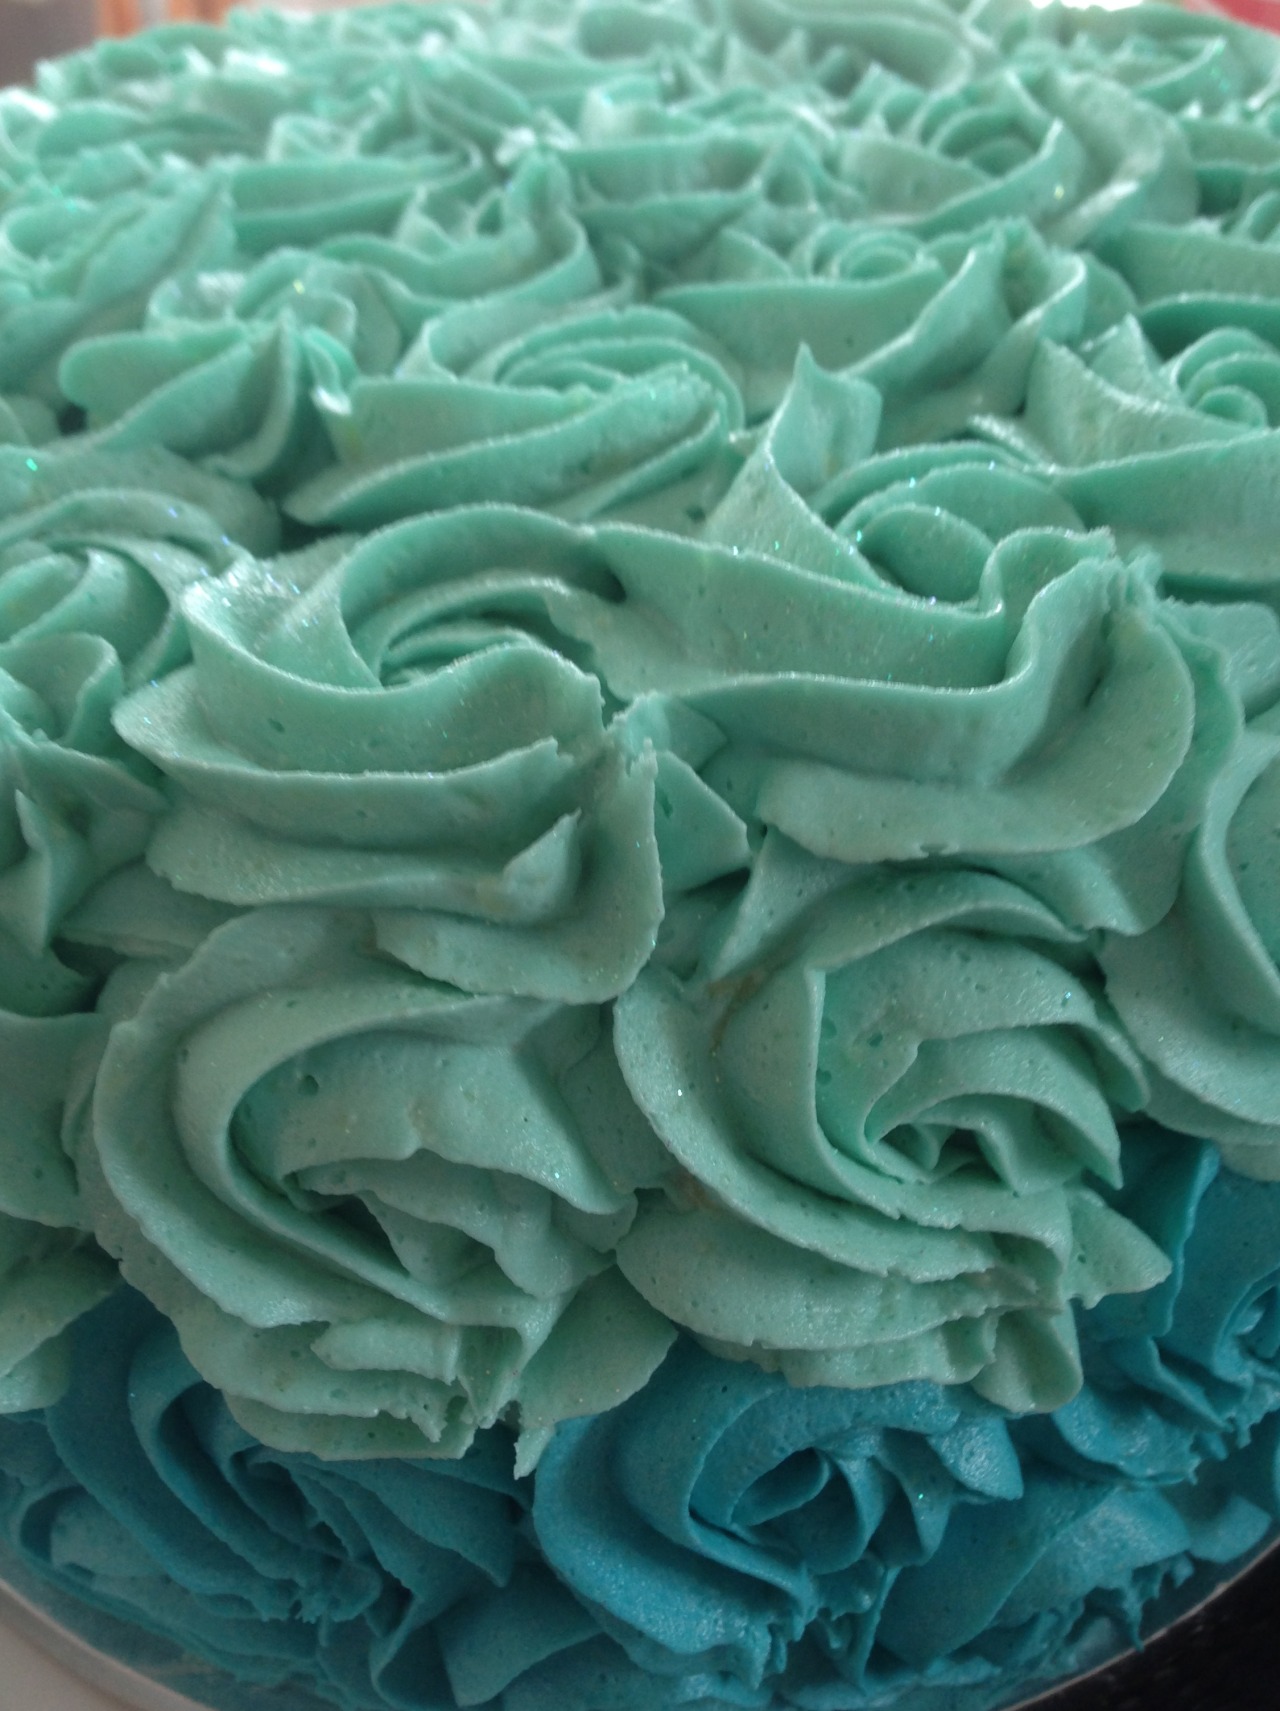
Another of her friends organised a surprise tea party for her this weekend gone, I volunteered to make a cake. I’d made this cake before but didn’t get to taste it that time. Reports were good though so I was keen to make it again. It’s iced in Sherry’s colour, blue, quite a contrast with red velvet!
The recipe is odd in that instead of baking powder, baking soda and white vinegar are combined in the last step, added to the mixture and then whipped into the oven. The cake does rise really well.
Red Velvet Cake
- 2.5 cups plain flour
- ½ teaspoon salt
- 2 tablespoons cocoa
- ½ cup unsalted butter, at room temp
- 1 ½ cups white sugar
- 2 large eggs
- 1 teaspoon vanilla extract
- 1 cup buttermilk
- 2 tablespoons liquid red food colouring
- 1 teaspoon white vinegar
- 1 teaspoon baking soda
Preheat the oven to 180ºC, and grease your cake tin(s) (use two if you want a layer cake like mine). I like to line the bottom of my cake tin with cut baking paper to ake it easier to remove the cake.
Sift the flour, salt and cocoa together.
In a large bowl which will eventually contain the whole mixture – cream the butter and sugar, then add each egg to the butter mixture beating thoroughly after each addition. Add and beat in the vanilla.
Whisk together the buttermilk and red food colouring. Be really careful! The red mixture will stain things easily.
Alternate between adding the buttermilk and the dry mixture to the butter mixture, beating at a low speed. This helps distribute the ingredients evenly – I was bad at this so my cake was a bit marbled.
Once the three mixtures are combined, measure the baking soda into a cup or small bowl, then add the vinegar and stir. Quickly fold this through the cake batter, fill your tin(s) and get ‘em in the oven!
Check the cake after half an hour. If it’s still super wet (check with a bamboo skewer), lower the temperature to about 160 or 170ºC and check back at 10 and then 5 minute intervals until the inserted skewer comes out clean.
Set the cake in the tin(s) to settle for ten minutes, then turn it/them onto wire racks to cool for a good hour. You can bag this cake and refrigerate it for a day or two if you are prepping in advance.
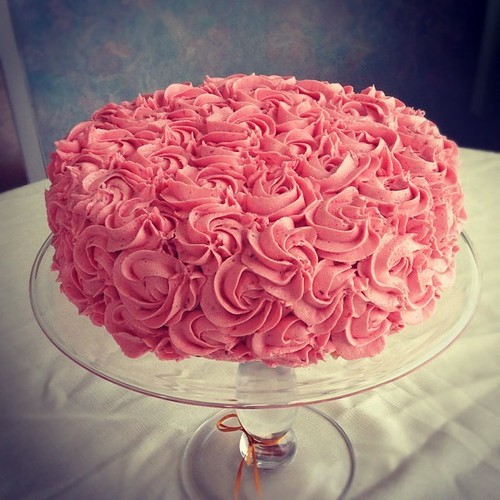
I baked this one the night before, set it in the fridge overnight and then iced it with white chocolate marscapone frosting in two colours on the day of the celebration. For the rosette frosting technique, check YouTube!
–
Nom nom nom. I doubled the above recipe and baked it in two 9" round cake tins. The cake was HUGE and I think would feed 25 people. You could even thicken the layer of icing between the top and bottom layers of cake and serve the top and second tier separately as it’s essentially two cakes.
For the bunting cake topper, I made paper flags and folded the tops over a piece of blue string, then taped the back. I wound each end of the string around some sticky tack and then a bamboo skewer. Then pushed a paper straw up over the skewer and tack. The skewers are longer than the straws so you can push them easily into the cake.
I have Grand Plans for a birthday cake for a little boy in a few months! Exciting!